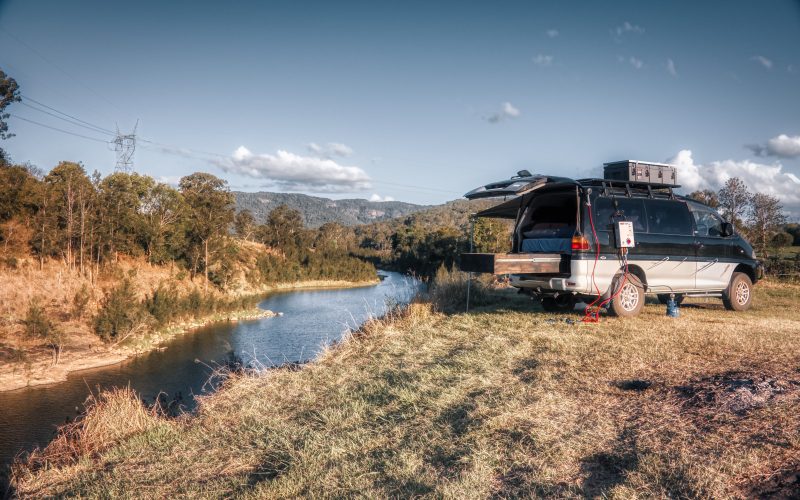
When I’m travelling, I don’t like staying in caravan parks. I prefer to free camp and get away from other people. However, this means you have to be self-contained.
I already have a toilet, but travelling without a shower in Australia’s heat is pretty miserable. I wanted to have a hot shower and enough water to last me a few days.
This blog post will take you through what I tried, what didn’t work, and what I learned along the way!
Attempt 1: Solar Shower
I started doing some research into solar showers. Lots of people build their own out of some PVC pipe and some plumbing fittings. There’s also options like the RoadShower which give you pressurized water too.
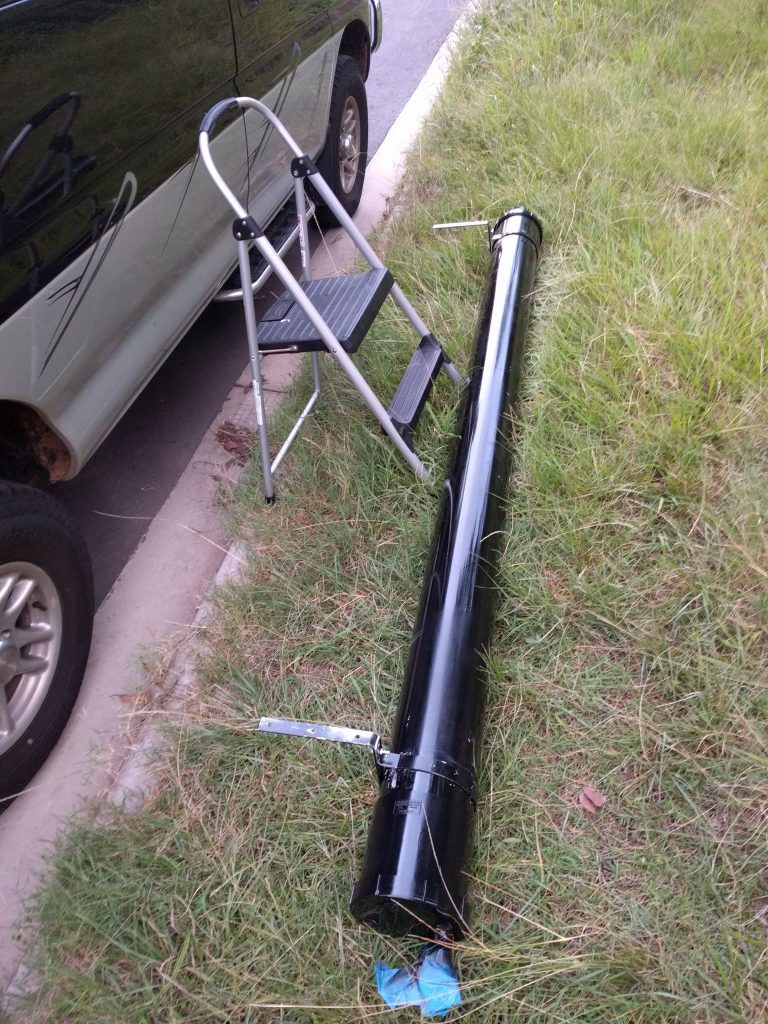
I decided I would need around 40L of water to get 3 decent showers. PVC piping comes in two main sizes: 90mm and 150mm. I decided on the 150mm in a length of 2.4m, which would give me approx 42L total. I bought the PVC pipe from a plumbing shop along with some screw caps and fittings.
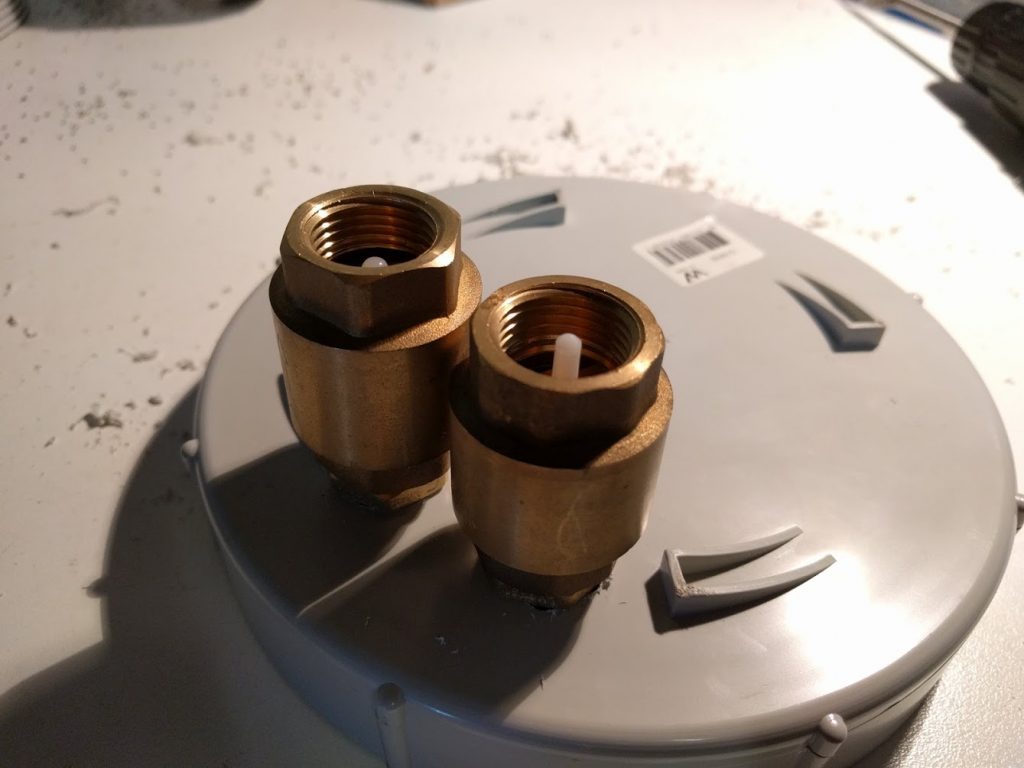
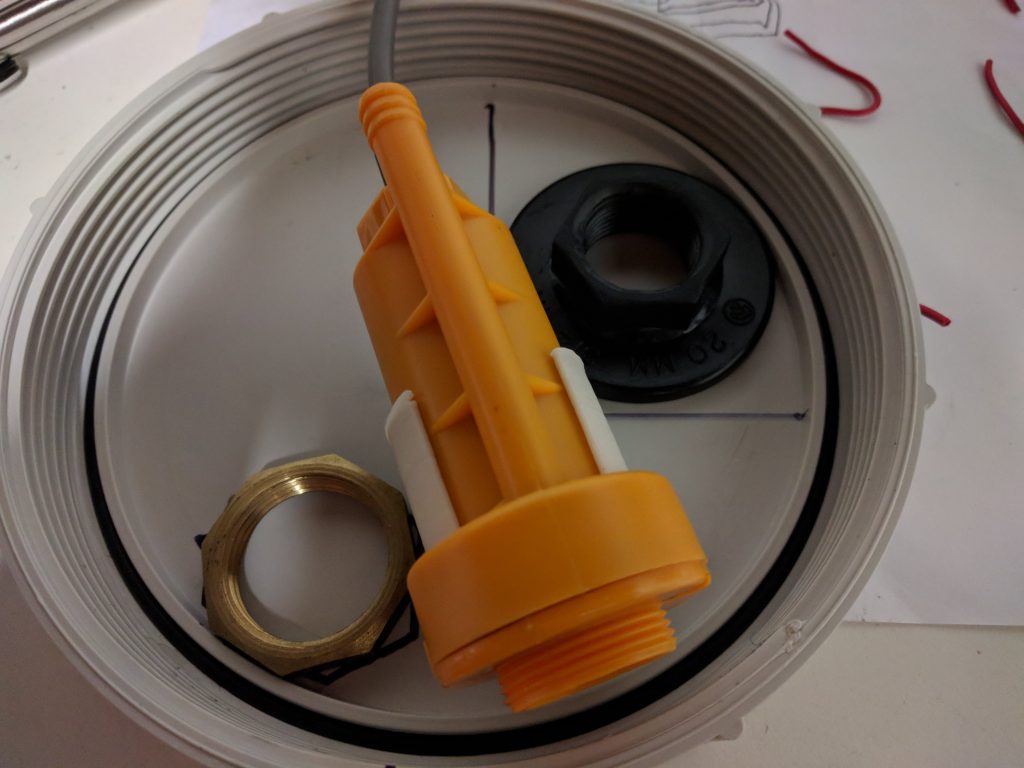
I fitted a tap along with some spring loaded valves to allow the tank to let air in and out, but keep the water in.
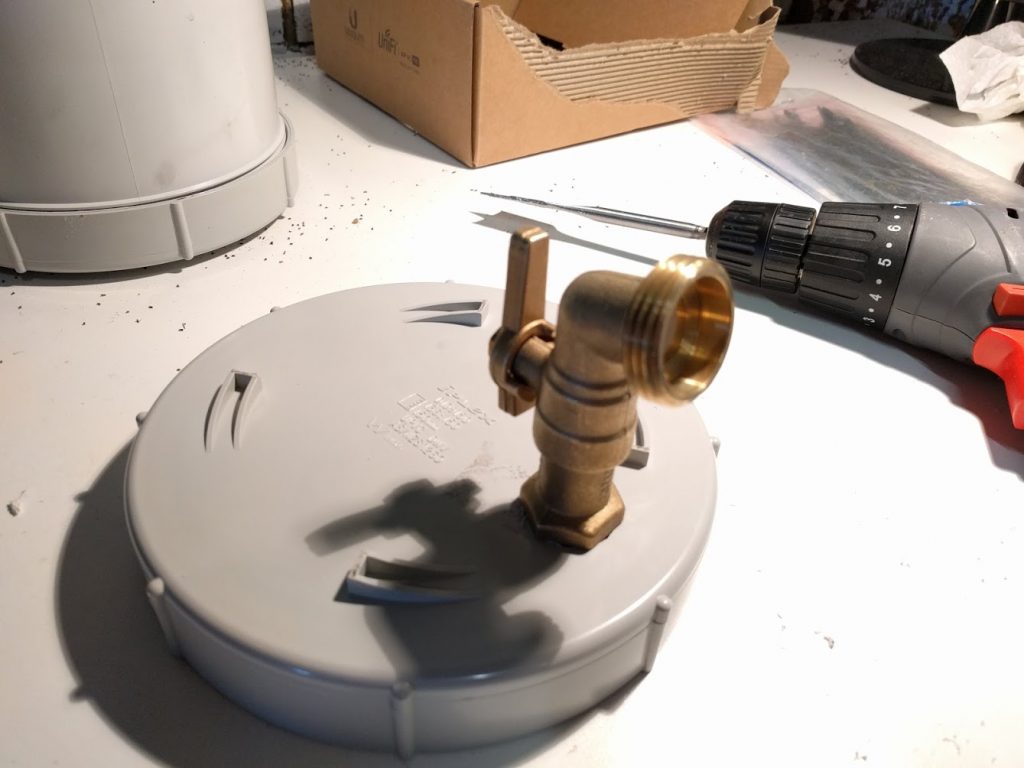

Glue-ing the ends onto the pipe is tricky!
The valves didn’t work – they’d let water out if the van was moving, so I just replaced them with an upside-down tap. When I was filling or using the tank, I would open the tap to allow air to pass.
Next I made up some brackets to mount to the van, and painted everything black
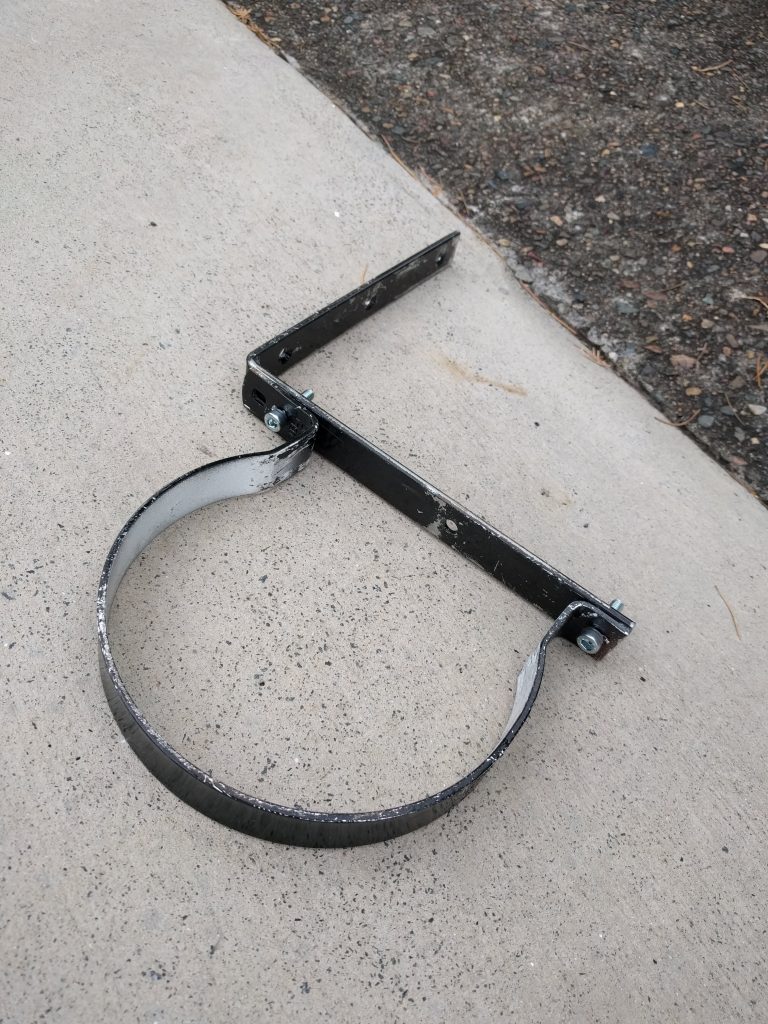
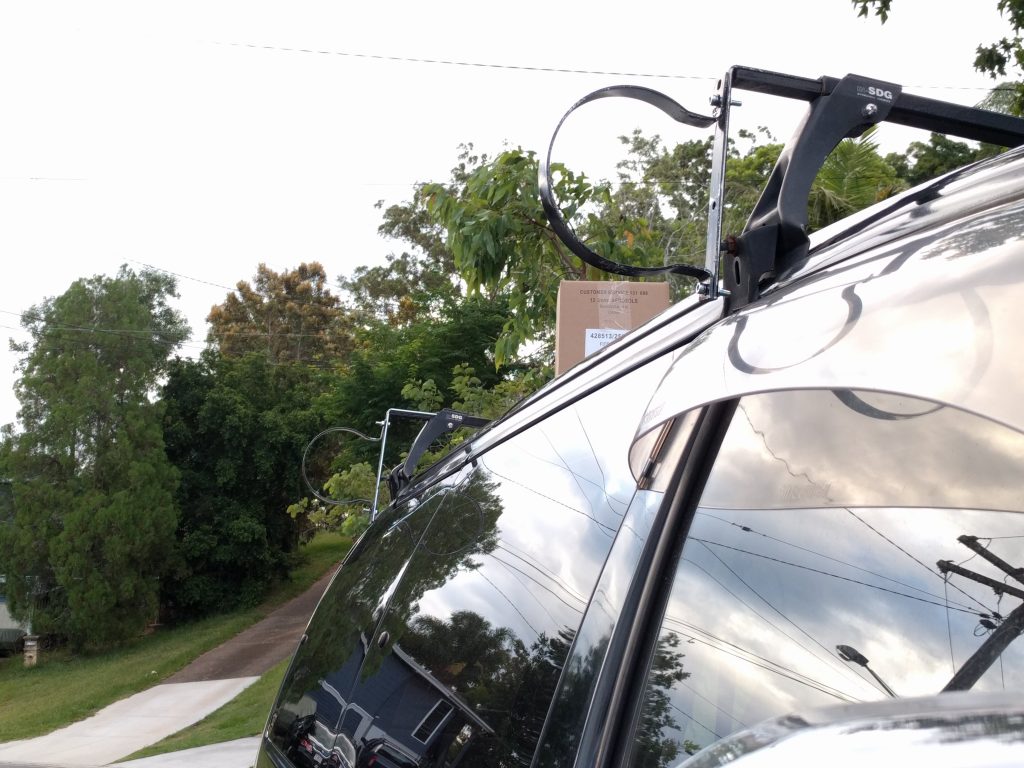

I was really pleased with how it looked. Unfortunately, when I tried fitting a garden trigger shower, there wasn’t enough pressure to create a shower – it just dribbled out.
Attempt 2: Electric Solar Shower with Pump and 12v Heating Element
I wondered if it would be possible to both heat the water, and build in an electric pump to get a decent flow rate. The math told me that I could heat 40L of water by 10C by using 600w in one hour. That’s 50ah per shower! In hindsight I was a bit naive to think this would be feasible long term, but I pressed on.
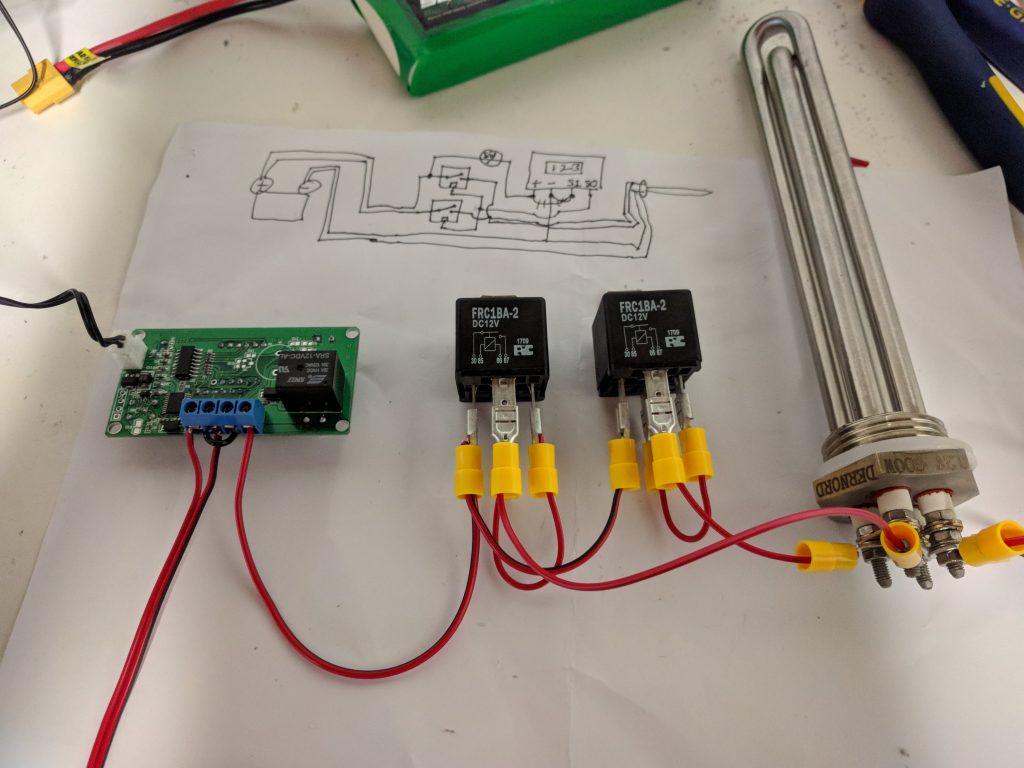
I found some DC electric heating elements on eBay along with a cheap 12v shower kit, and a heating element controller.
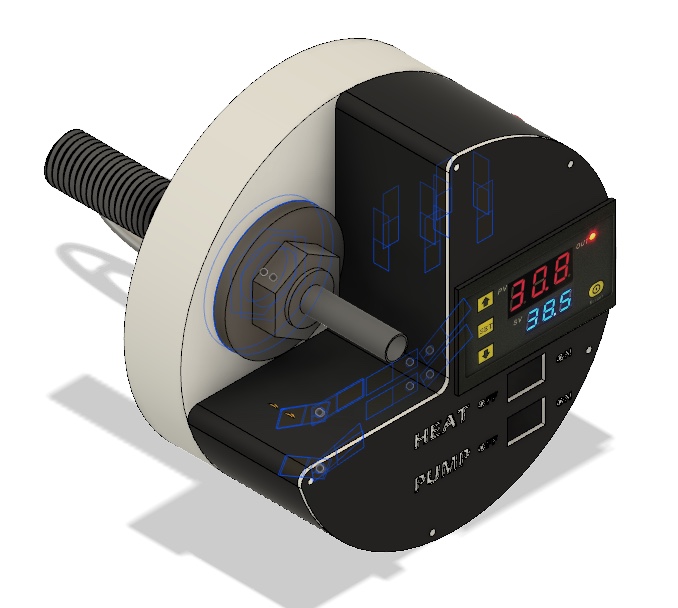
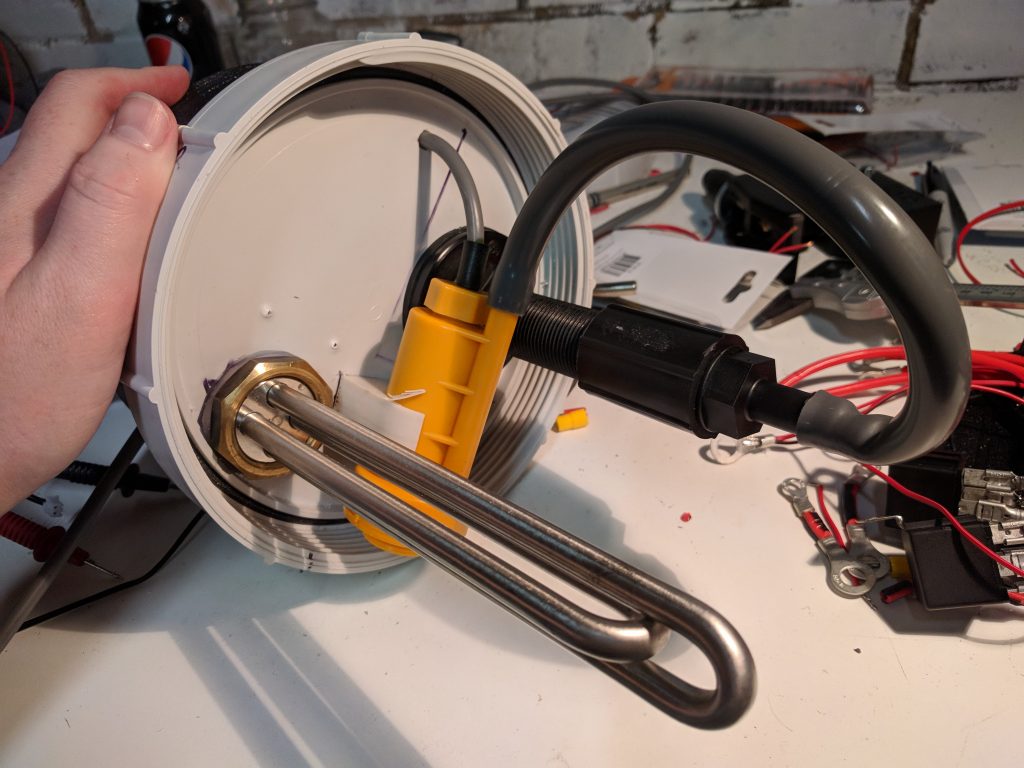
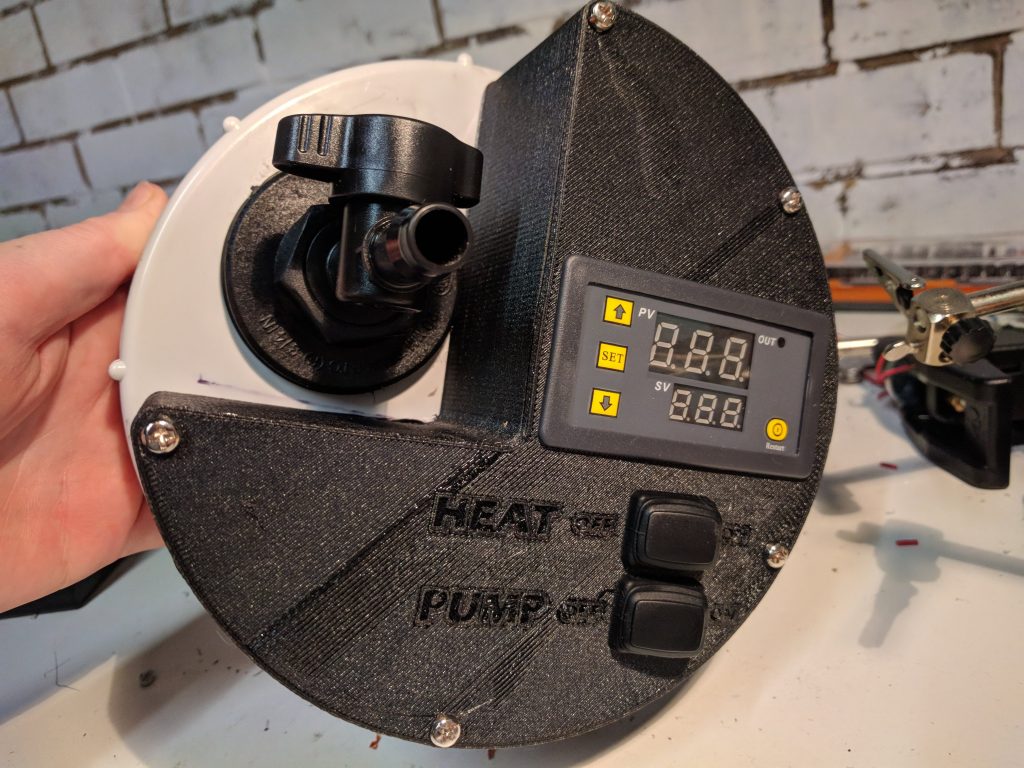
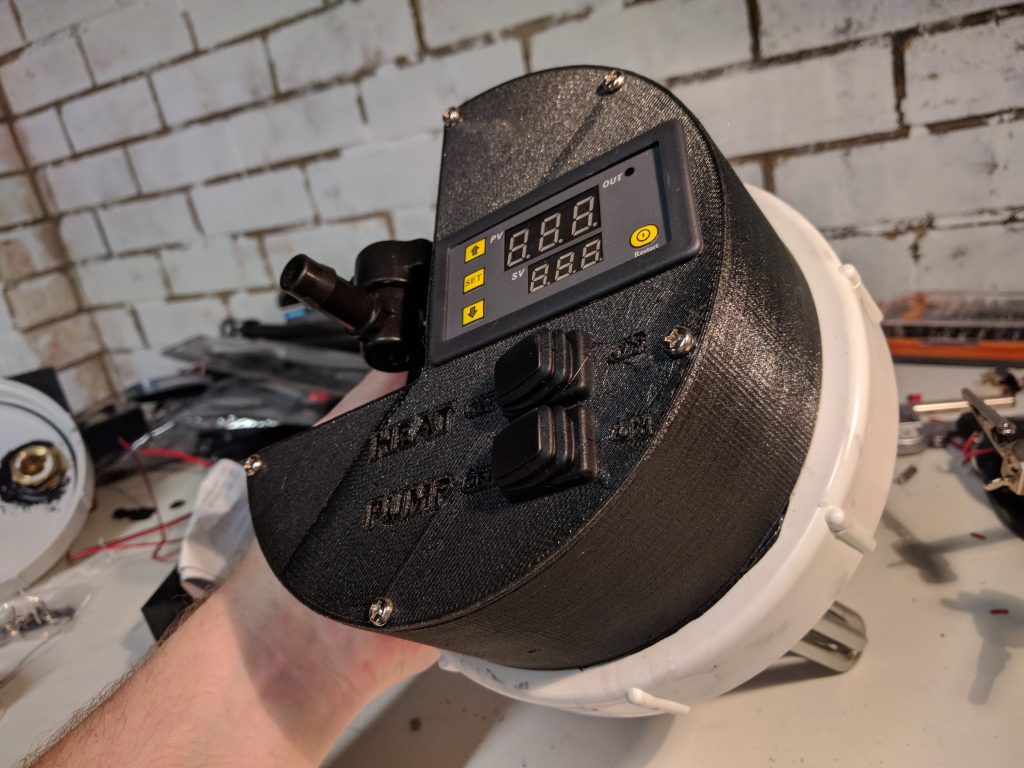
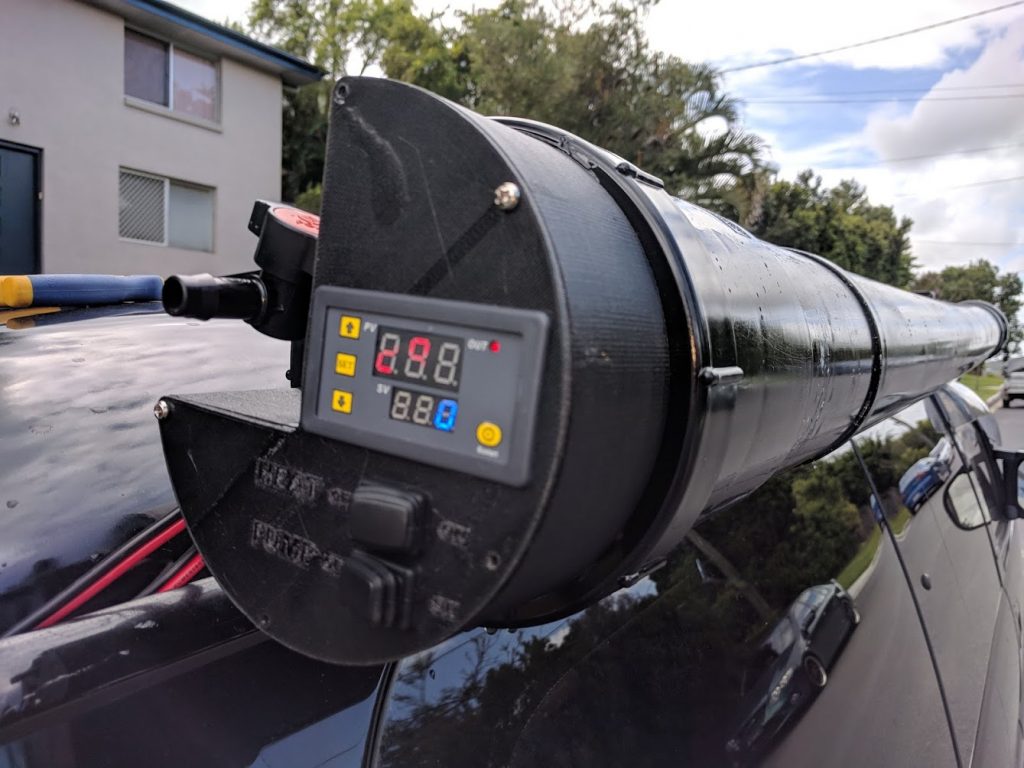
Next I set about measuring everything and designing it in 3D. I planned to mount it all to the pipe end-cap.
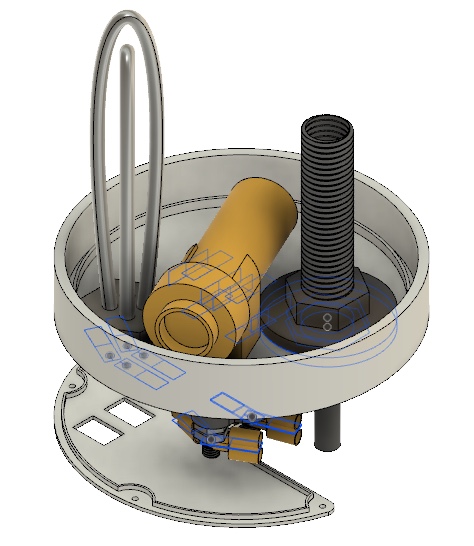
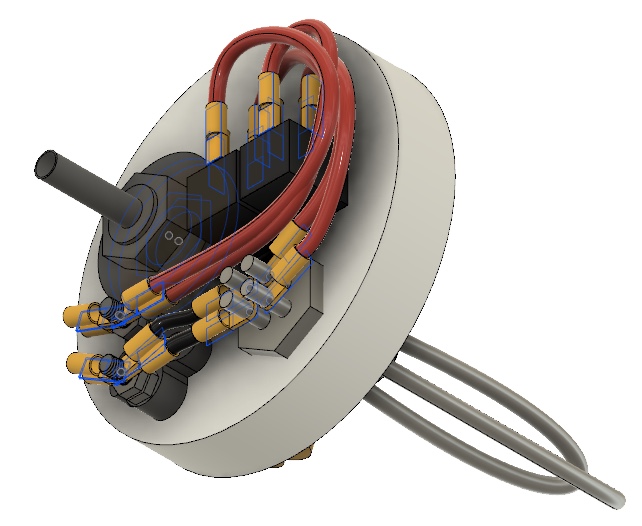
The components described by colour are:
- Grey – Outlet pipe (designed for a rainwater tank)
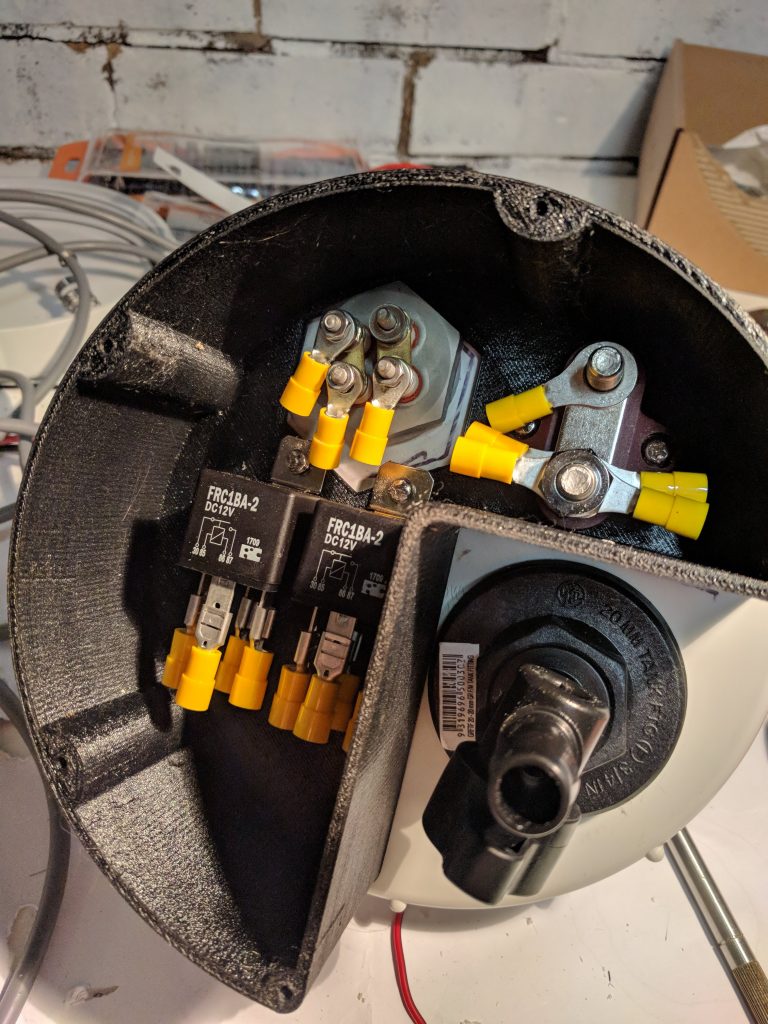
- Black- 3d printed casing for the electronics
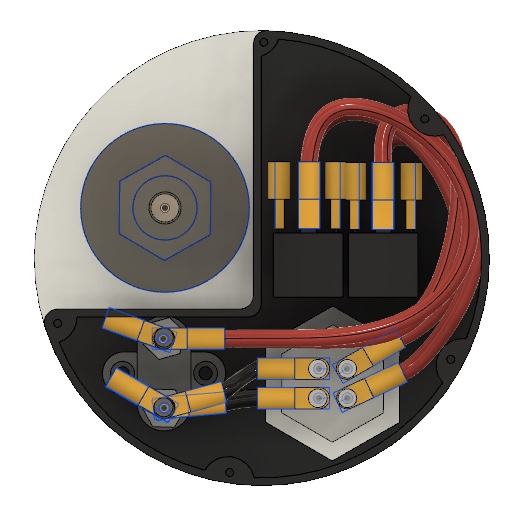
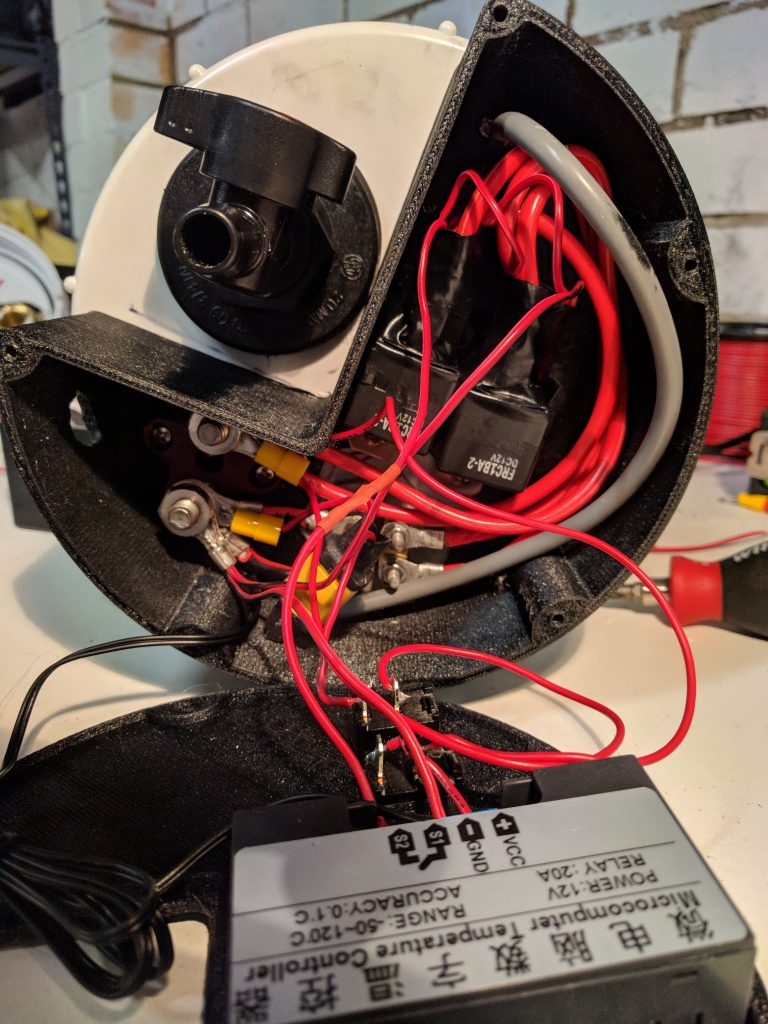
- Smaller black squares – 30A relays
- Silver – heating element
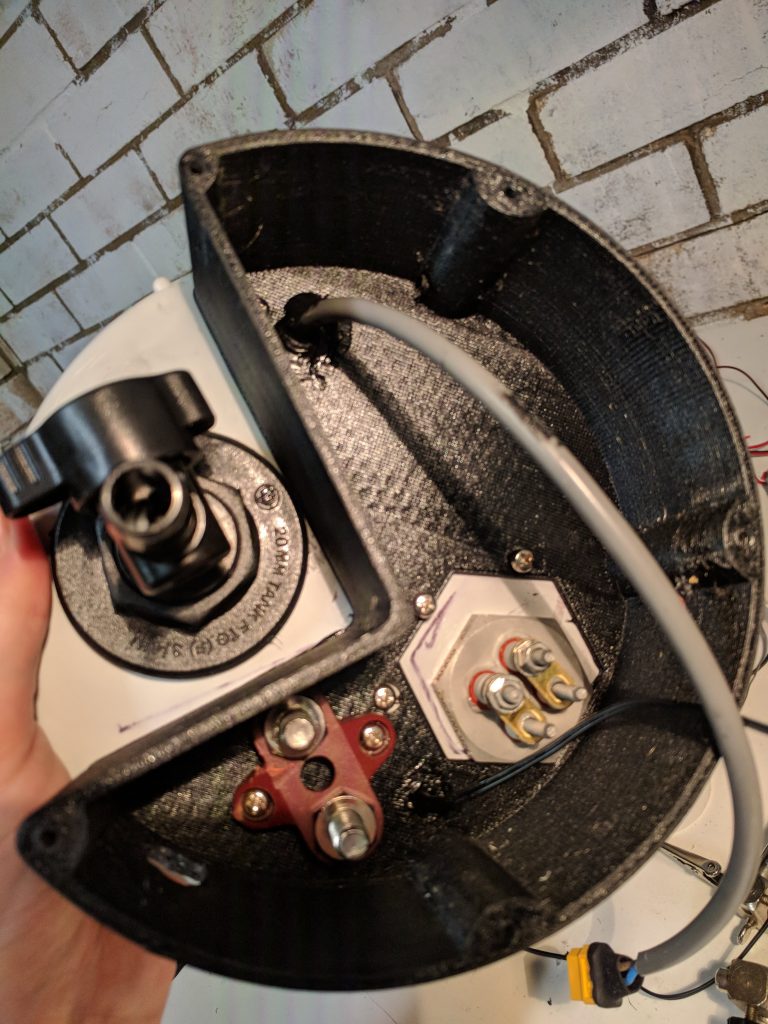
- Grey connectors in lower left corner – poles for connecting to batteries
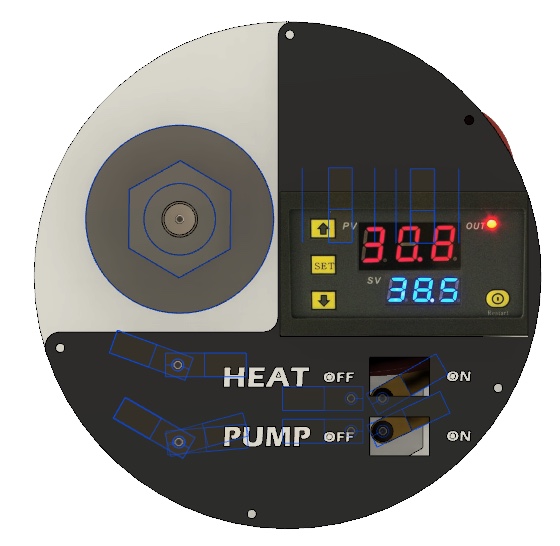
- LCD screen – temperature controller
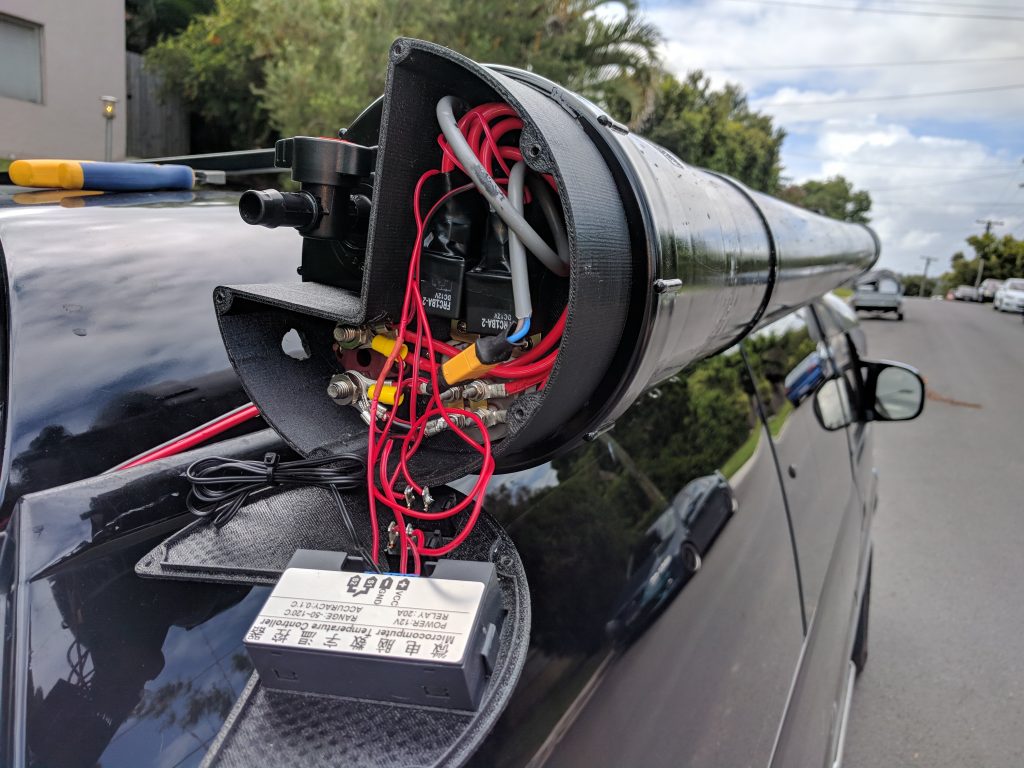
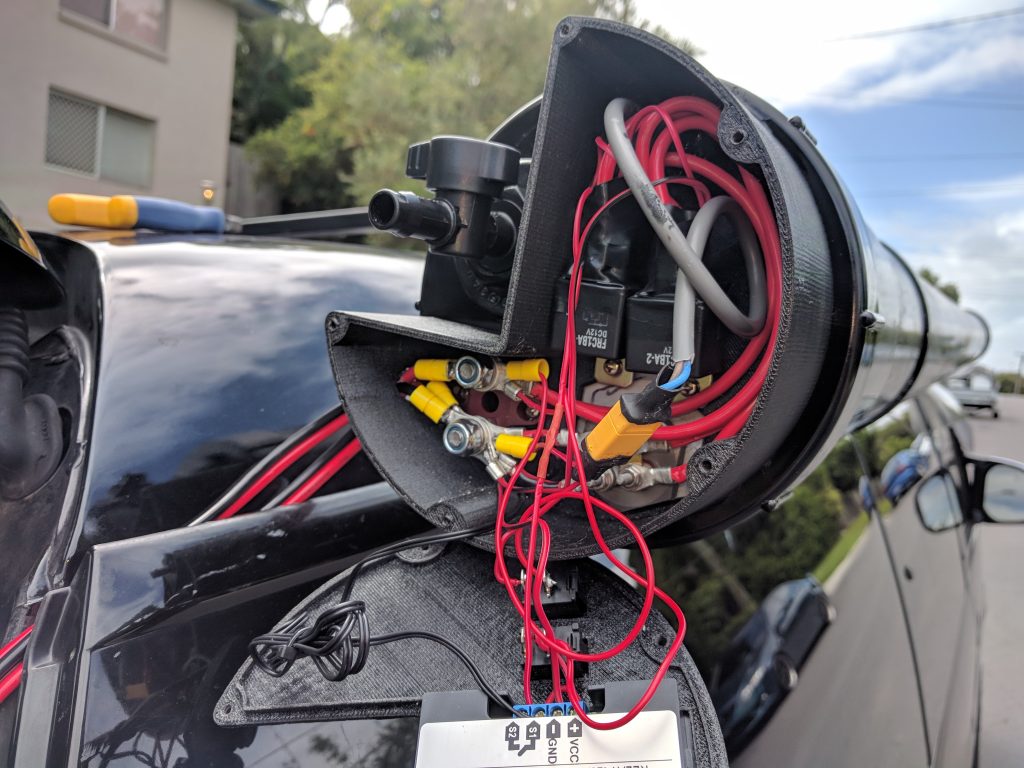
The way it works is that the temperature controller has a small probe inserted into the water. You can set a temperature at which to activate a relay. Problem is, the relay in the temp controller is only 20A, but I’m passing 50A of current to the heating element. So, we use 2x 30A relays which are triggered by the smaller 20A relay in the temperature controller.
When the temperature reaches the set value, the heating element switches off, and will switch back on if it drops below the setting.
The pump is positioned so that it is at the lowest point in the pipe, this way it will be able to suck up the water and push it out the outlet pipe.
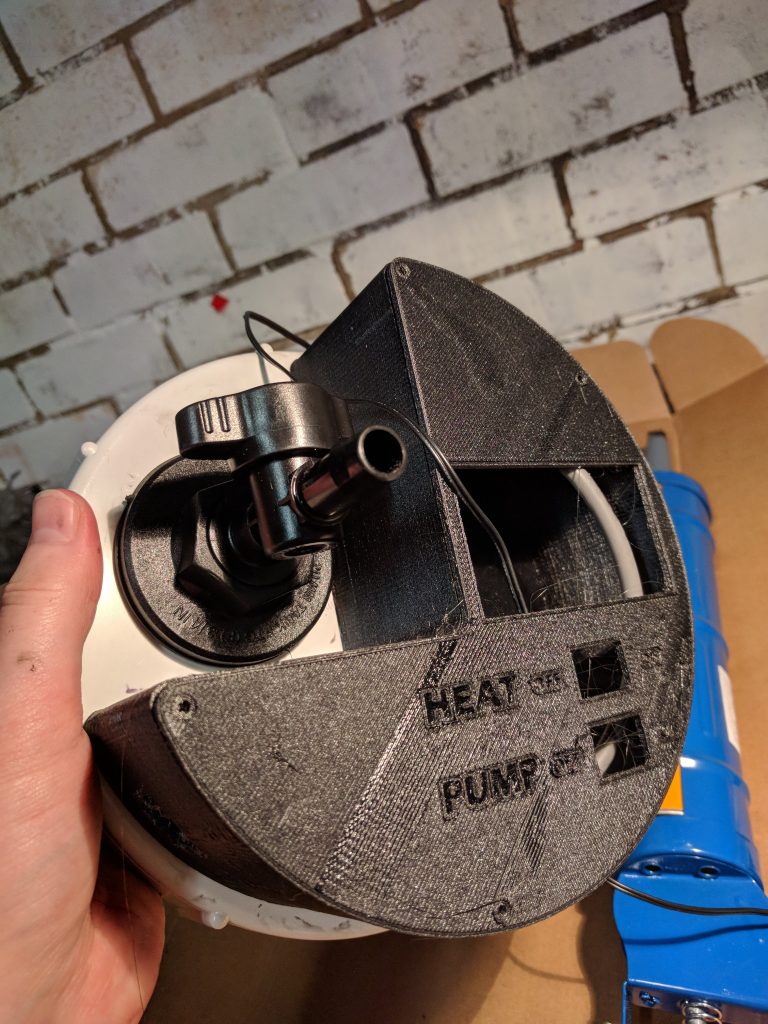
I also put in two master switches to turn the heater and pump on and off.

Did it work?
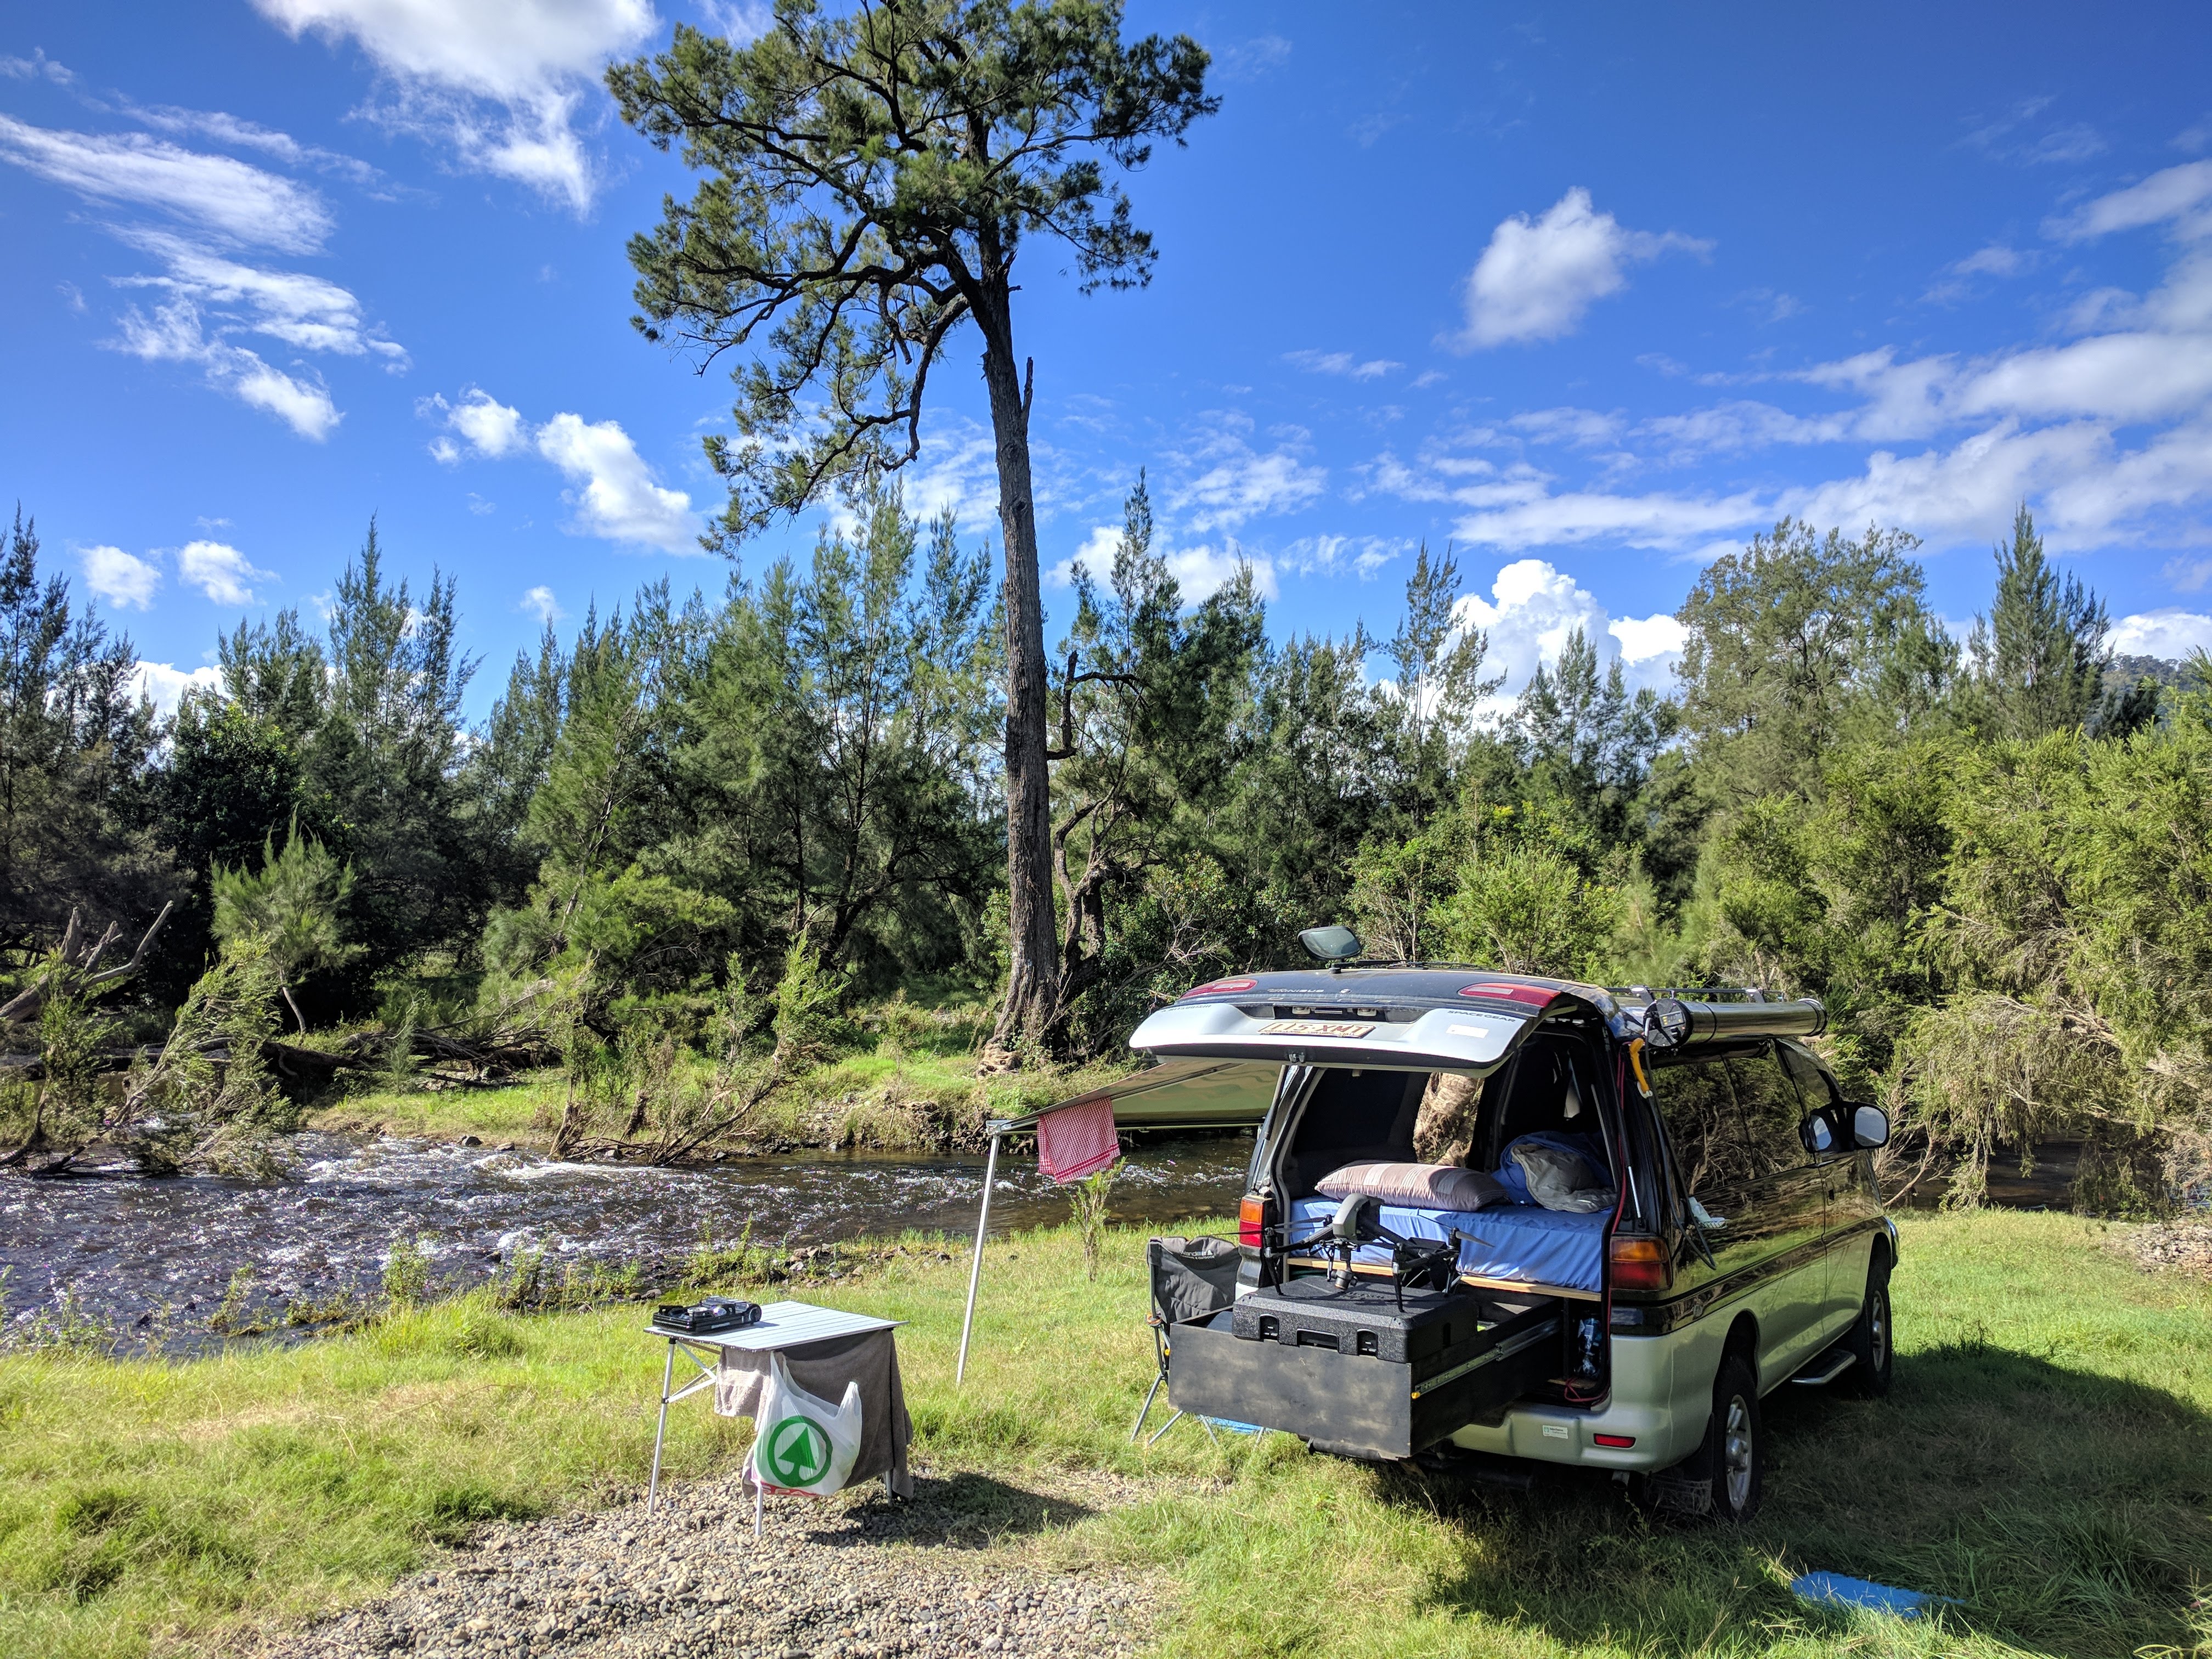
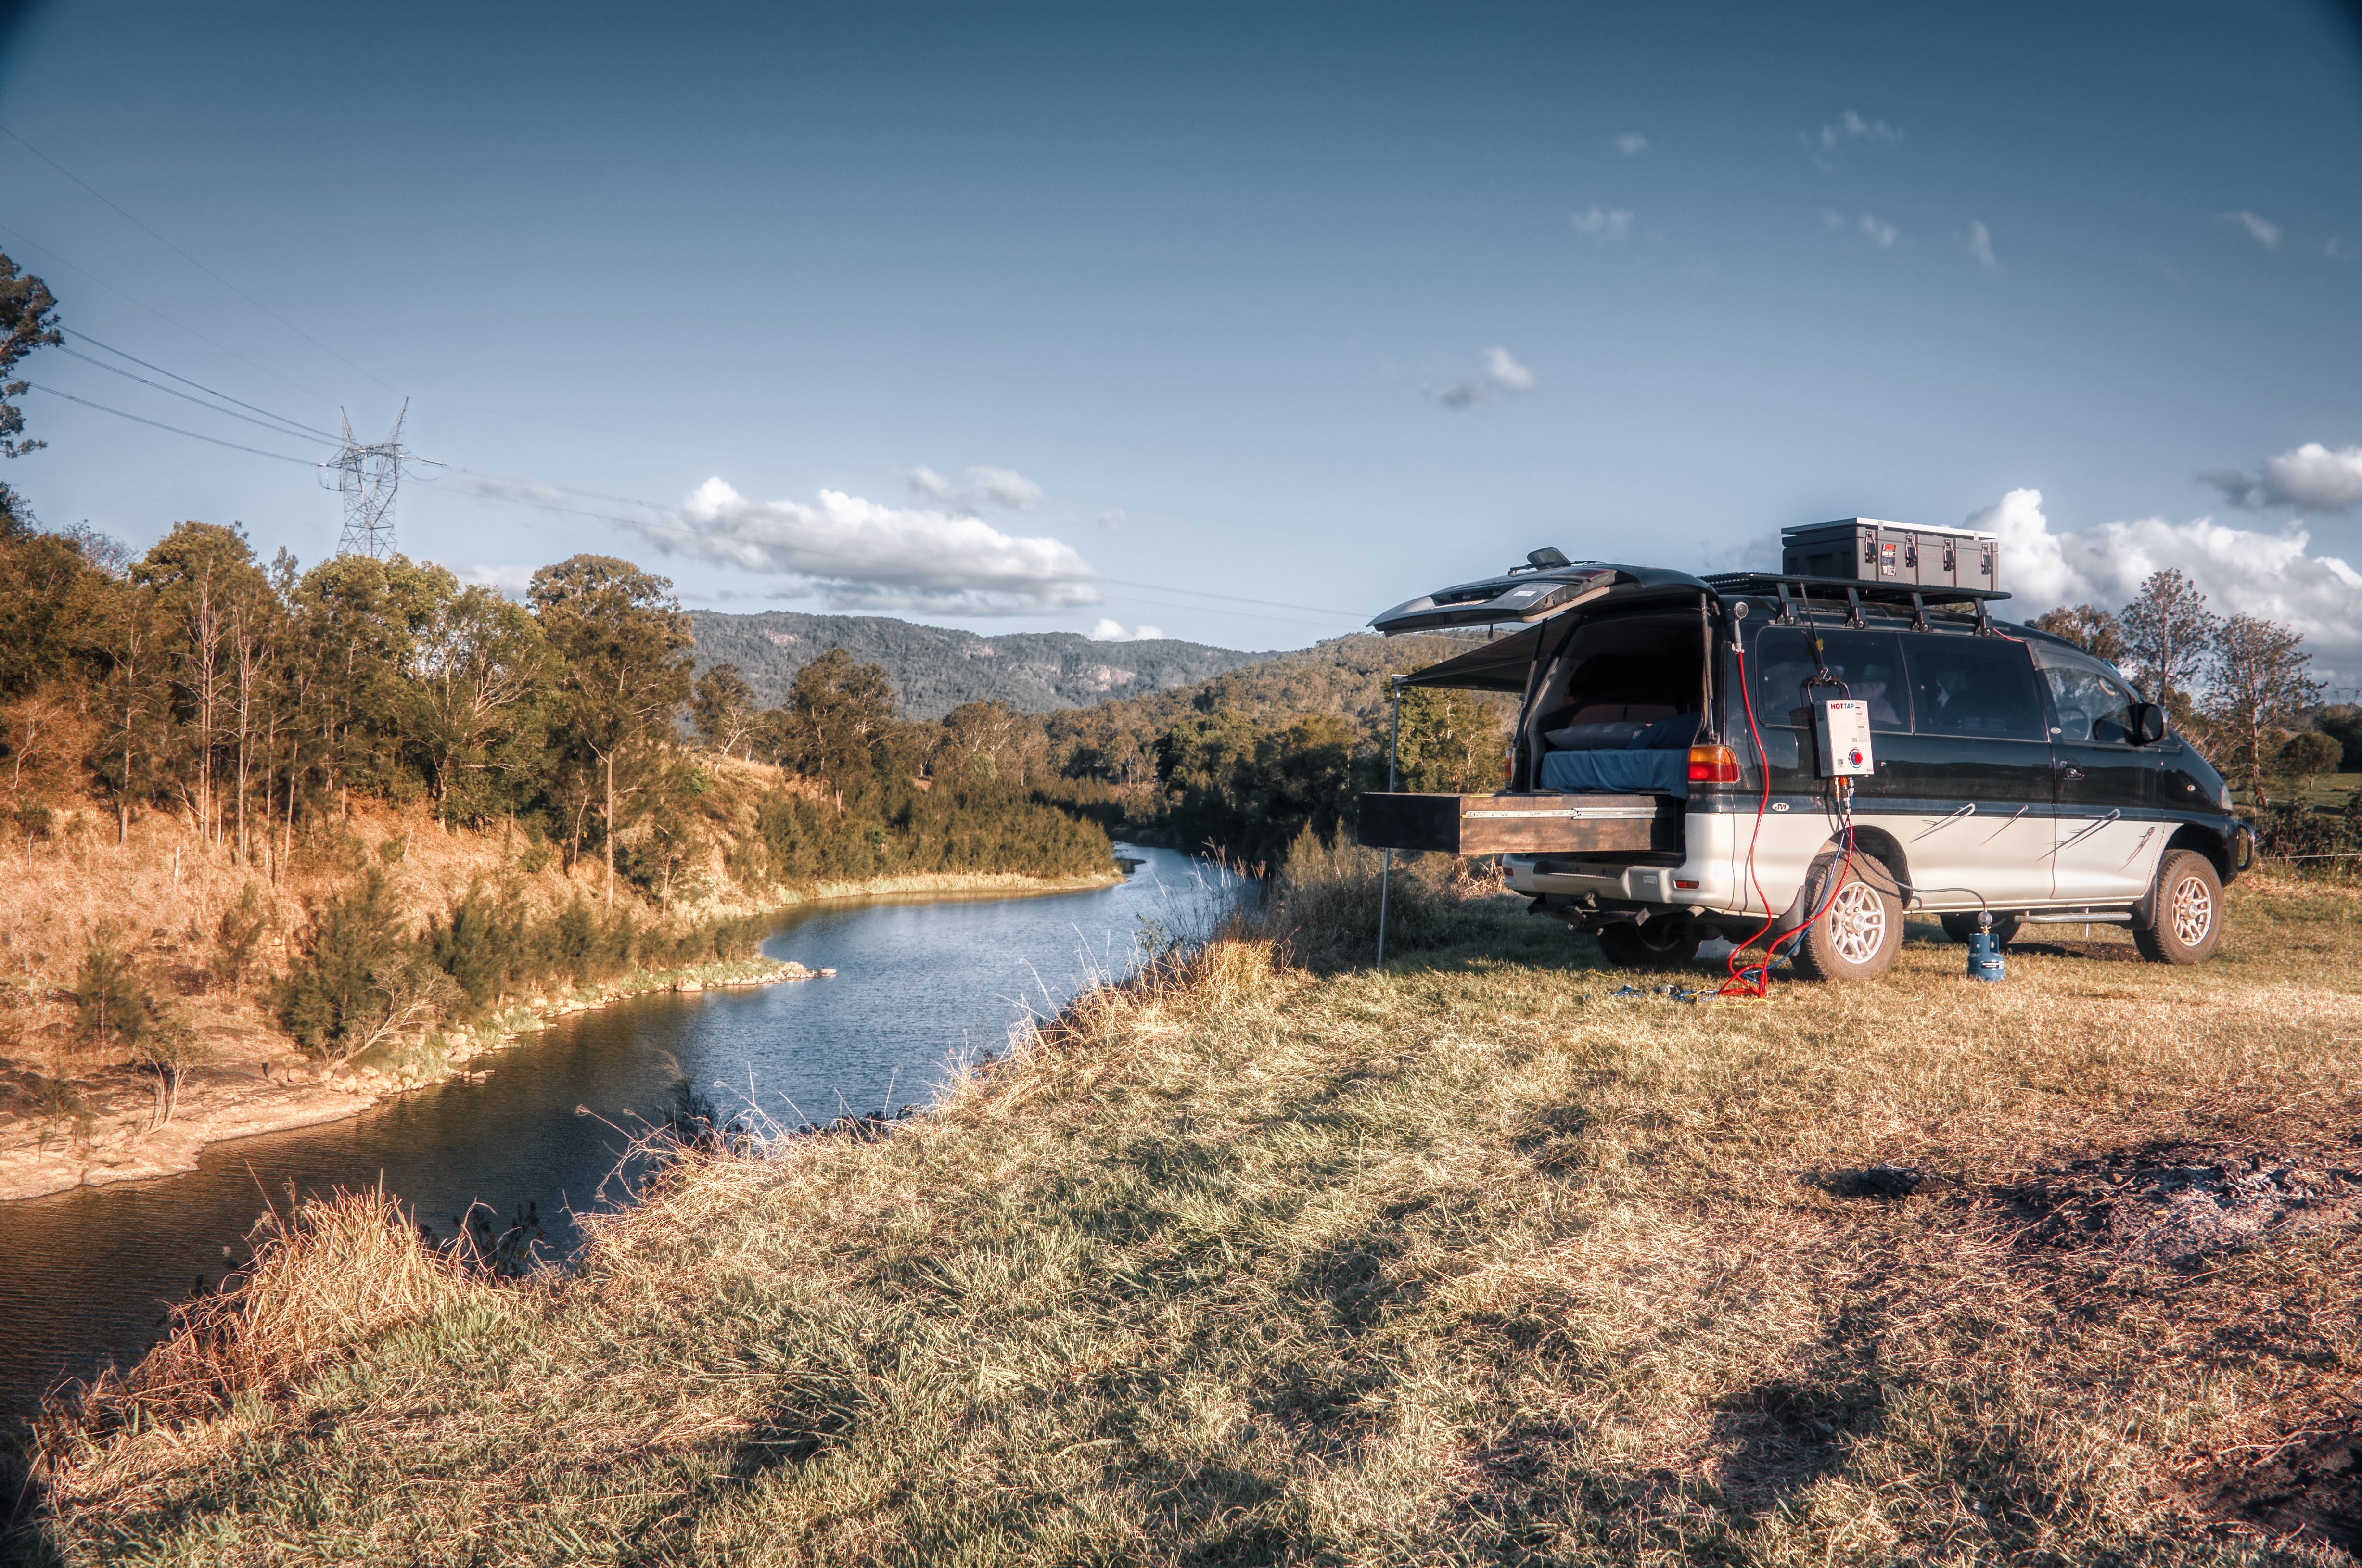
YES! I was so pleased that I had taken this from concept through design to a completed, functional item. I took the van to Mann River and stayed for a few days, during which the shower worked really well.
I found that the shower would get up to around 35C during the day just from sunlight, however it would be back to around 24C as soon as the sun set. For reference, 40-50C is a ‘hot’ shower.
I used the electric heater to warm the shower up to 36C on two occasions, and both times the water was warm and the pump gave good pressure for a proper shower with soap and shampoo. The shower would take about an hour to heat up 10C.
However … even with my huge battery capacity, I quickly realised that to get the water hot enough for a shower in anything other than Australian summertime (30C+ days) I would need an insane amount of power.
I thought that I could use baffles in the tank to reduce the amount of water that needed to be heated – separate it into a 10L / 30L tank instead of one large mass of water.
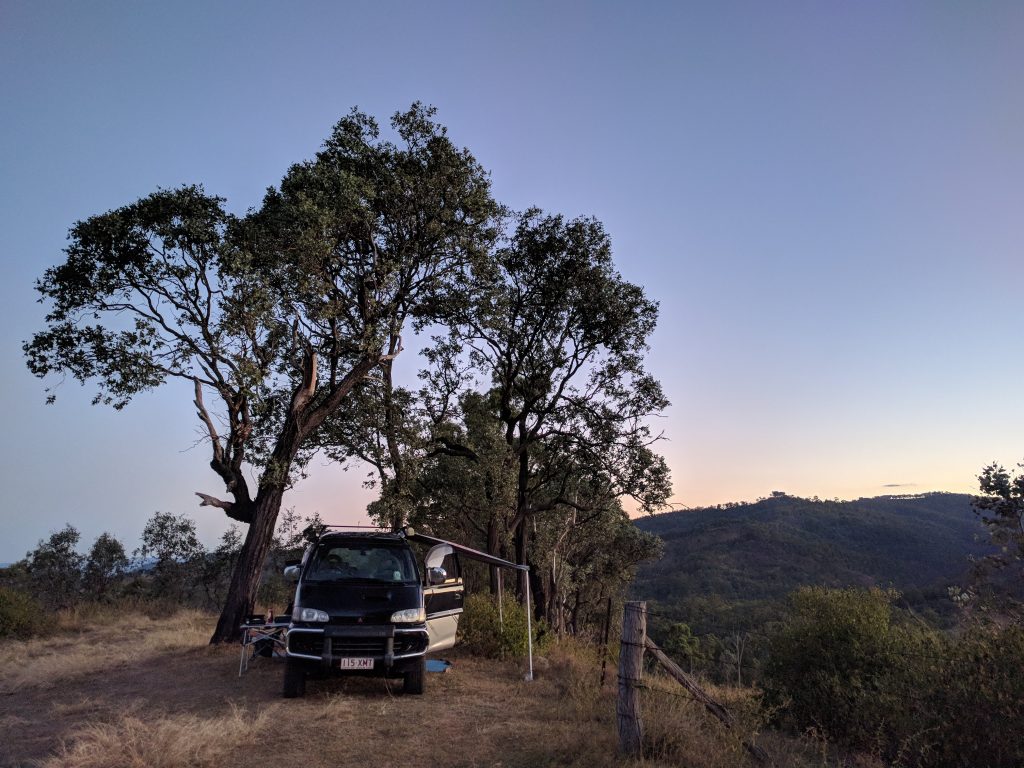
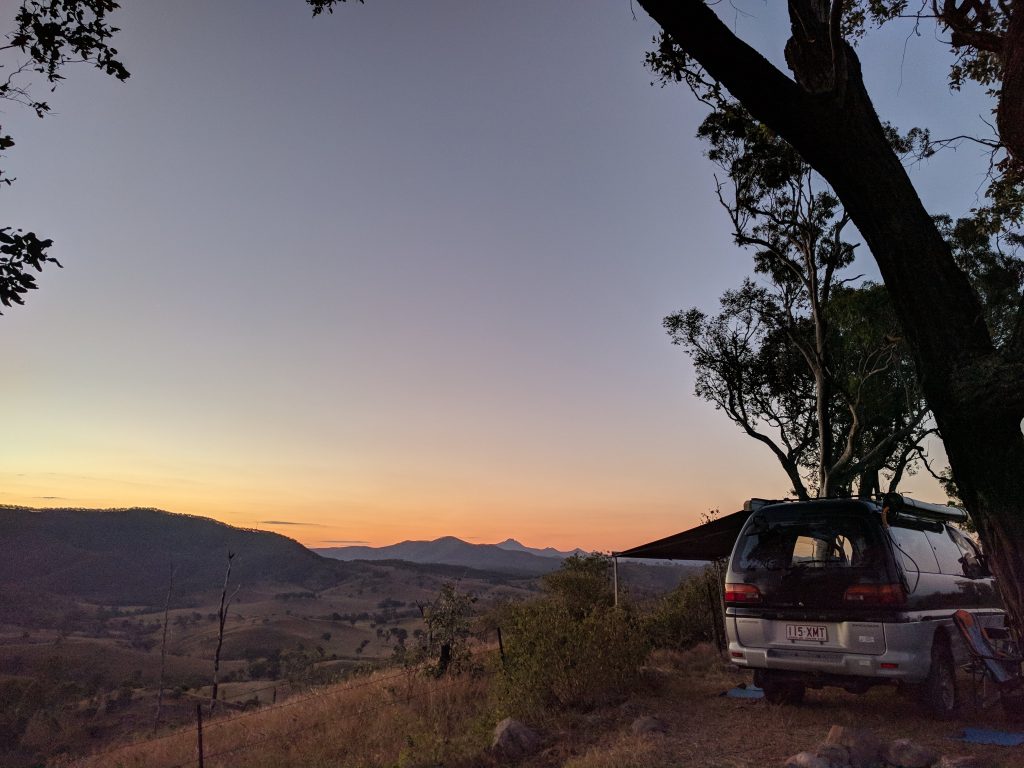
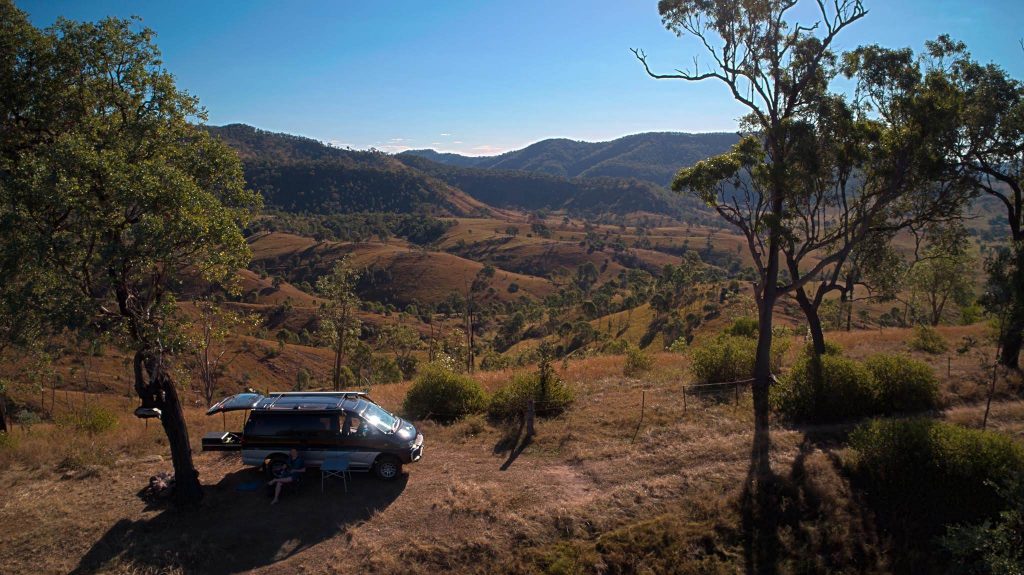
Camping on the ridge at Swan Gully 4WD Park
After a couple more camping trips, I decided to scrap the solar shower. I wanted to replace the roof racks and add more storage to the roof. This would mean a lot of extra weight, and having a 50kg water tank up there already wasn’t great to start.
Instead I decided to mount a water tank under the van, and switch to LPG gas hot water. I sold the water tank (to a fellow delica owner!) and moved on to the next step.
Attempt 3: Joolca HotTap and water tank mounted under the van
I did some research on hot water systems and the Joolca HotTap is highly recommended. I bought the “HotTap Outing” which includes the 12v electric pump. Unfortunately mine had a fault where the heater would cut out at low flow rates, but I had it replaced under warranty by Anaconda within a few days of purchase and since then it’s been great.
This was going to be a big project. I have done quite a bit of 3d printing, and a little tiny bit of woodworking with a scroll saw. I’ve never worked with metal or welding – something which would be required for me to fit the water tank to the van.
I considered paying someone to fabricate and mount the tank for me, but I had other projects in mind – a side ladder, and a rear swing arm. So, I decided to teach myself how to weld.
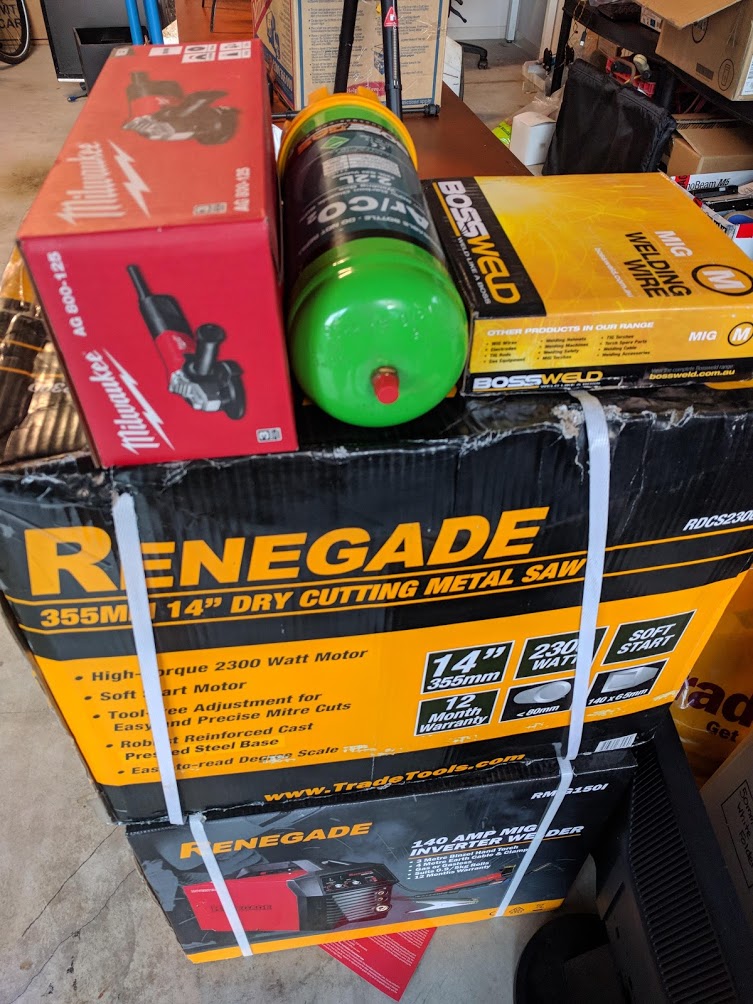
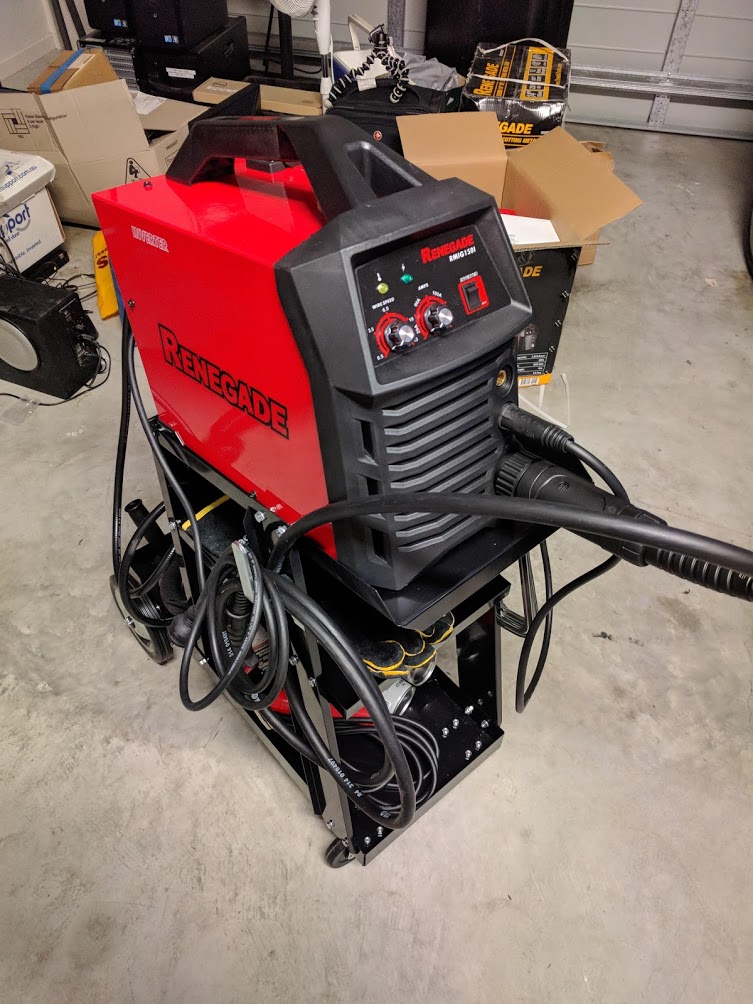
My lovely girlfriend Tamara got me the welding gear as a housewarming present when we moved in together. I got a 140A MIG Welder, a 2300W 14″ Metal Cold Saw, and an 800w 125mm Milwaukee Angle Grinder … along with some safety gear.
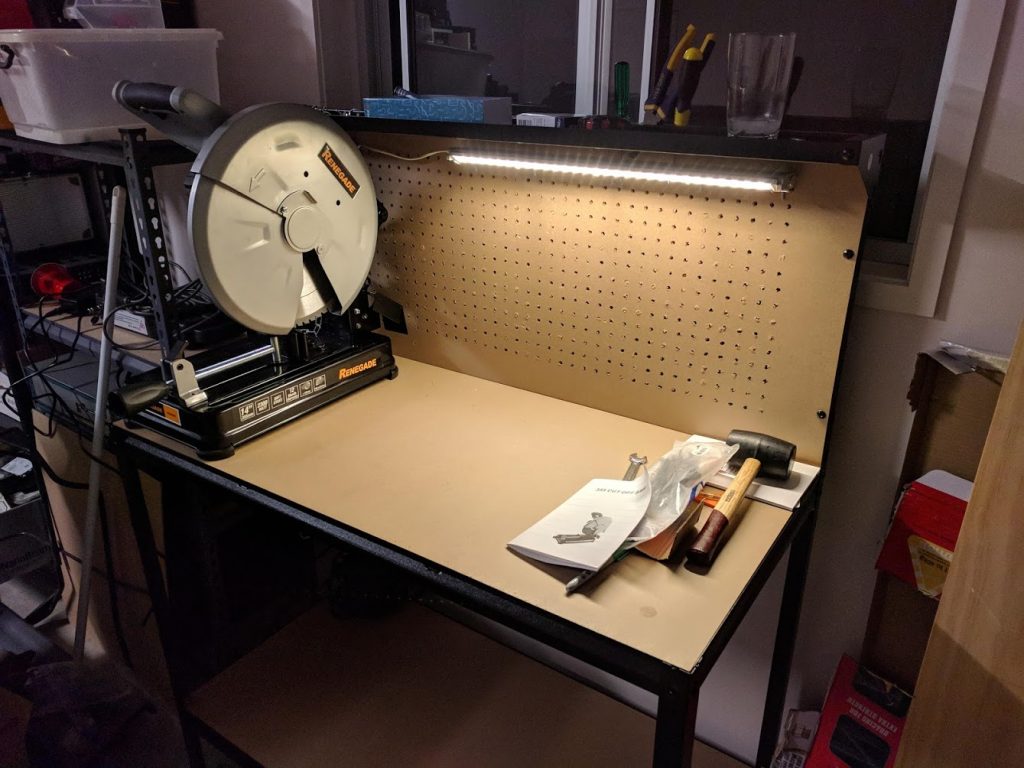
My cheapo bunnings work bench. It will never be this clean again!
I watched some youtube videos and practiced welding. I was pretty terrible at it, but Tamara also suggested hiring someone to teach me from Airtasker. I paid $100 for a boilermaker and fabricator to spend two hours with me showing me the technique. It helped a lot – I really recommend getting some training if you’re starting out as it will save a lot of frustration.
Welding isn’t difficult, or dangerous … in my opinion it’s more dangerous cutting the metal than welding it! You definitely need to wear safety gear though. I use a full welding mask, long welding gloves, long sleeved shirt and pants, boots, and ear plugs.
I found a local steel supplier where I could buy mild steel. You don’t want to go to bunnings for this stuff – its way expensive, and its usually galvanised which is harder to weld. From a good supplier, steel is cheap – around $5-7 per meter depending on what you want of course.
Next, I removed the spare wheel under the rear of the van and measured up the space. I found a water tank that would fit from Dunn & Watson. It’s a 65L tank designed to mount under a trailer, but it would be good for my purposes and the price was right. (Tamara donated this to ‘project Delica’ as well! 🙂 )
I wanted to avoid drilling holes in the chassis under the van, but luckily there were quite a few tapped holes already there which I decided to re-use.
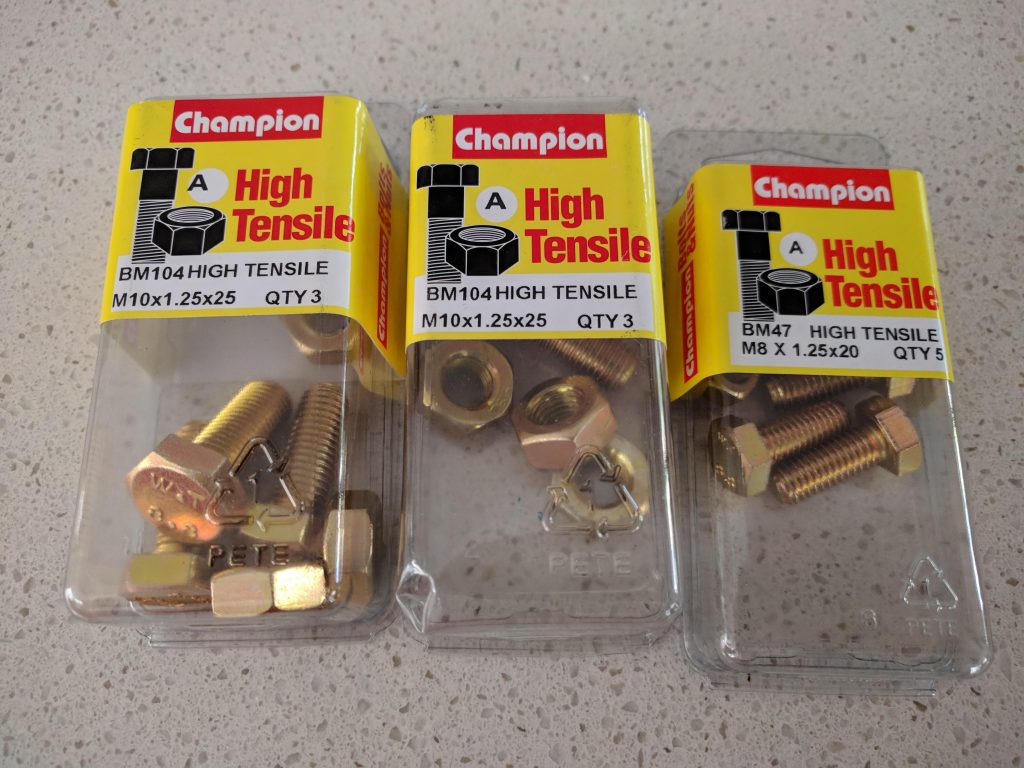
My 94 Delica used these 1.25mm ‘fine’ thread bolts. They’re available from automotive shops. 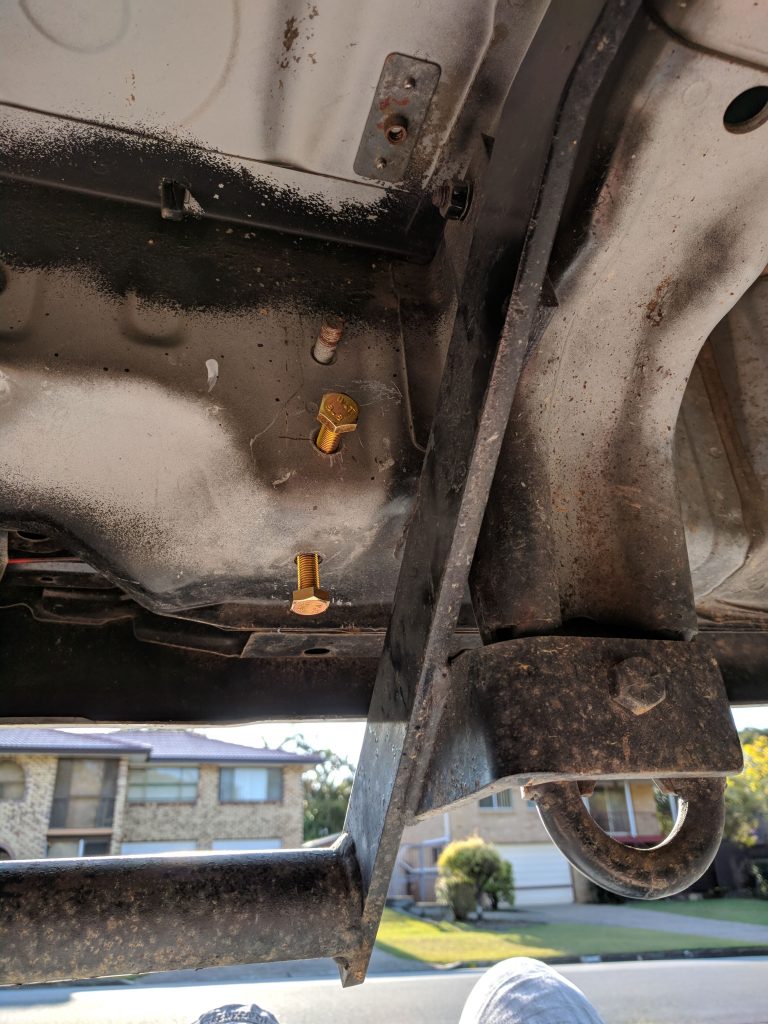
Even with the right sized bolts .. they wouldn’t go in! The holes were full of rust and dirt. 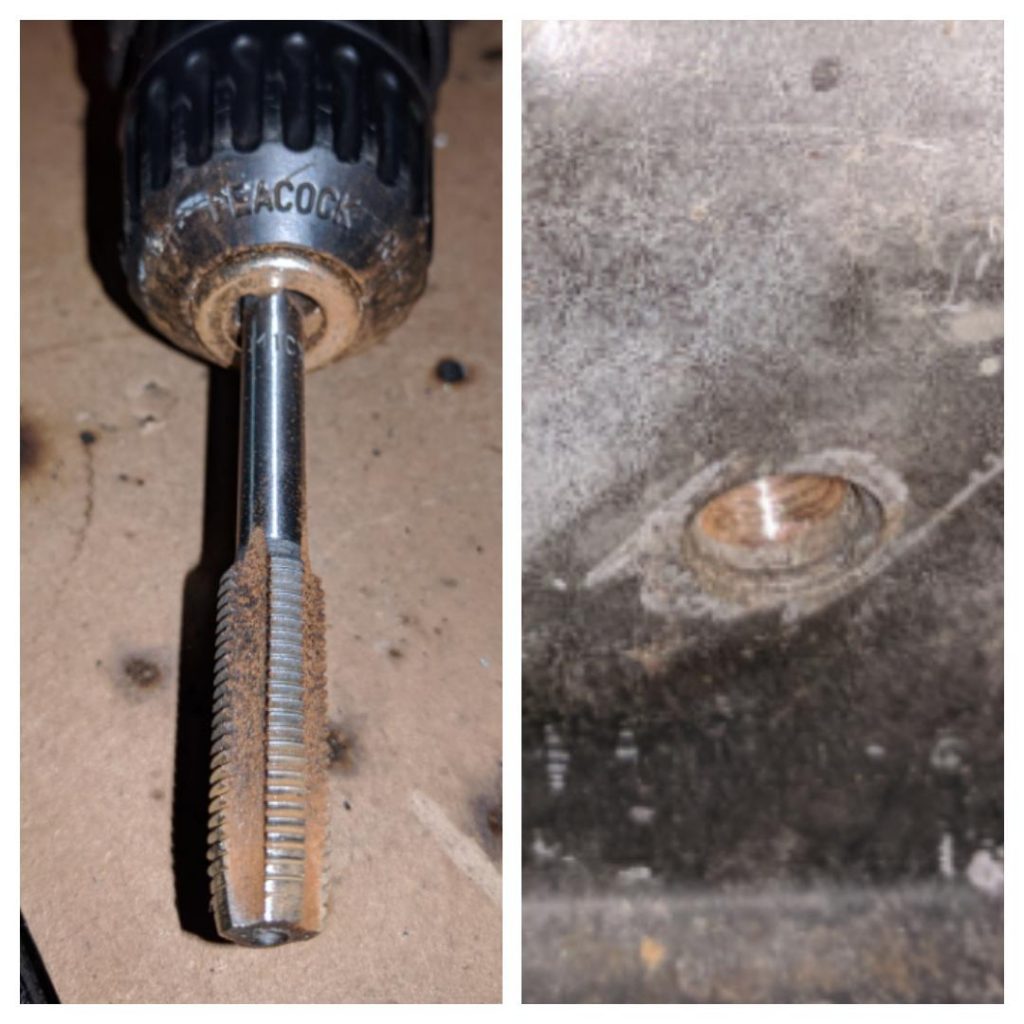
Drilling out the rust with a tapping tool. 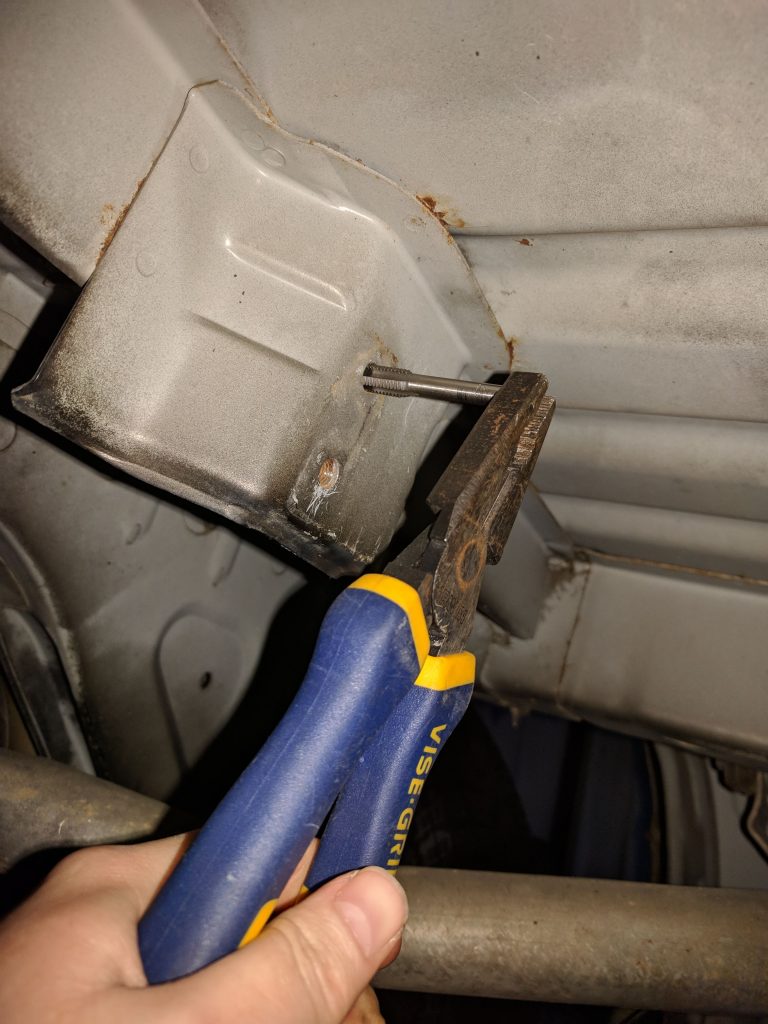
Some spots were hard to access with the drill. 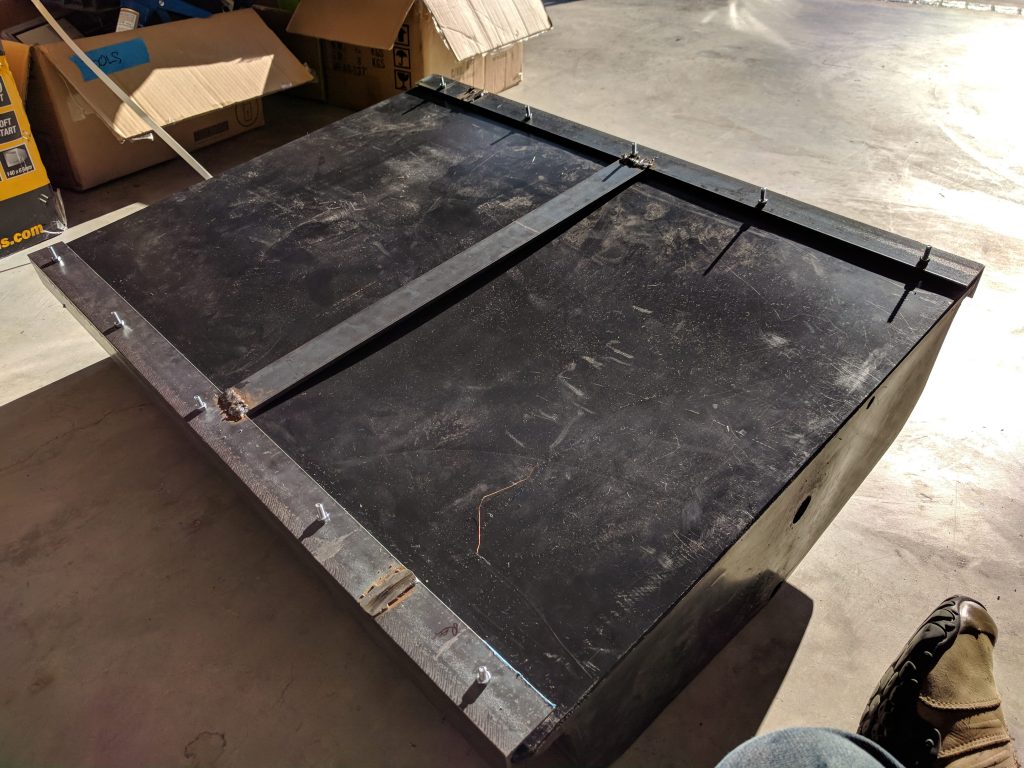
The H-frame I welded up for the tank.
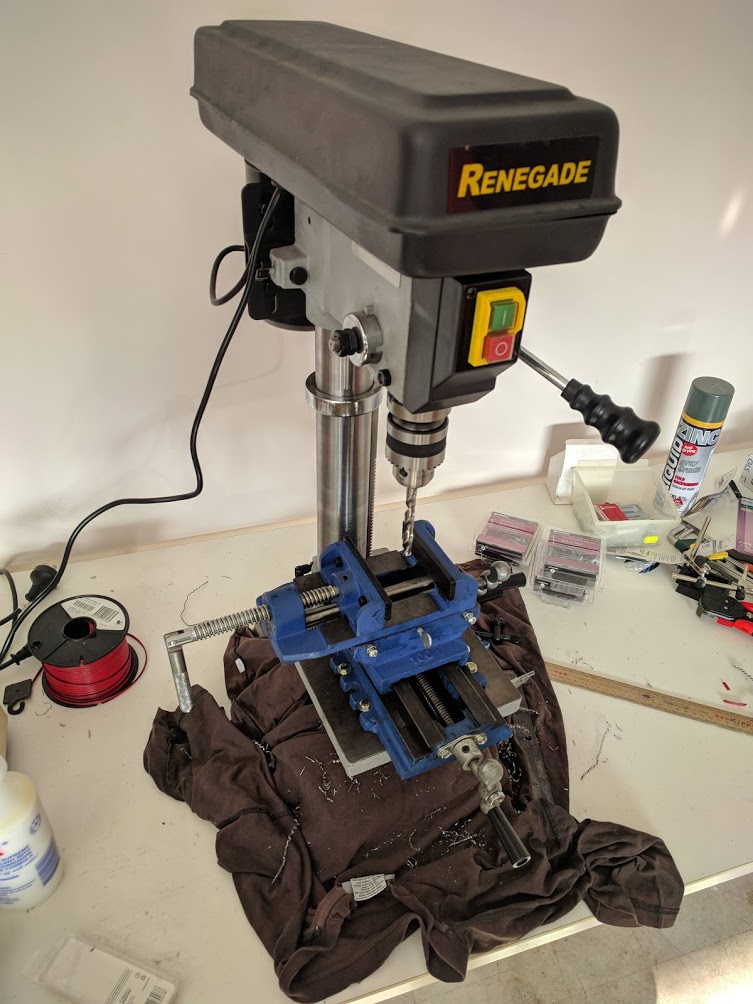
Around this time I realized that my old ‘Ozito’ power drill from Bunnings simply doesn’t cut it when it comes to metal work, so back to tradetools I went. This is a 400W drill press and it works great for drilling accurate holes
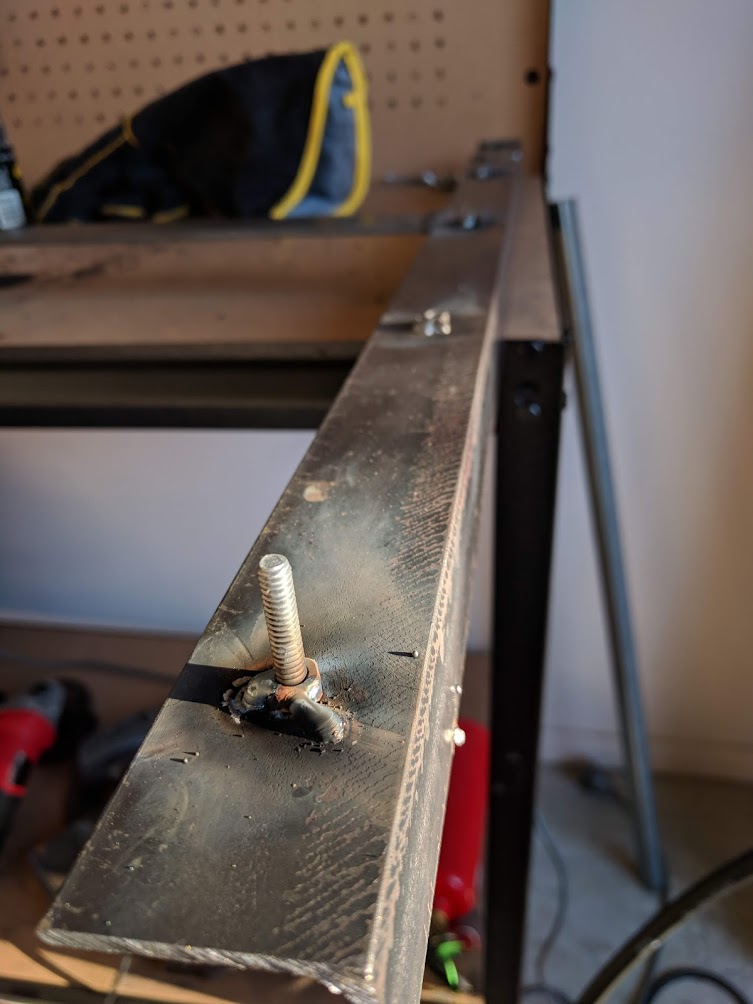
Next I welded the nuts to the frame so that when the tank is in place, I can just screw the bolts in without having to access the other side. This means I can mount the H frame to the van, then mount the tank to the frame.
This worked really well. I had to be careful not to melt the nuts when I was welding them. Next I needed to make some hangers to attach the H-frame to the van. In order to get the sizes and locations right, I wanted the frame to be in place while I welded the hangers.
I found a hydraulic jack on special for $30 from Supercheap Auto and tack welded the frame to it. This would let me hold the frame in place while I tack welded the hanging plates to it.

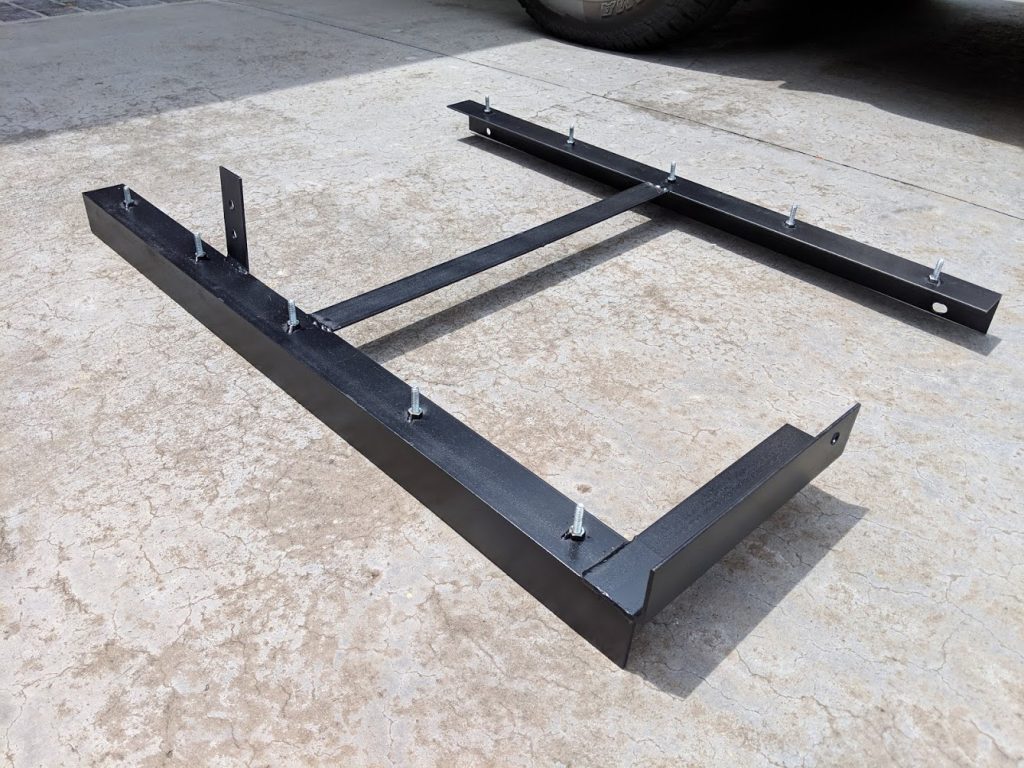
The finished frame. 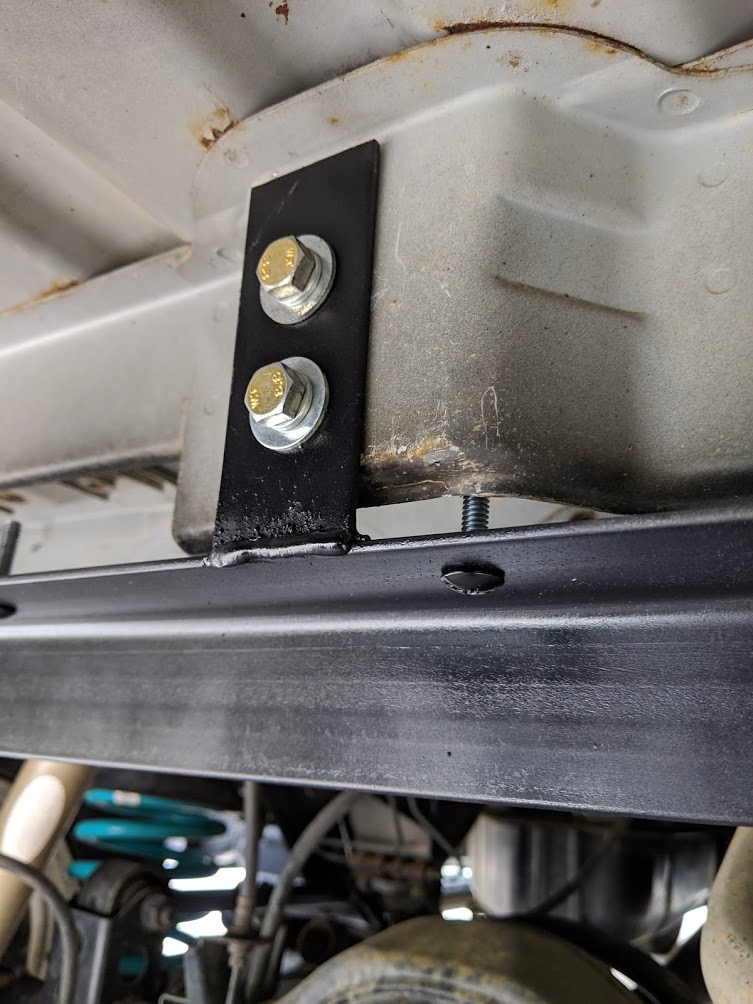
Hangers with mounting bolts. 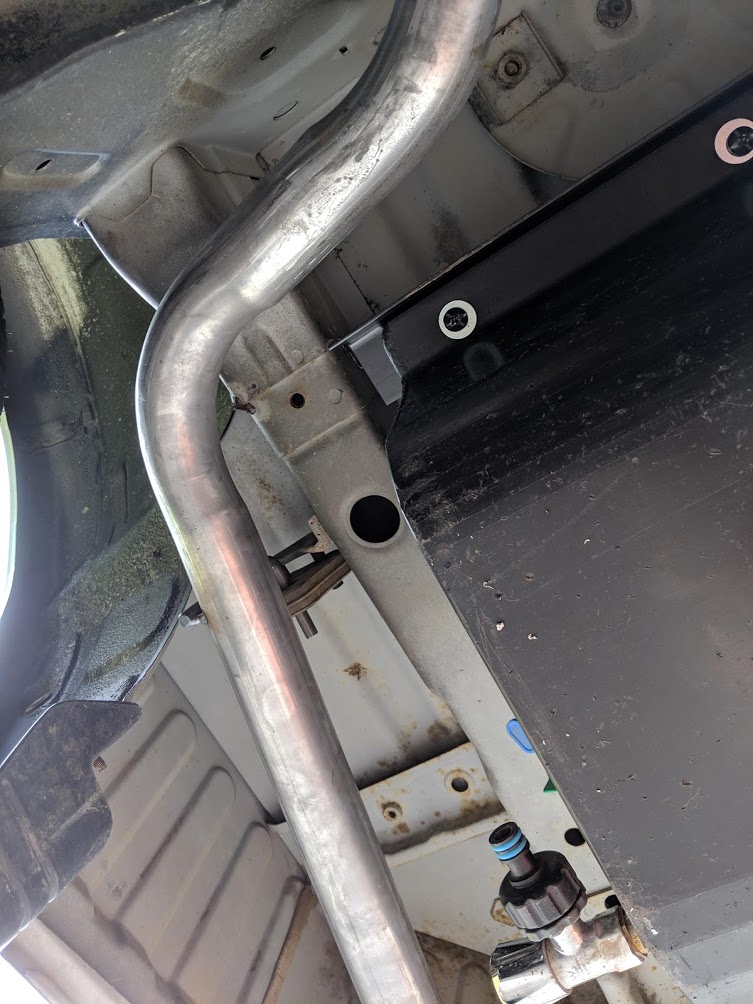
New exhaust pipe 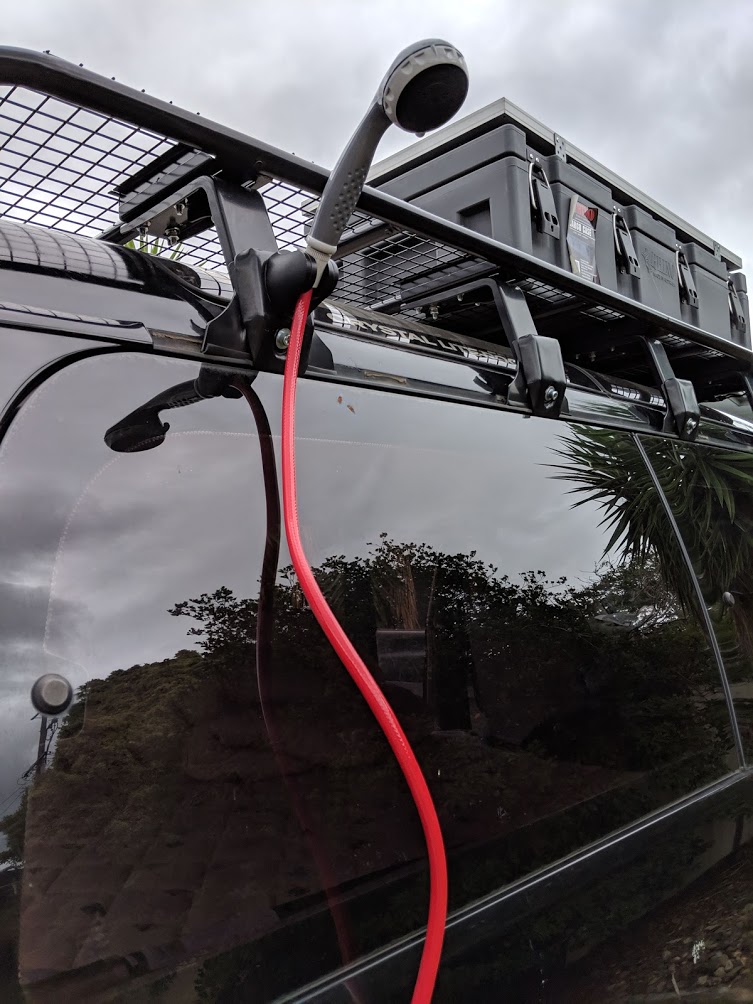
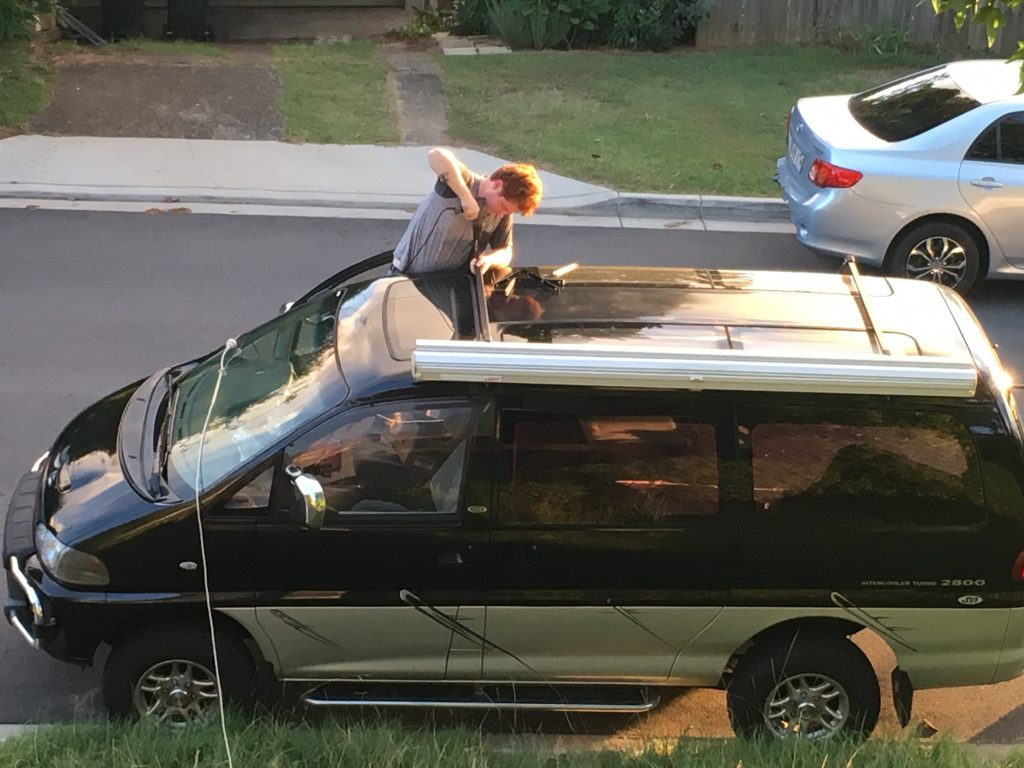
I mounted the shower to the roof rack.
I took the van to a Mac’s Auto Service Centre to have the exhaust pipe routed around the water tank. They did a great job and it only cost me $100.
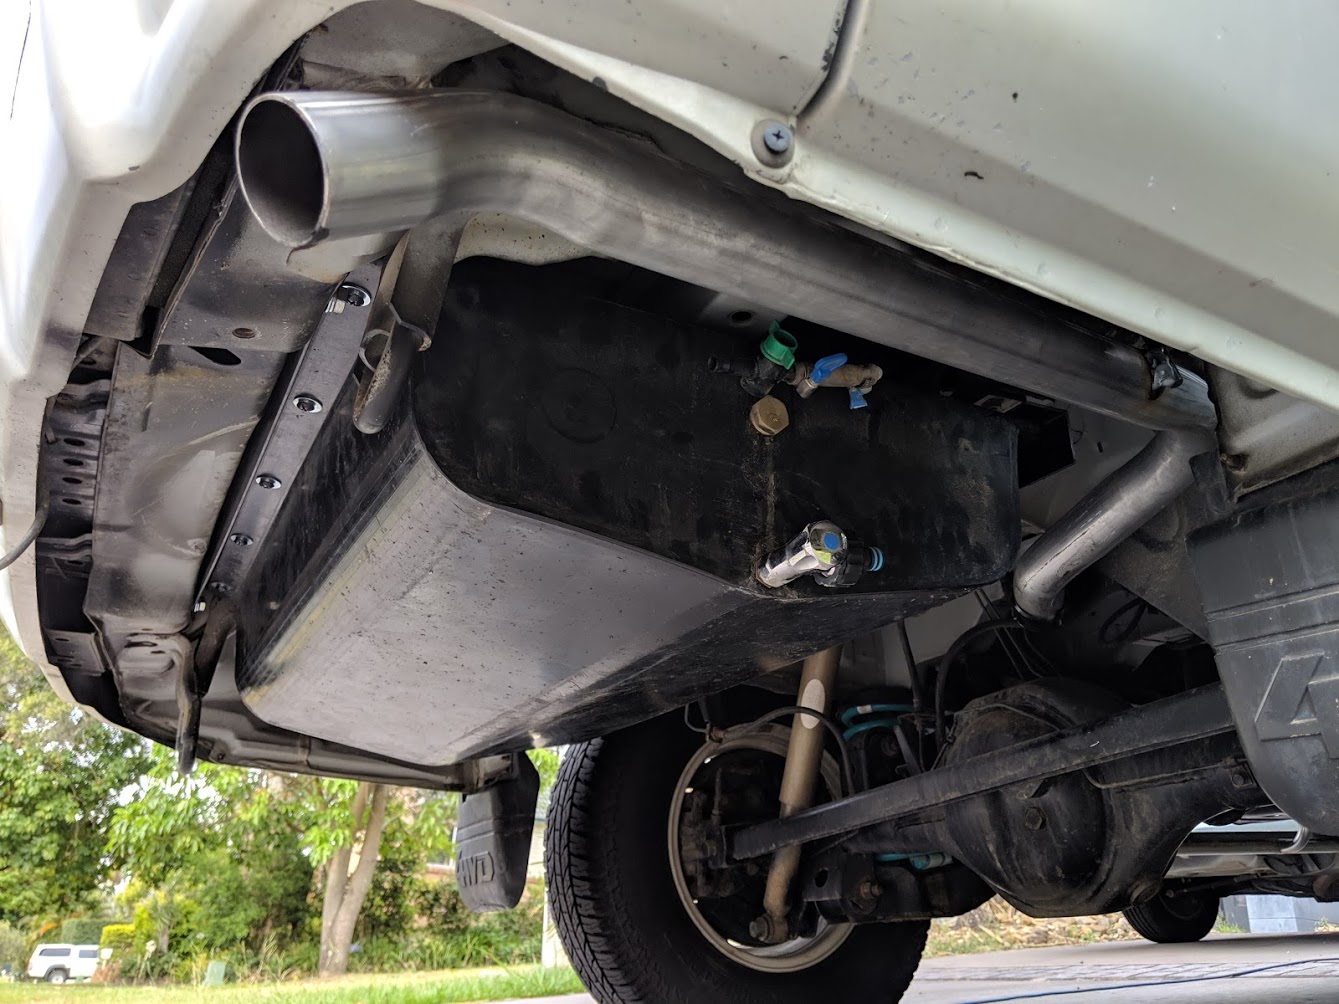
The finished tank, mounted. I’m really pleased with how it came out. Considering this was my first welding project, I think it’s a great result. It’s quick and easy to remove as well.
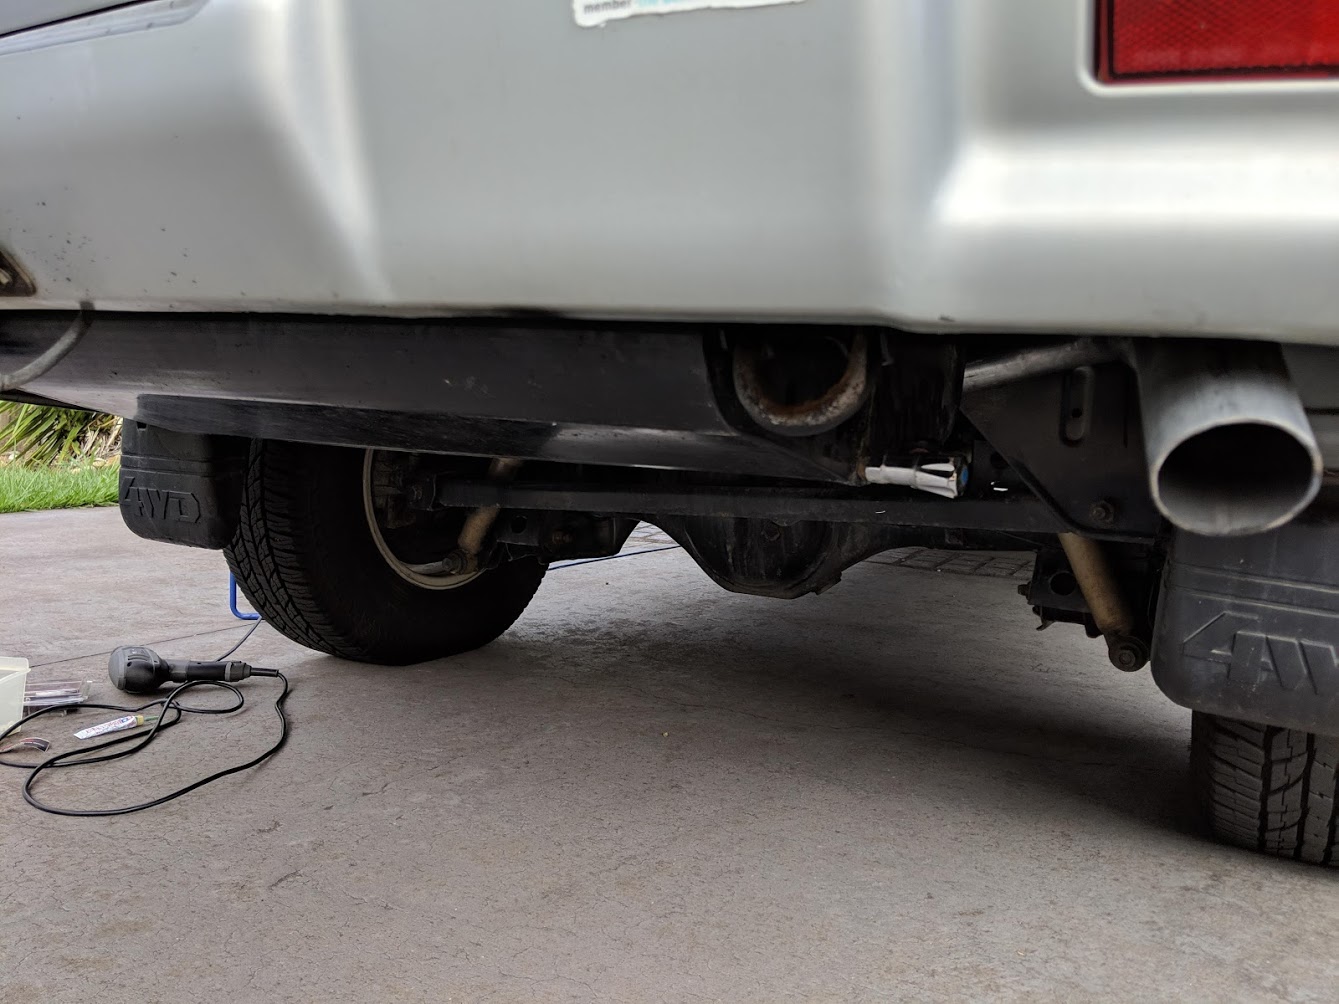
The tank sits nice and high so the ground clearance and departure angle of the van shouldn’t be affected when 4wd’ing.
I’ve done a few trips with it now. Eventually I’ll have the HotTap mounted on my rear swing arm, but for now I just put it in the roof box and get it out when I want to use it. I hang the heater unit on a rubber strap from the roof rack. It takes about 10 minutes to set everything up
I find I use about 15L of water for a good shower, including washing my hair, so I get 4 showers before I have to refill the tank. I use the remaining water for washing my hands or the dishes. I use this Water Flow Meter to measure how much water I’ve used, so I know when I’m getting low.
The HotTap is very good, it heats up in about 10 seconds from cold, so very little water is wasted. It gets up to 50C, but I normally set it to about 40C. You can adjust the flow rate, I find I use about 3.5L per minute.
This was a big project, almost a whole year from when I started the solar shower, to the finished product. but I’m really pleased with how it came out. I hope this helps you!
Cool bro! I want to find a way to mount a tank under the car without dropping the wheel. Let’s see.
Wow, your Delica Campervan project is truly inspiring! Building a shower and water tank is a game-changer for on-the-go living. The thoughtful integration of these features not only enhances convenience but also adds a touch of luxury to your travel experience. Kudos to your attention to detail and the effort you’ve put into making your campervan a home on wheels. It’s evident that you’ve created a space that prioritizes comfort and functionality. I appreciate the insights you’ve shared in your blog, as they are incredibly helpful for fellow campervan enthusiasts like me. Keep up the fantastic work!
Thank you 🙂
Epic mate! Thankyou very much 👊🏼🙏🏽
Well done, thanks for the detailed post. I am hoping to do something similar with the tank underneath. With this set up is there space to fit a pump under there as well?
Yes, plenty of space.
Well Done, looks like you really did your home work
Thanks Bill!
Excellent info! Would love to see something similar for the rear swing arm project.
You are very determined in getting that shower 😀 Great work!