I’ve now clocked up over 1,200km on my Electric Bike since I built it about six months ago. I’ve done lots of commuting, had some really enjoyable rides around Brisbane and Southbank, and even rode in the Somerset Rail Trail with my friend Blair.
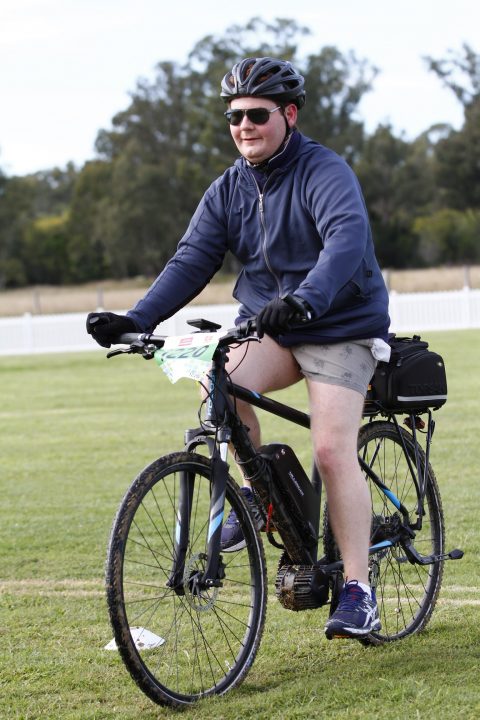
Not the most flattering picture – why don’t they take the photos before the ride rather than at the end when you’re freezing cold and covered in mud?
It’s been a great experience, and I’ve learned a lot since my initial build. Here’s a rundown of a few changes I’ve made since then:
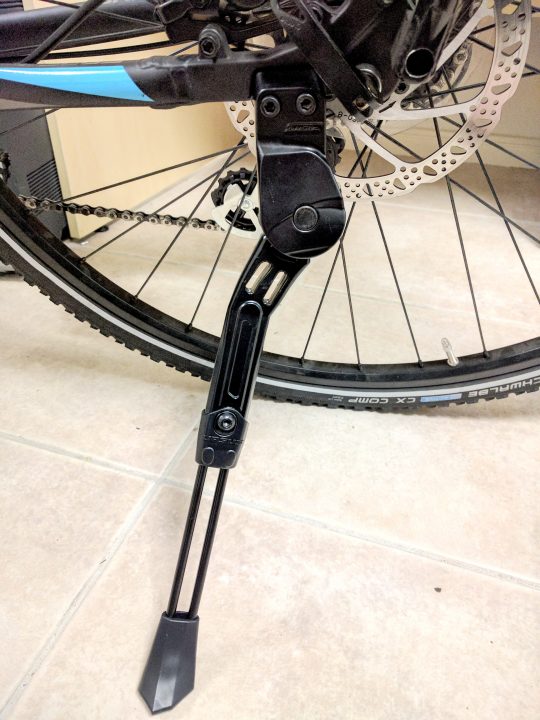
- Installed a kickstand – this took almost three months to arrive from the frame manufacturer overseas, but it was worth it as it’s nice and strong and fits the frame perfectly
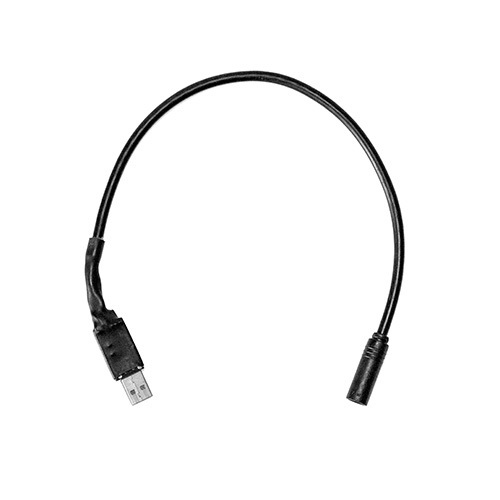
- Modified controller settings with USB adapter – I tweaked the bike to make the throttle smoother to engage and give it some more resolution, and also changed how quickly the power comes on overall to make the PAS engagement smoother and make the torque from the motor a little gentler on the drivetrain.
- Added a small bluetooth speaker so I can listen to tunes – right now it’s held in place with some rap-straps but I plan to 3d print a mount for it eventually.
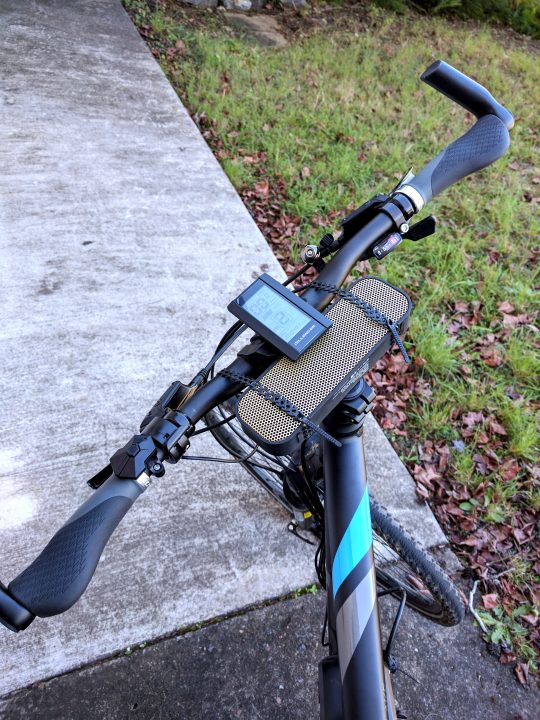
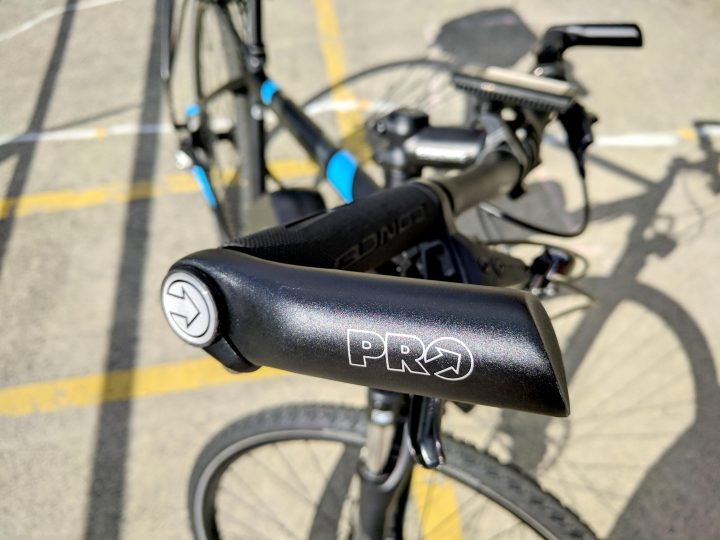
Really impressed with how good this sounds! - Installed some bar-ends on the handlebars – gives an extra hand position and is helpful for putting some more power down when climbing
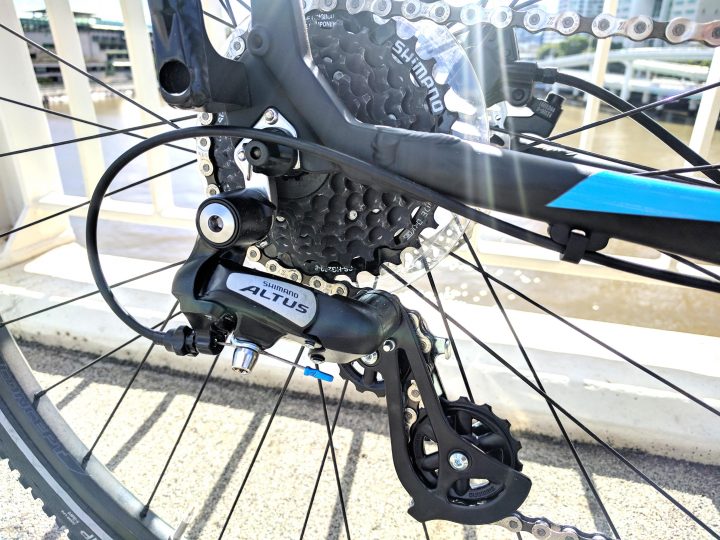
- Upgraded the rear derailleur from the Shimano Acera to a Shimano Altus – this really improved the quality of the shifting, it was a bit sloppy but now is really crisp and reliable.
- Purchased front and rear lights from Lunacycle
There’s been quite a few times where I haven’t been able to ride to work because I knew that I would need to stay back past 5pm. Problem being that riding home in the dark with no lights is not fun, or smart when sharing the road with cars!
Most lights you can buy come with inbuilt rechargeable battery packs which is pretty redundant when you’re carrying a 10AH battery already. It’s a waste of space and weight, and is another thing you have to remember to re-charge at the end of the day.
Due to the high voltage of the e-bike battery pack (up to 54 volts) a normal light wouldn’t do the trick either, but thankfully I found that Lunacycle sell lights that accept an e-bike’s battery voltage, saving me the trouble of stepping down the voltage myself.
I purchased a ‘Cyclops LED Light – Extra Power‘ and a ‘Rear Light‘ (descriptive aren’t they?) and a few weeks later they arrived from ‘murrica to my house down’unda.
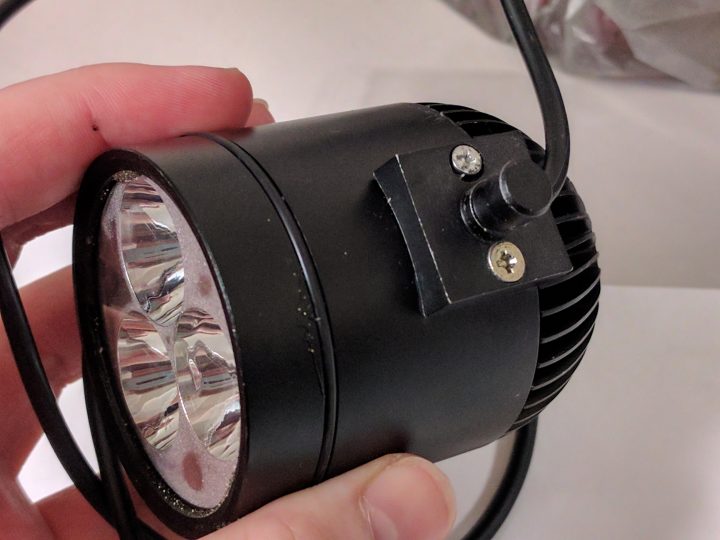
The Cyclops light, with the handlebar clamp removed. I found that one of the two screws was not the right size, and so wasn’t even screwed in … other than this, the build quality seemed good.
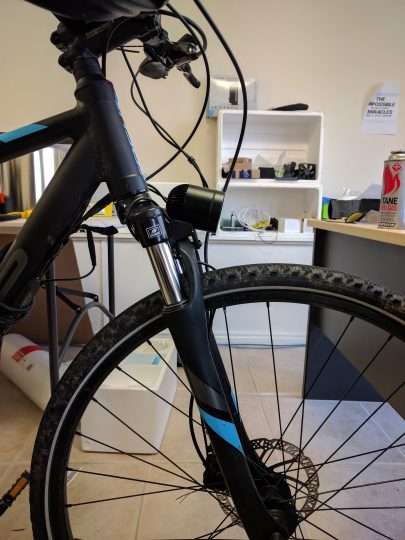
I didn’t want to mount the light on my handlebars – I wanted it to look like the light was fitted at the factory, so I decided I would try to mount the light to my suspension fork right above the wheel.
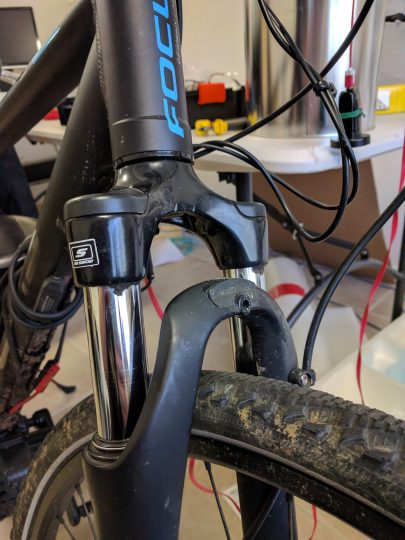
The suspension fork even has a little hole through the middle, which will be handy for attaching the mount which I plan to design. I started by taking some measurements and sketching them out …
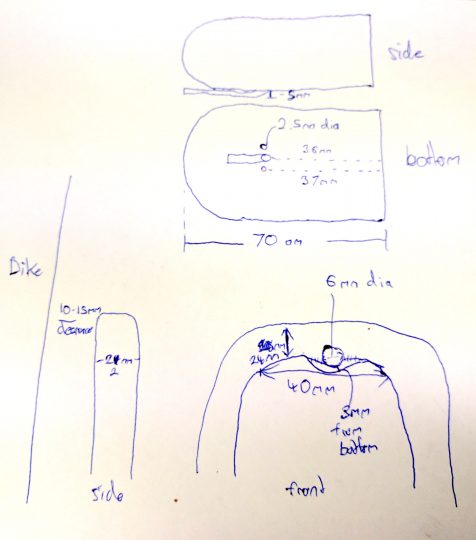
Whenever I’m 3d printing something that has to interact with another object, I do a rough design and print it to see if all my holes and dimensions match up properly. 3D printing is rarely accurate after considering measurement errors, slicing factors and changes in plastic size, so it’s important to test.
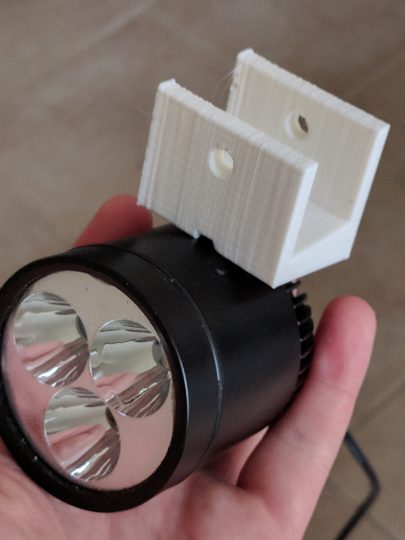
I managed to get the holes for the light itself lined up on the first go.
Test fitting the assembly – note that the light is pointed up into the air, I’ll need to fix that!
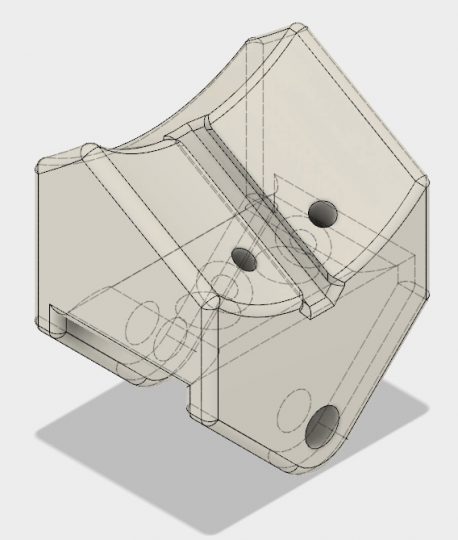
Version 4 – the finished design. I feel like I really nailed the ‘parametric’ design of this one – I was able to modify the angle of the light mount and the holes diameter with all the changes updating automatically. I think I’m really getting handy with Fusion 360!
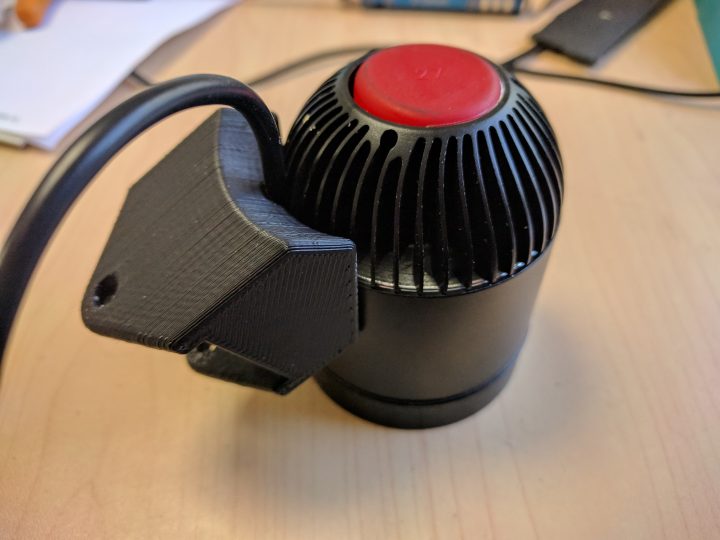
Printed and spray painted black, then mounted to the light with some M3 screws and locktite.
Mounted onto the bike with an M6 bolt to hold it in place. It feels rock solid!
A 30 degree angle seemed to be right – I didn’t want to blind other cyclists by pointing it up too high.
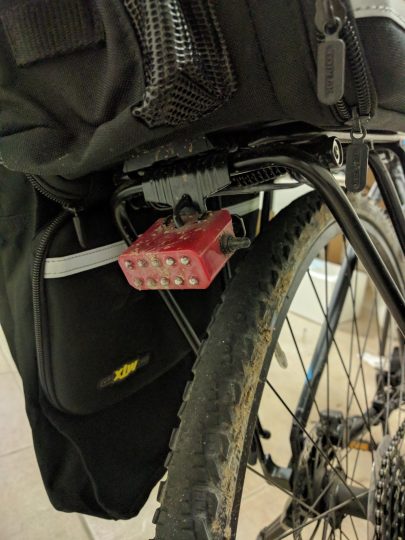
I also installed the red LED light on the rear of the bike.
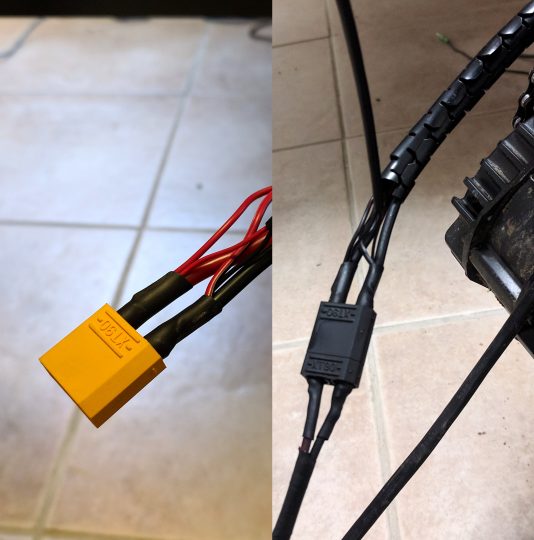
Lastly I had to connect the lights to the battery. I took this opportunity to snip off the connectors which the bike came with and replaced them with a standard XT90 connector. I wired the cables for the lights along the frame and into the XT90 connector, and then spray painted everything black so it would blend in.
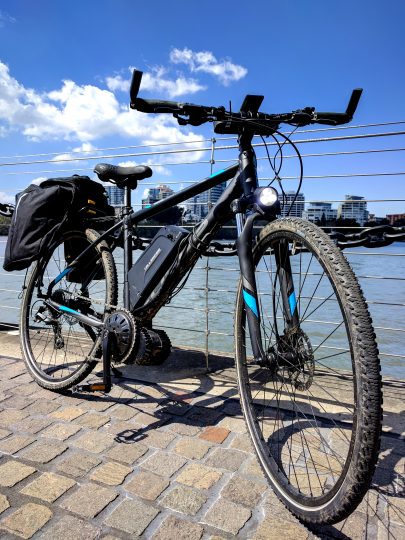
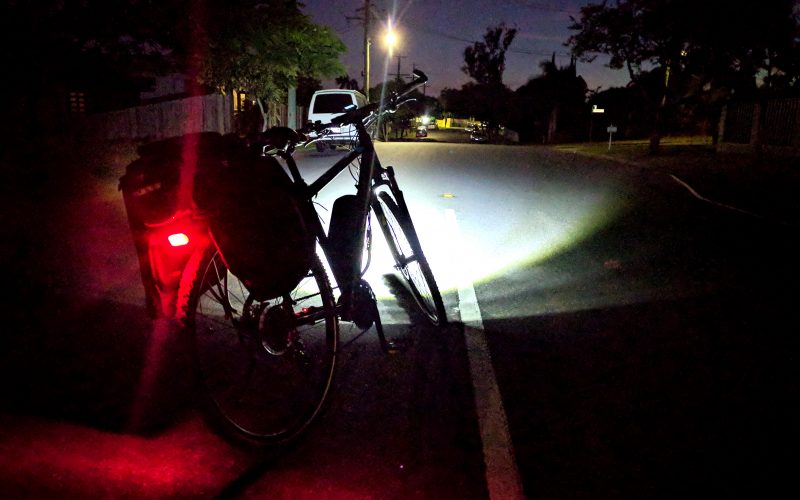
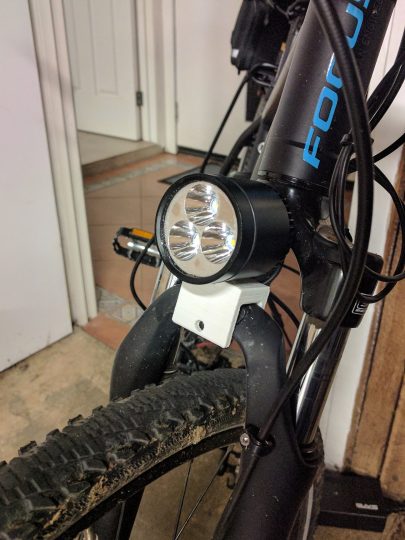
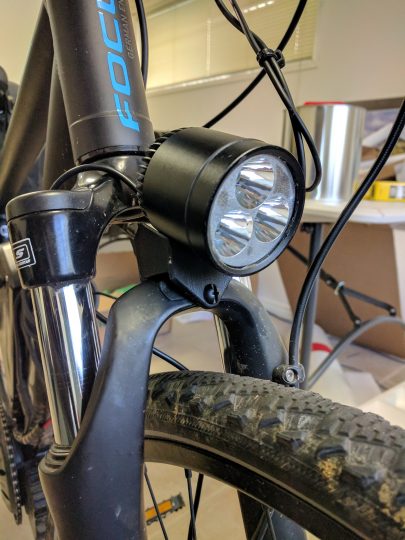
The finished product, I’m really happy with how it looks – as if it came from the factory with the light mounted there, which is exactly what I was going for!
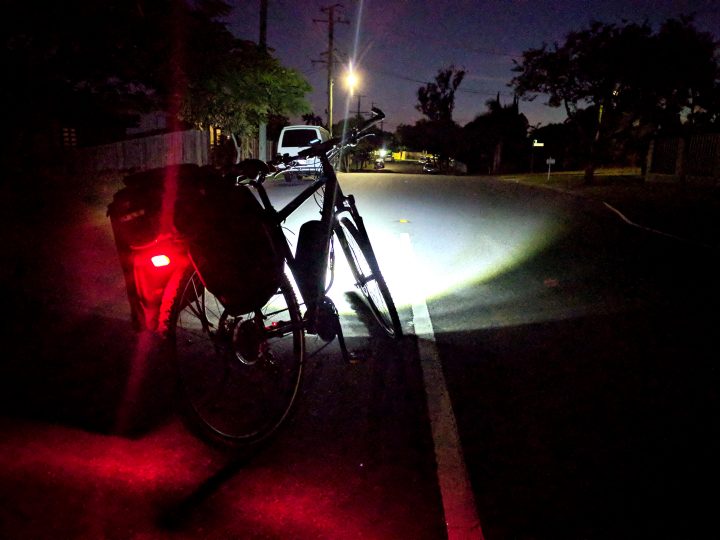
The headlight really puts out a lot of light, and it’s nice and wide too so you can see the path clearly.
Here’s a short video clip that shows how it compares to a few other cyclist’s lights, it’s much brighter and throws further. The camera doesn’t pick up the distance very well – you can see a lot further ahead than the video shows.
Looking forward to commuting at night with my bike now!