In 2017 I decided I would get an office in the CBD for my business. Because I live outside of Brisbane, this means I have to commute about 30-40 minutes in the car and pay $25 for parking each day. I looked into public transport, but the bus would take around an hour and cost me $8 per day. Additionally, I wanted to try to improve my fitness, so I looked into bicycles.
I am not a fit person, and the idea of riding a bike has never been interesting to me, or ‘cool’. However, I did some reading on electric bicycles and thought I would give it a try.
I contacted Electric Bicycles Brisbane at Milton as they offer rental e-bikes. For $250 I rented a Smartmotion E-City electric bike for 7 days. I wanted to try it out and see if I enjoyed using the bike each day to get around.
My commute to Brisbane is 16kms each way along with quite a few hills – I thought that maybe with a bit of electrical help I might be fit enough to manage. The upside is that the majority of the journey is on bike paths, there’s only some brief patches in the middle and at the end where I have to share the road with cars.
I collected my rental bike, and immediately loved it. I rode into work each day and made use of the excellent end-of-trip facilities which my office building provided – bike parking, showers, fresh towels and body wash, clothes drying and personal lockers. I would pack some clothes in the morning, ride in and then get changed and ready for work.
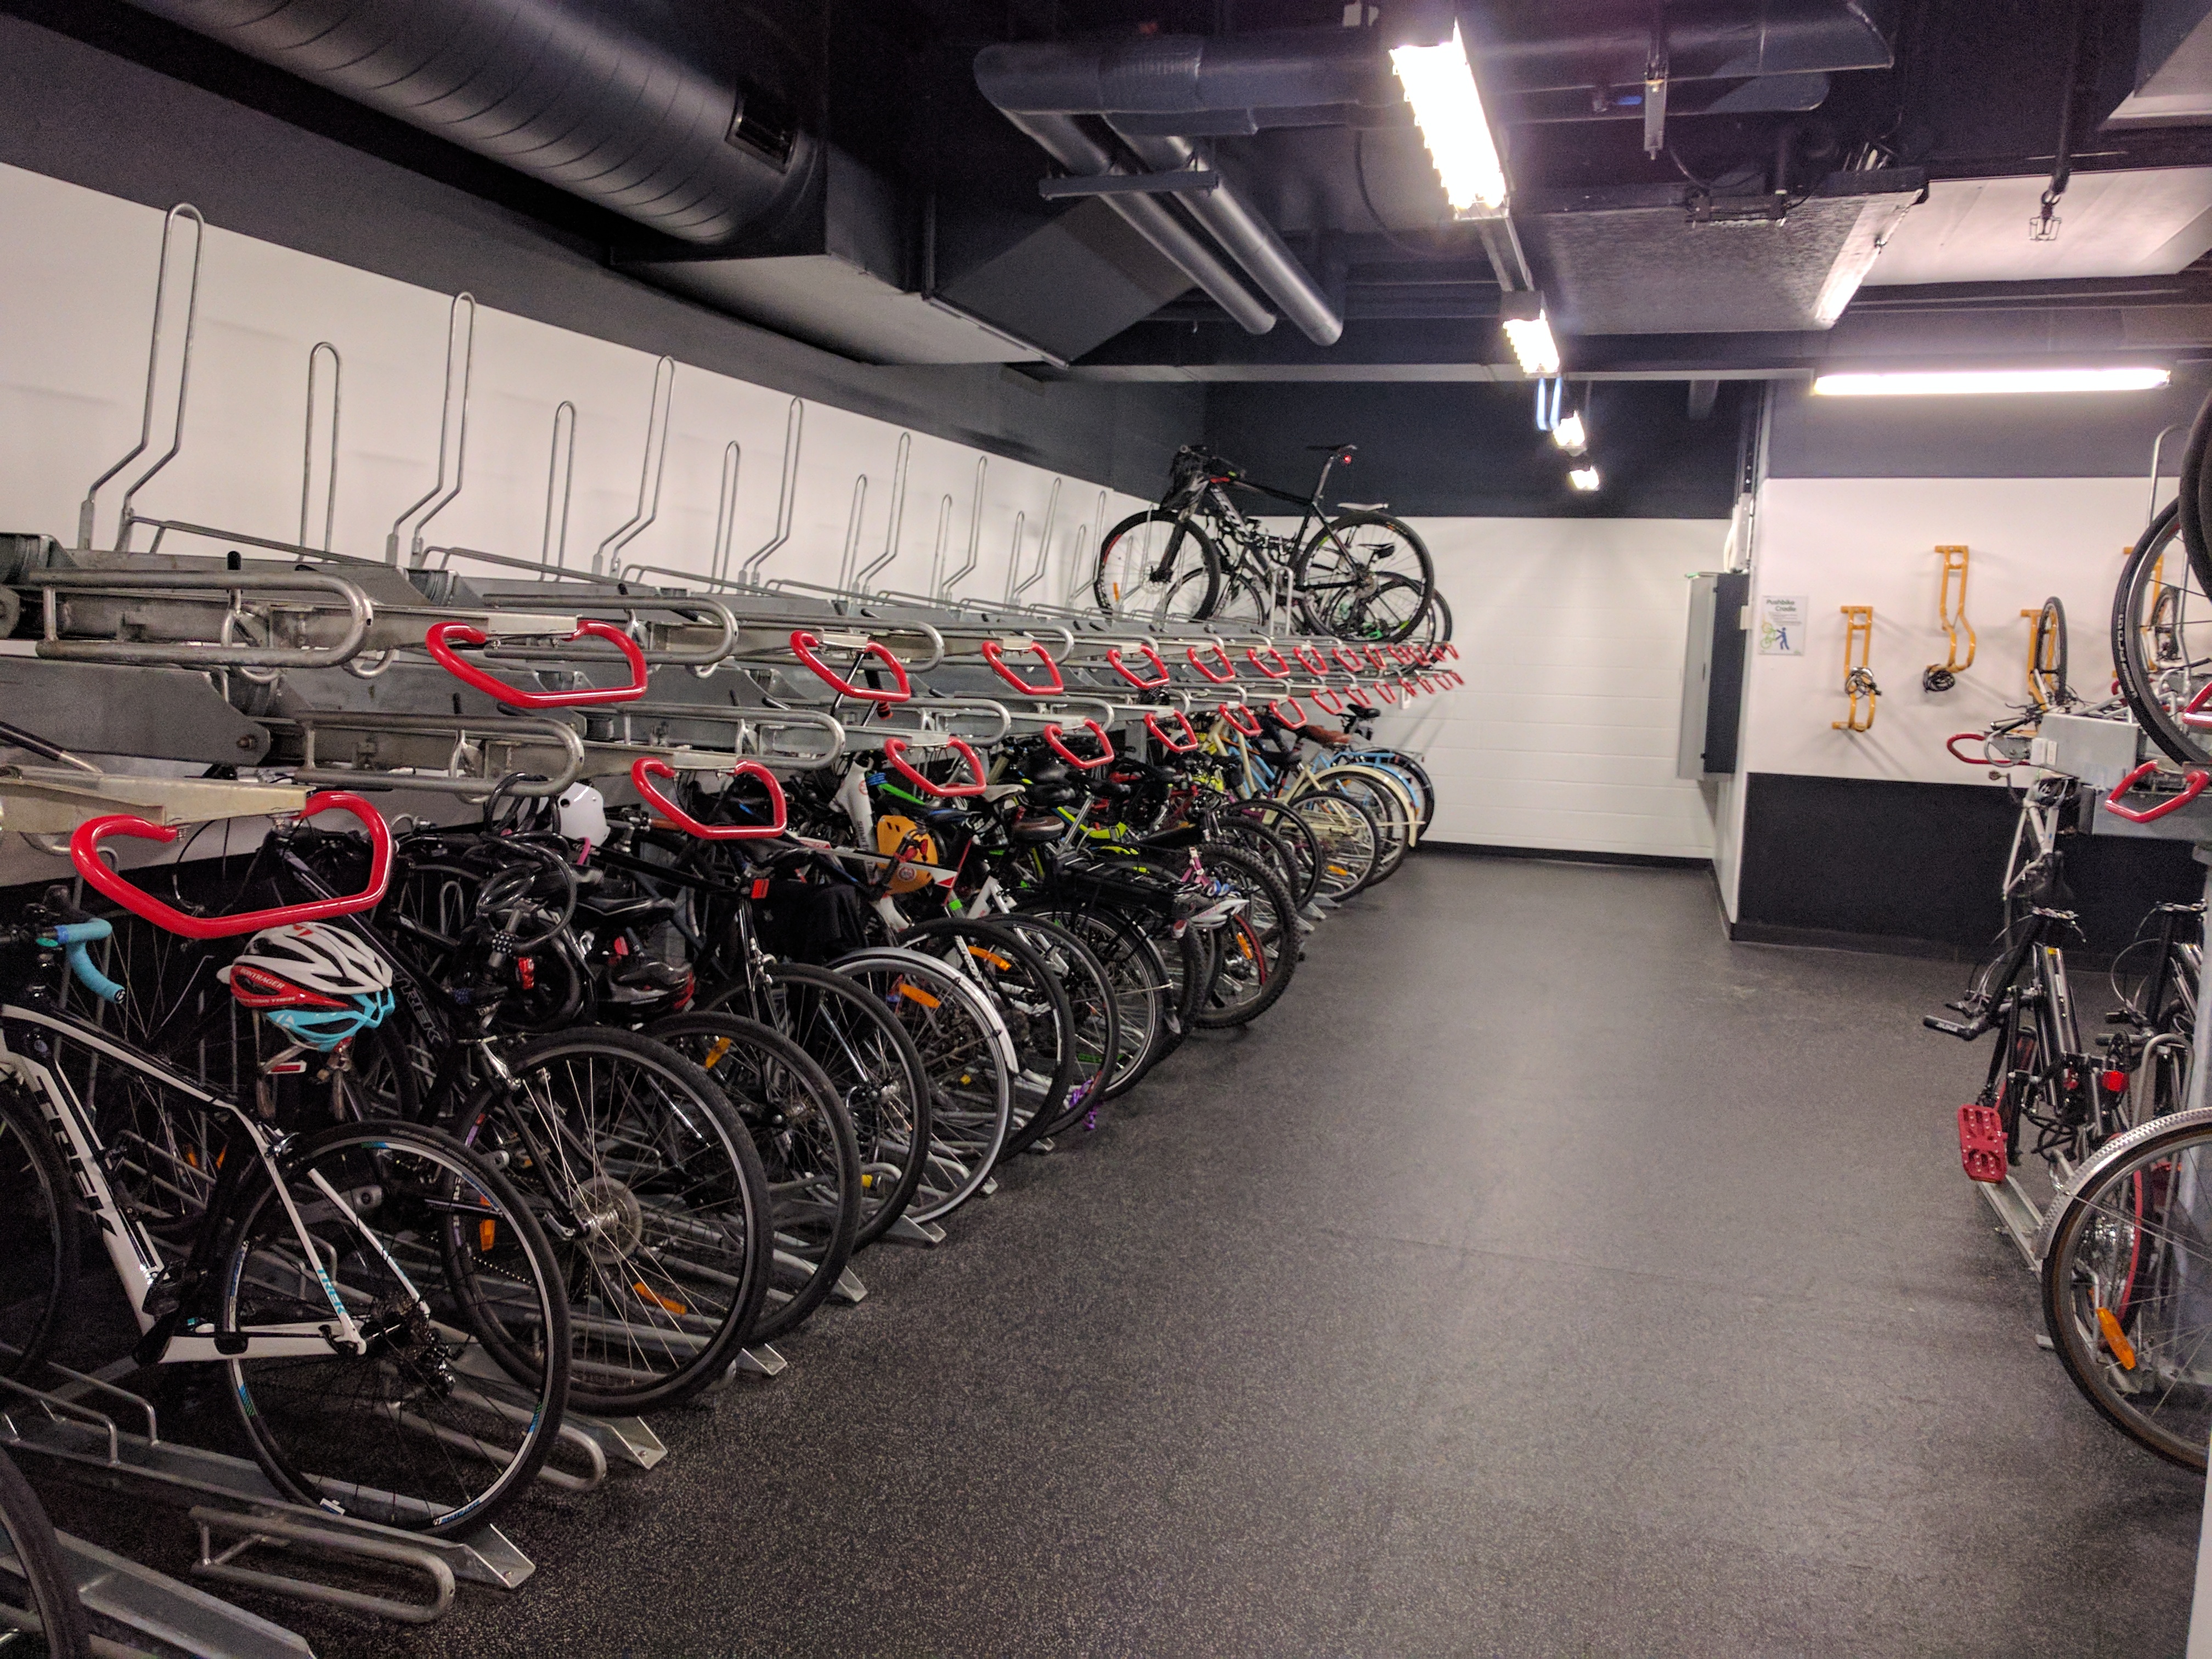
One of the three rooms full of bicycles in my building.
The E-Bike’s pedal assist function meant that when I got tired or when facing a big hill, the electric motor would do more of the work and allow me to arrive at work without overdoing it and destroying my legs. Overall I was able to complete my journey in around 55 minutes.

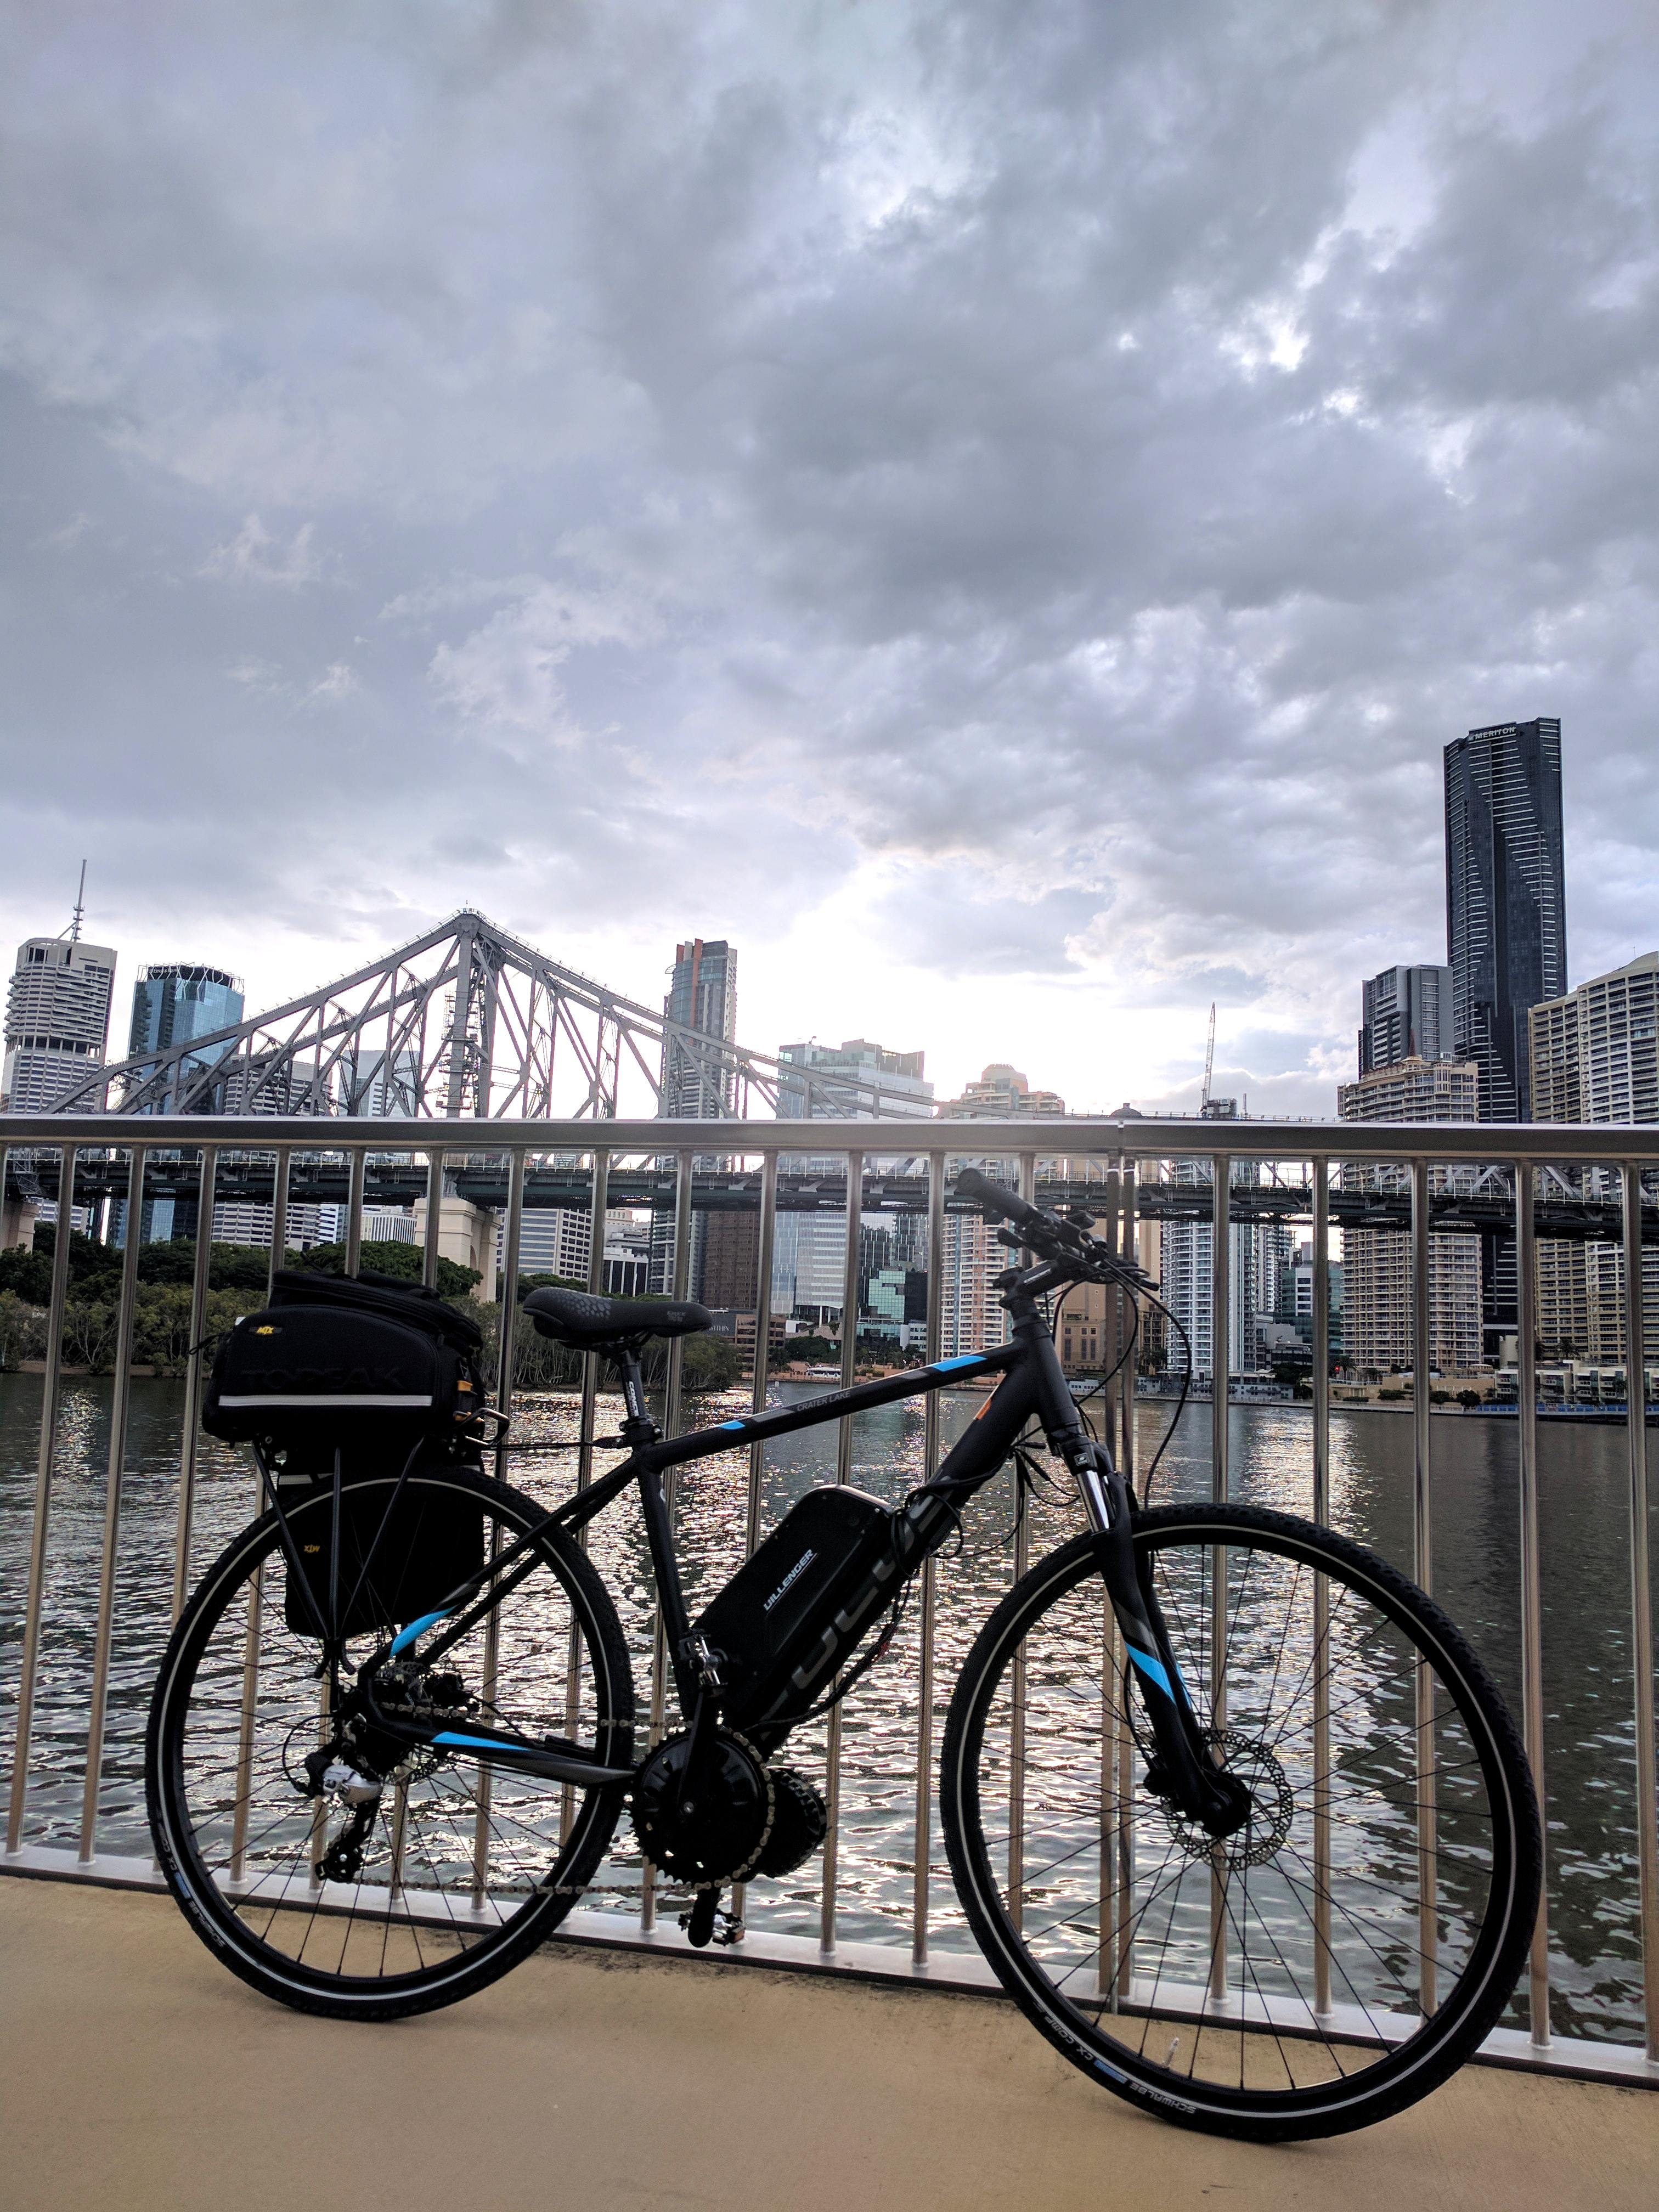
I rode home on Friday evening and couldn’t resist stopping for a photo.
I found that riding had both physical and mental benefits. Physically I felt fitter and healthier, even though I wasn’t exactly riding the Tour de France. Mentally I found it both easier to prepare for work in the morning, and wind down from work in the evening. The time spent riding really helps to focus the mind on the ‘now’ rather than on the stresses of life.
I even found that I would use the e-bike to run down to the shops and collect some groceries on the weekend, or ride down to the local cafe for breakfast. It was easier than driving my car, which is really saying something.
I decided that I would make the investment in an electric bike and make bicycle commuting my main form of transport to work. An average electric bike costs between $2000 and $4000, so I justified that the bike would pay for itself in parking and fuel savings after around 6 months.
Firstly I began by researching and comparing options for pre-built electric bikes from a variety of manufacturers. I was frustrated because of the power and speed limits. All the ebikes had a 25kph speed limit, which sounds fast but really isn’t – there are plenty of non-electric bikes on the bike path doing more than 35kph. When about 75% of your ride is straight road, a little extra speed really makes a big difference.
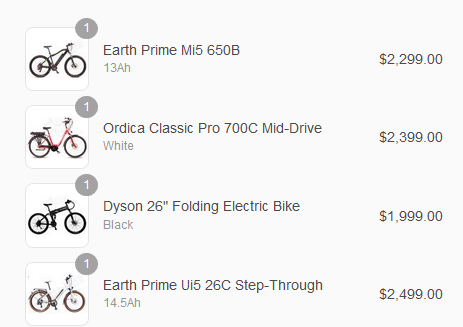
My first shortlist of pre-built bikes
Next, I was introduced to a brand called Dillenger by a friend (Thanks Blair!) – Dillenger make a variety of electric bikes and electric conversion kits, and are based on the Gold Coast in QLD. The best part about Dillenger is that their bikes offer much more power than most e-bikes you can buy from other manufacturers, and at a similar price point.
EDIT 05/18: In hindsight, I’d suggest buying from LunaCycle (USA, worldwide) or LunaMate (Australia, NZ) as you’ll get better selection of kits at lower prices, and better post-sale support.
I tried Dillenger’s rear hub drive bikes, including the dual-suspension geared rear hub bike. The performance was excellent, however the bike was not suited to what I wanted – Dillenger’s more powerful bikes were aimed at off-road use like climbing mountain trails. I wanted to use mine for commuting to work, so the gear ratios were not ideal, the tyres were thick and I also felt that the quality of the frame itself was not that great.
Eventually I decided I would build my own bike with a mid-drive system. I like the mid-drive because it gives you the benefit of the bikes own gearing to apply the power. It also keeps the weight low and centered in the frame.
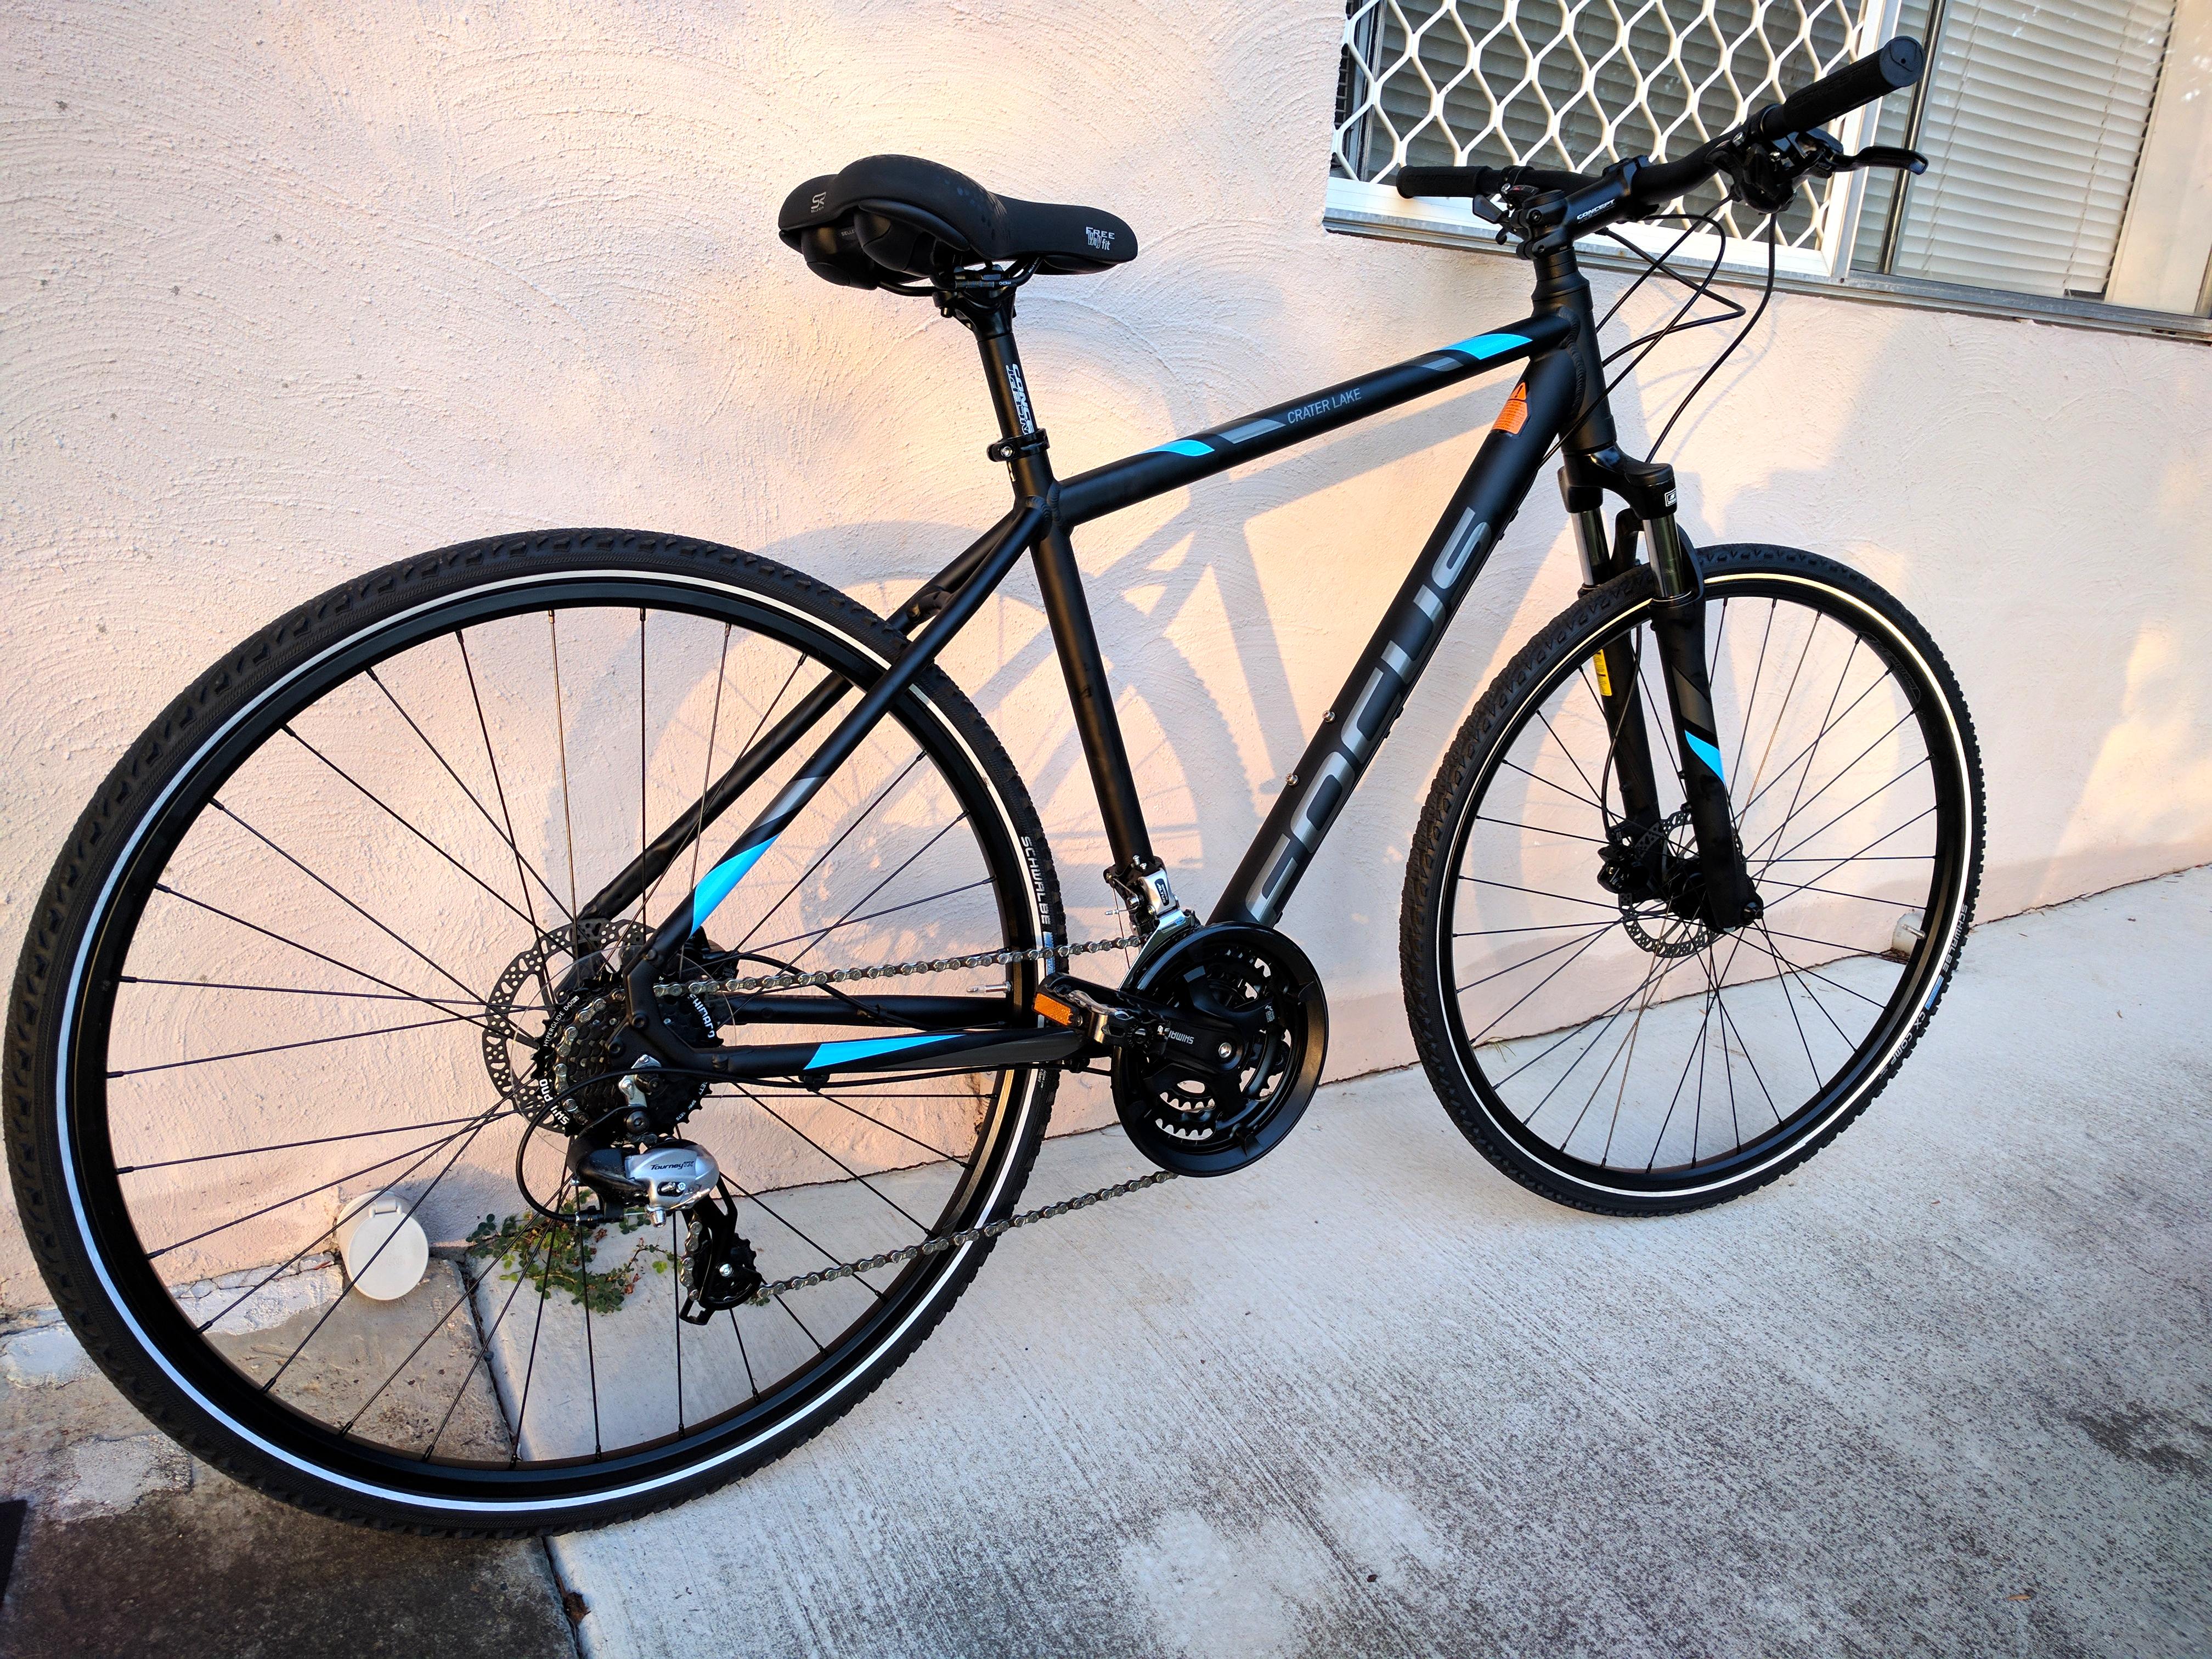
I found a donor bike with the help of Chris from The Chain Gang – he was very helpful and gave a lot of great advice for my conversion project. He recommended a german-made Focus bike. I purchased the 2017 Crater Lake Evo from him. It had everything I would need for an e-bike conversion – a standard 68mm ‘square’ bottom bracket, hydraulic disc brakes, good gearing for commuting, and a solid frame for mounting the battery and motor. Front suspension forks would also help absorb the bumps and help with wrist fatigue.
Next I purchased the Bafang BBSHD Mid-Drive kit from Dillenger. This is one of the most powerful mid-drive kits you can buy – I prefer to have more power rather than not enough! I also picked the 10Ah Samsung 25R battery, which is designed to sustain a high discharge rate without voltage sag. You sacrifice some capacity to have the high discharge rate, but I think this will improve the life of the battery as it won’t be ‘working’ as hard. It also means that you won’t have voltage sag and possible cut-off when climbing a big hill.
It took me about a day to fit the kit – probably half that time was spent trying to remove the bottom bracket. My suggestion is to take it to a bike shop to get them to do it for you – it’s much easier with the right tools and two people working on it.
I had a problem when fitting the gearsensor – I had to cut the steel wire which ran to the rear derailleur in order to remove it, and once I cut it, the end frayed. Another trip to the bike shop to purchase a replacement steel wire!
Lastly, I found that my BBSHD did not come with a plug for the gearsensor. This was disappointing as Dillenger’s own install guide shows the BBSHD having this plug, and my friend Blair has one of Dillenger’s ‘Hunter’ bikes which also uses the BBSHD and has the gearsensor plug. A little research showed that the plug was added to the BBSHD back in mid-2016. With this in mind, I called Dillenger but was told that ‘some units just don’t come with the plug’ – I think this is very unlikely! What I suspect is that I was sold an old unit which may have been sitting in a box for 8-12 months.
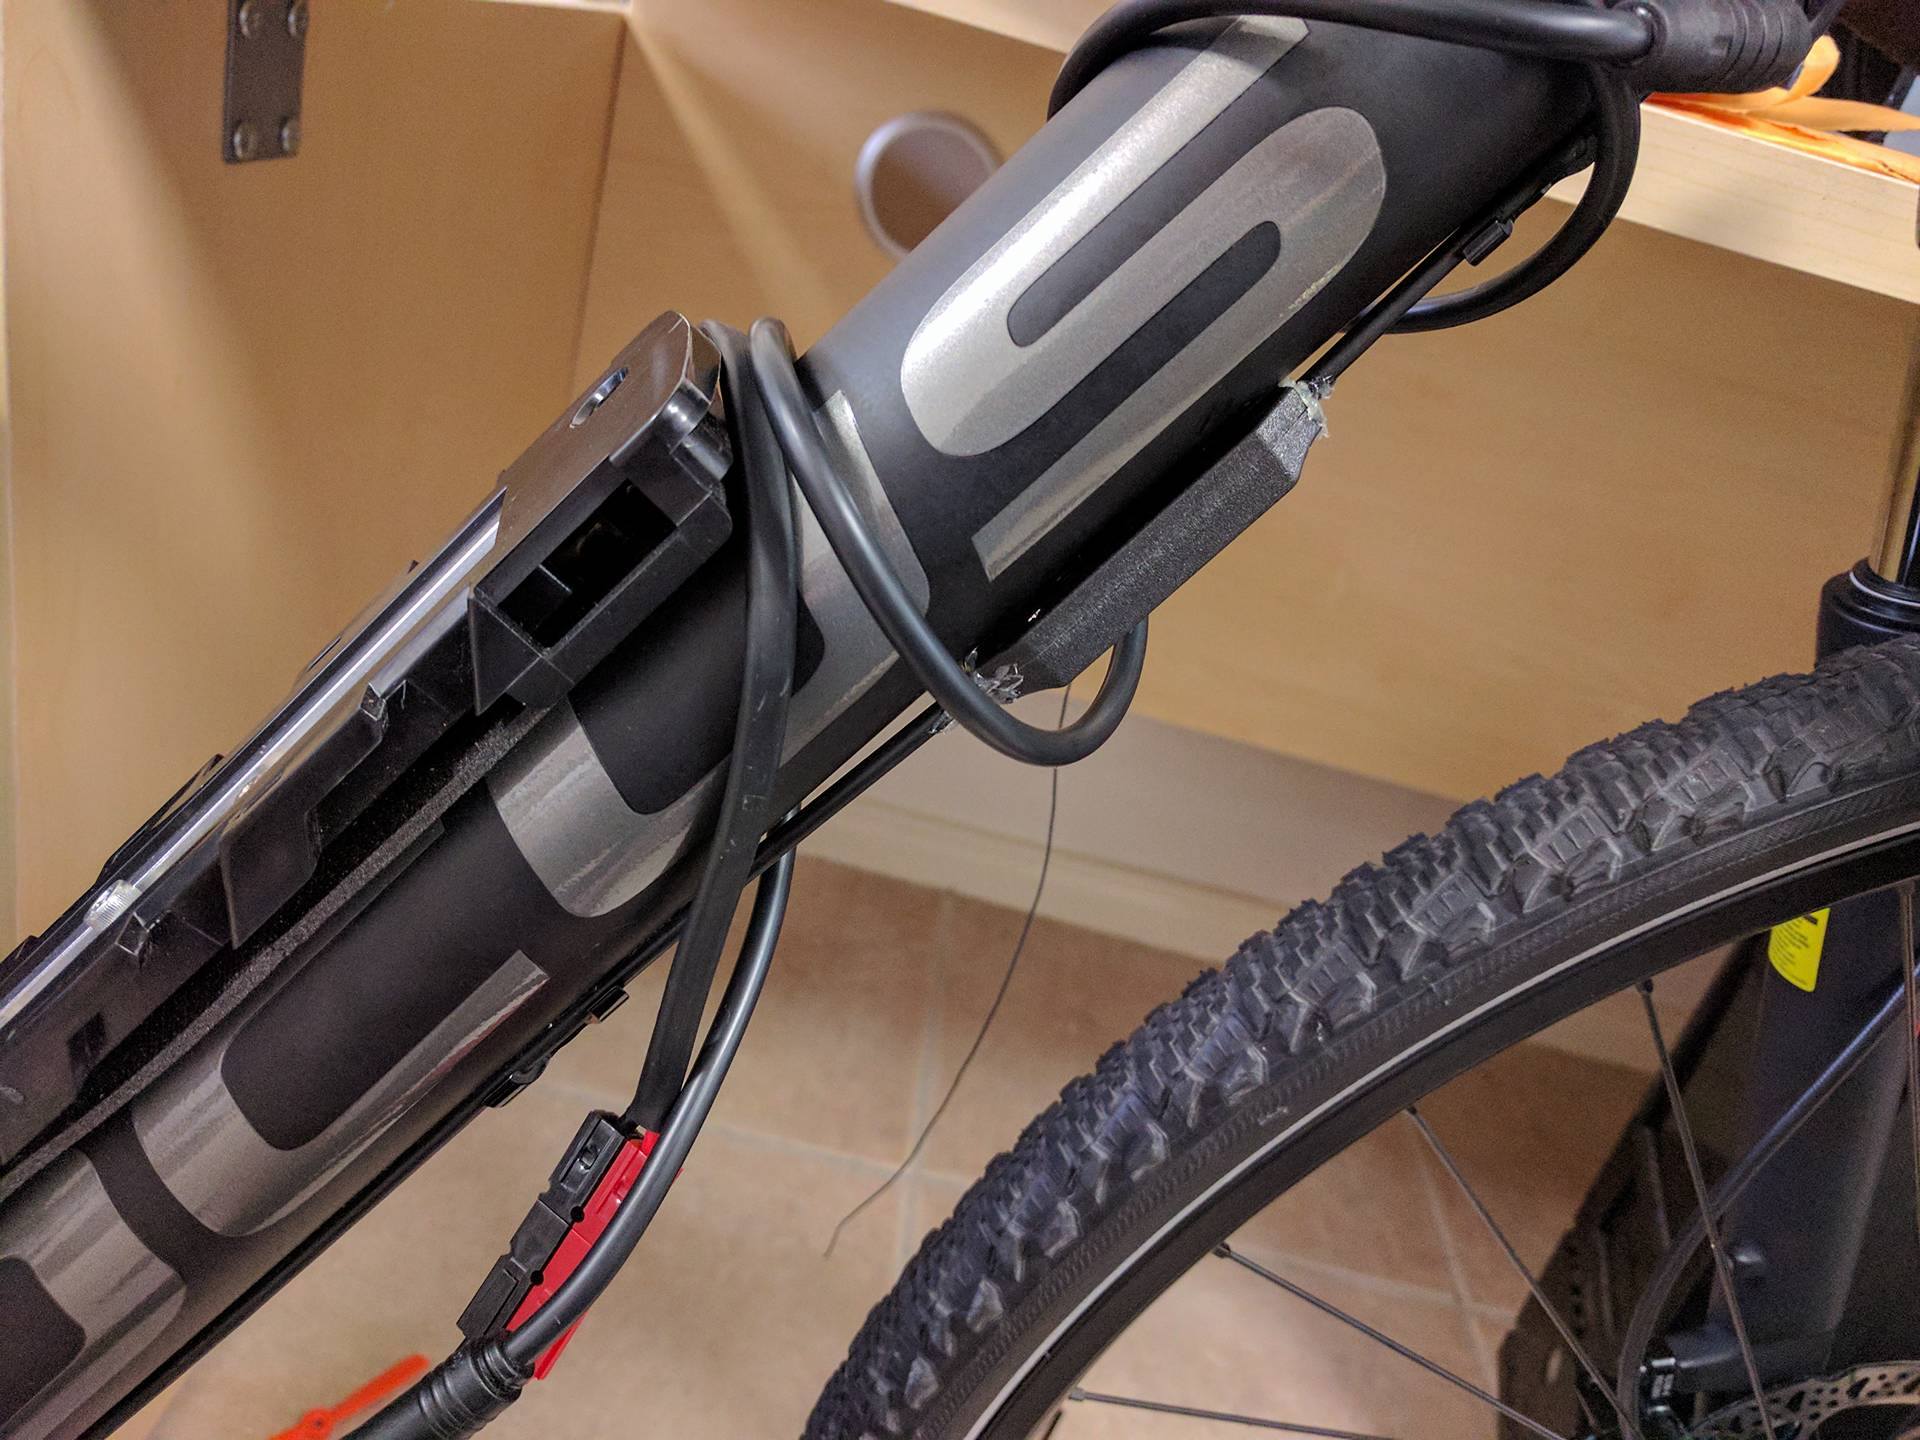
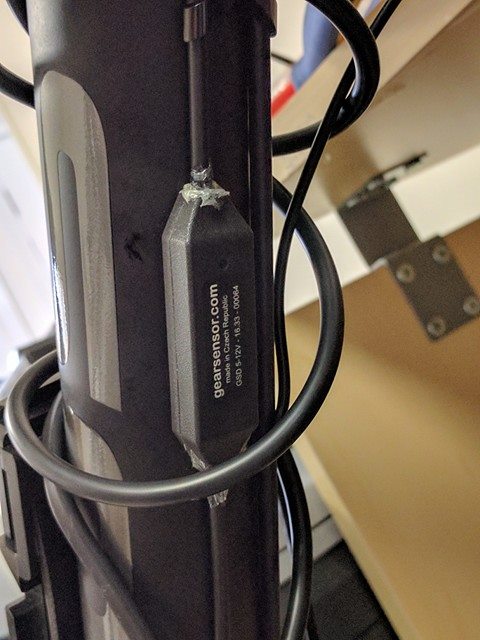
The gearsensor detects gear changes and briefly cuts power to the motor, this reduces wear and tear.
This meant I had to use one of my two brake sensor connectors to connect the gearsensor, and also fit the sensor up the front of the bike instead of the rear. It’s a bit disappointing but I have since moved on.
Next I purchased a rear rack and pannier bag from Topeak. The quality is great but the racks didn’t come with any way to mount to the seatpost. I decided to 3d print a clamp as a mounting point.
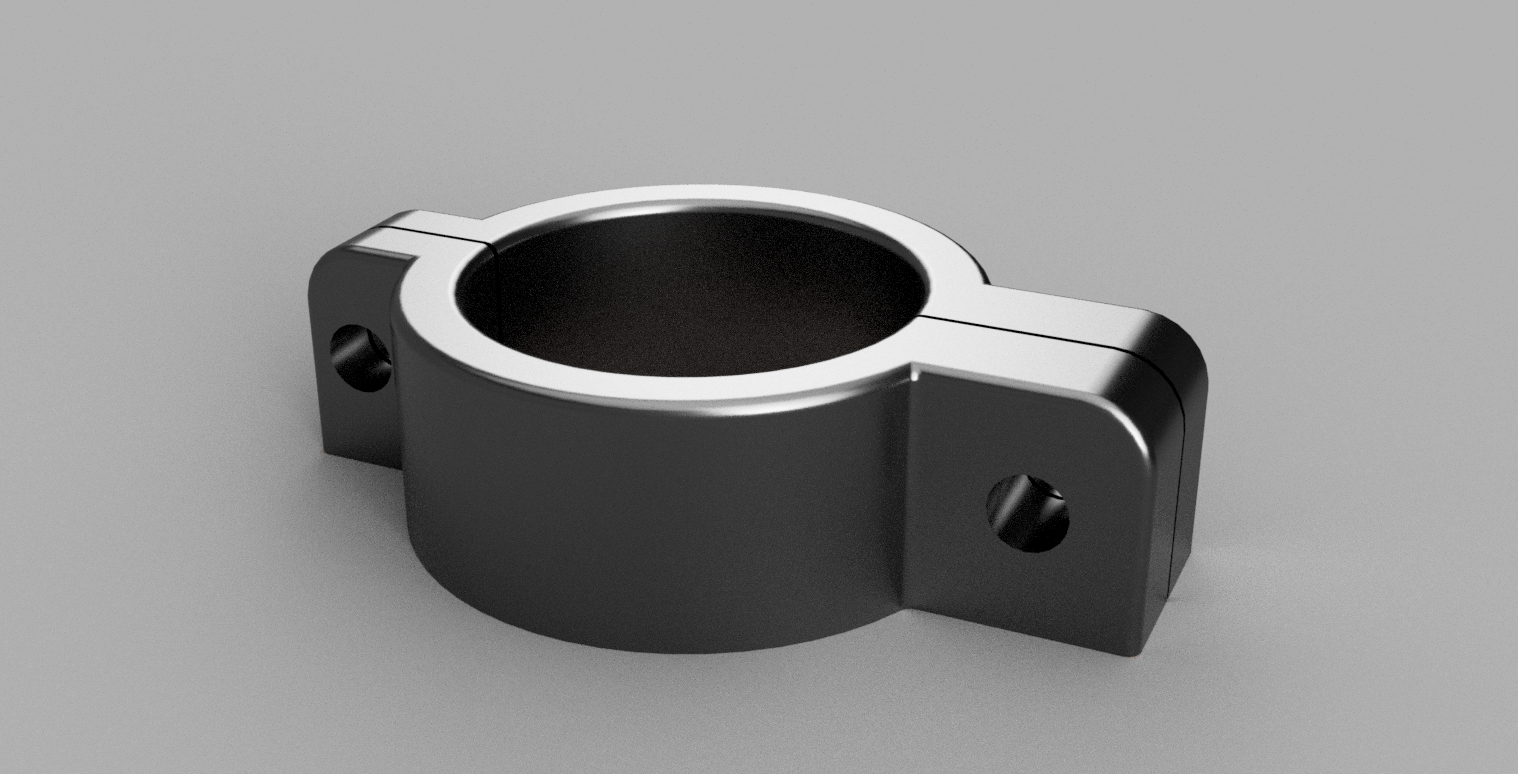
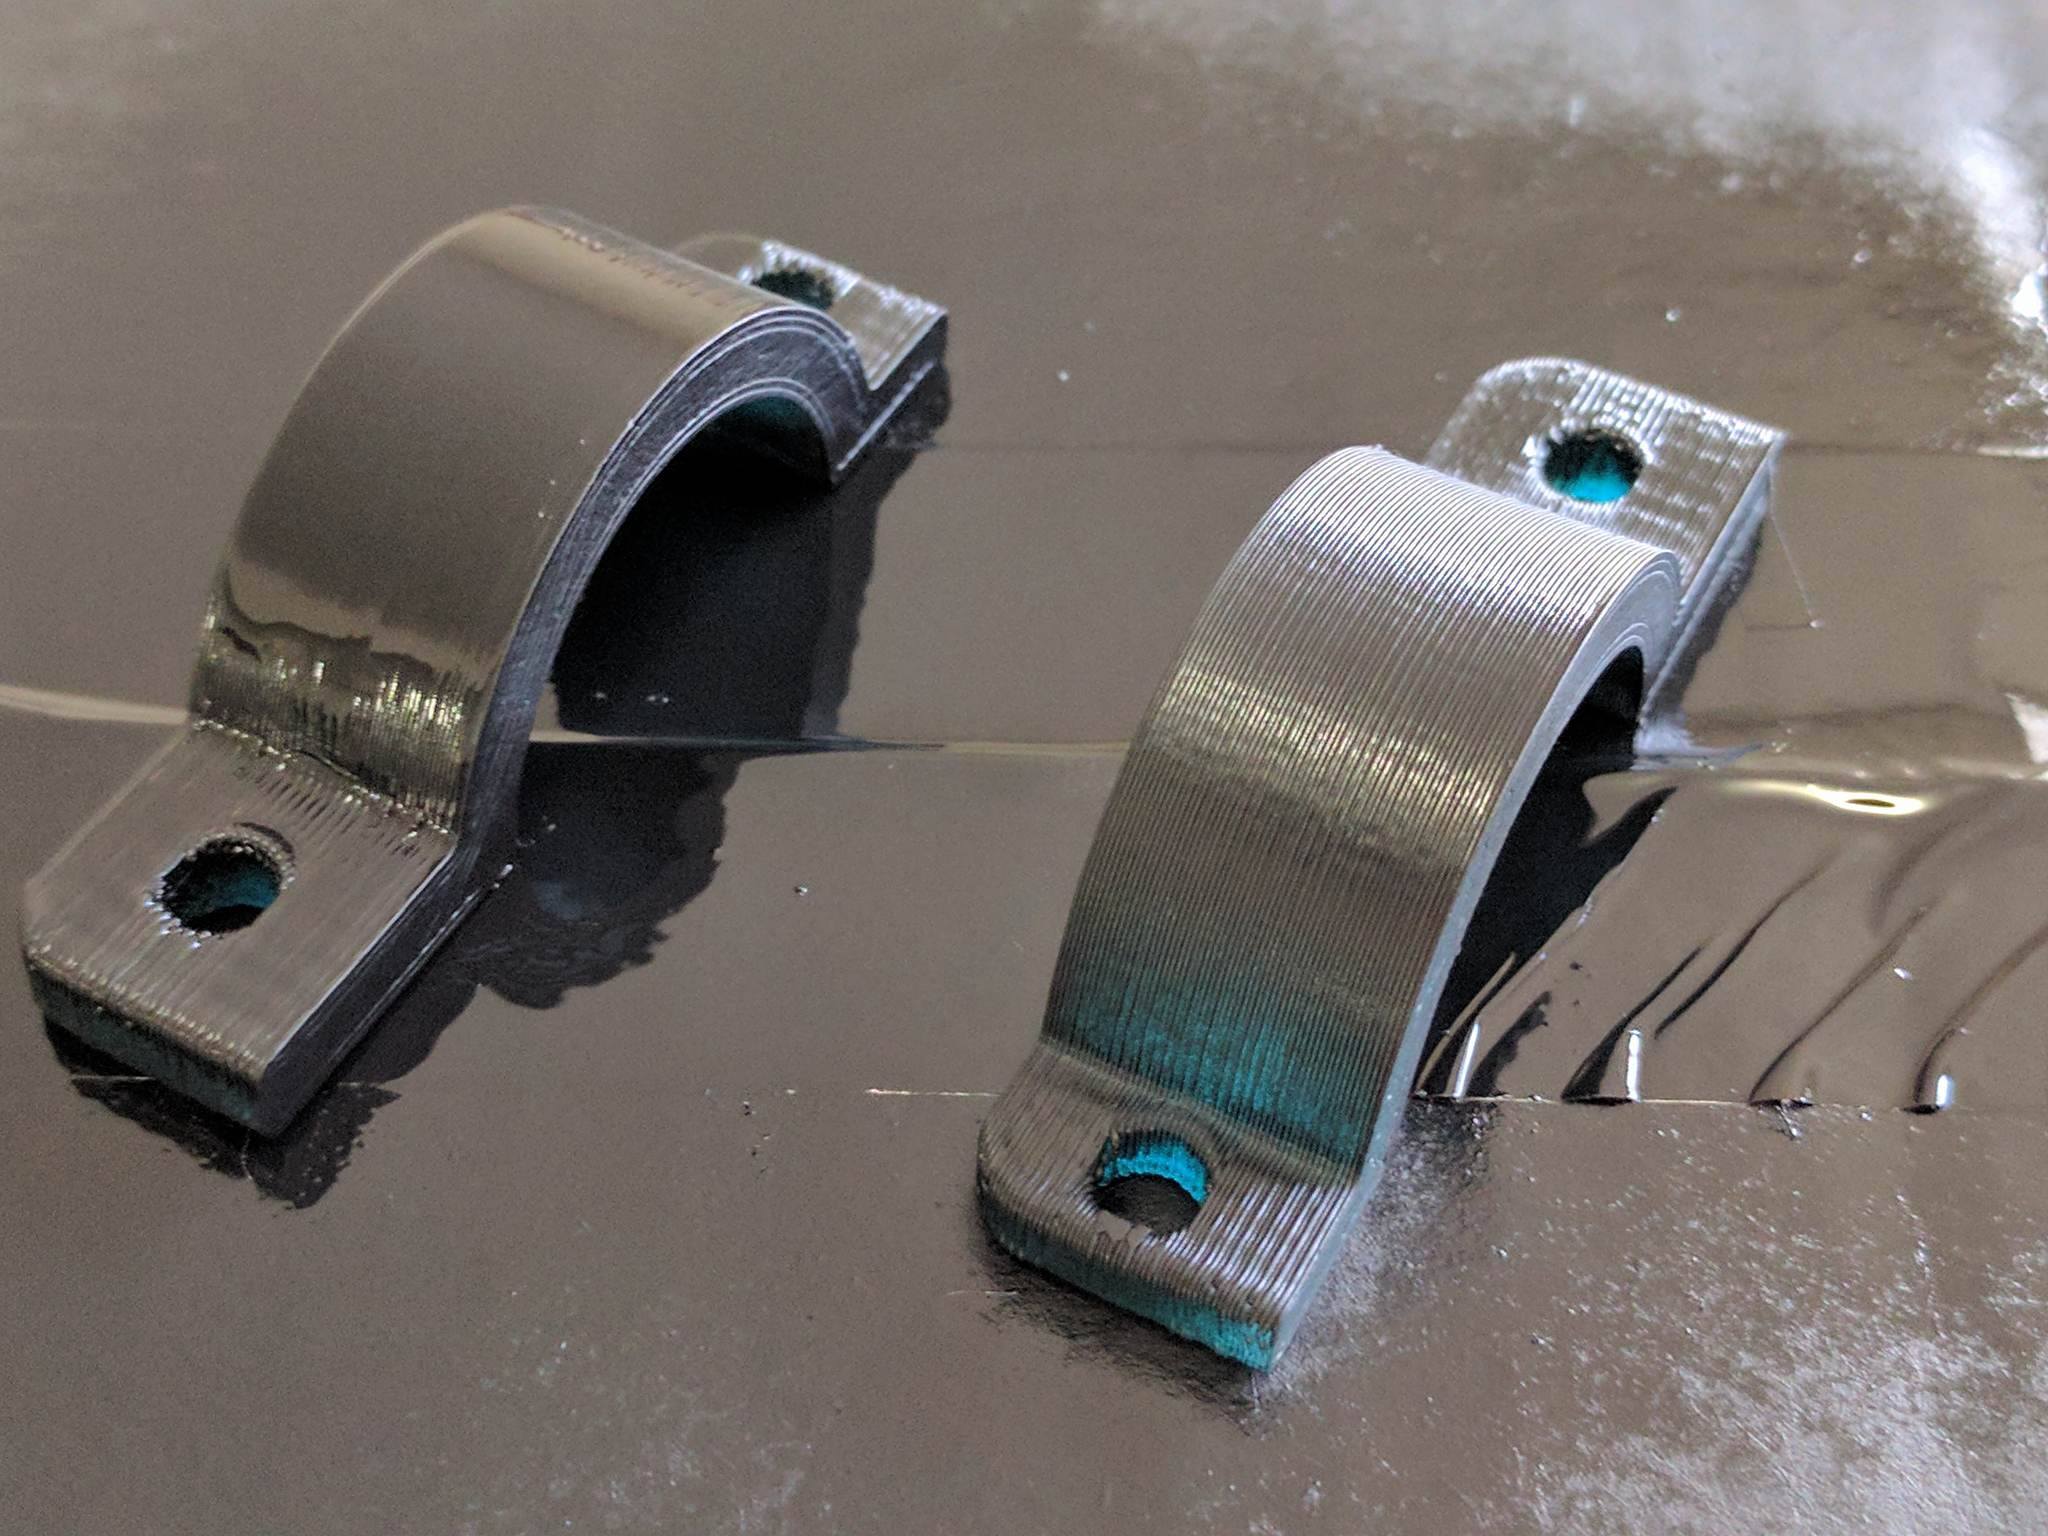
Designed in Autodesk Fusion 360, printed in transparent blue PLA and spray painted black.
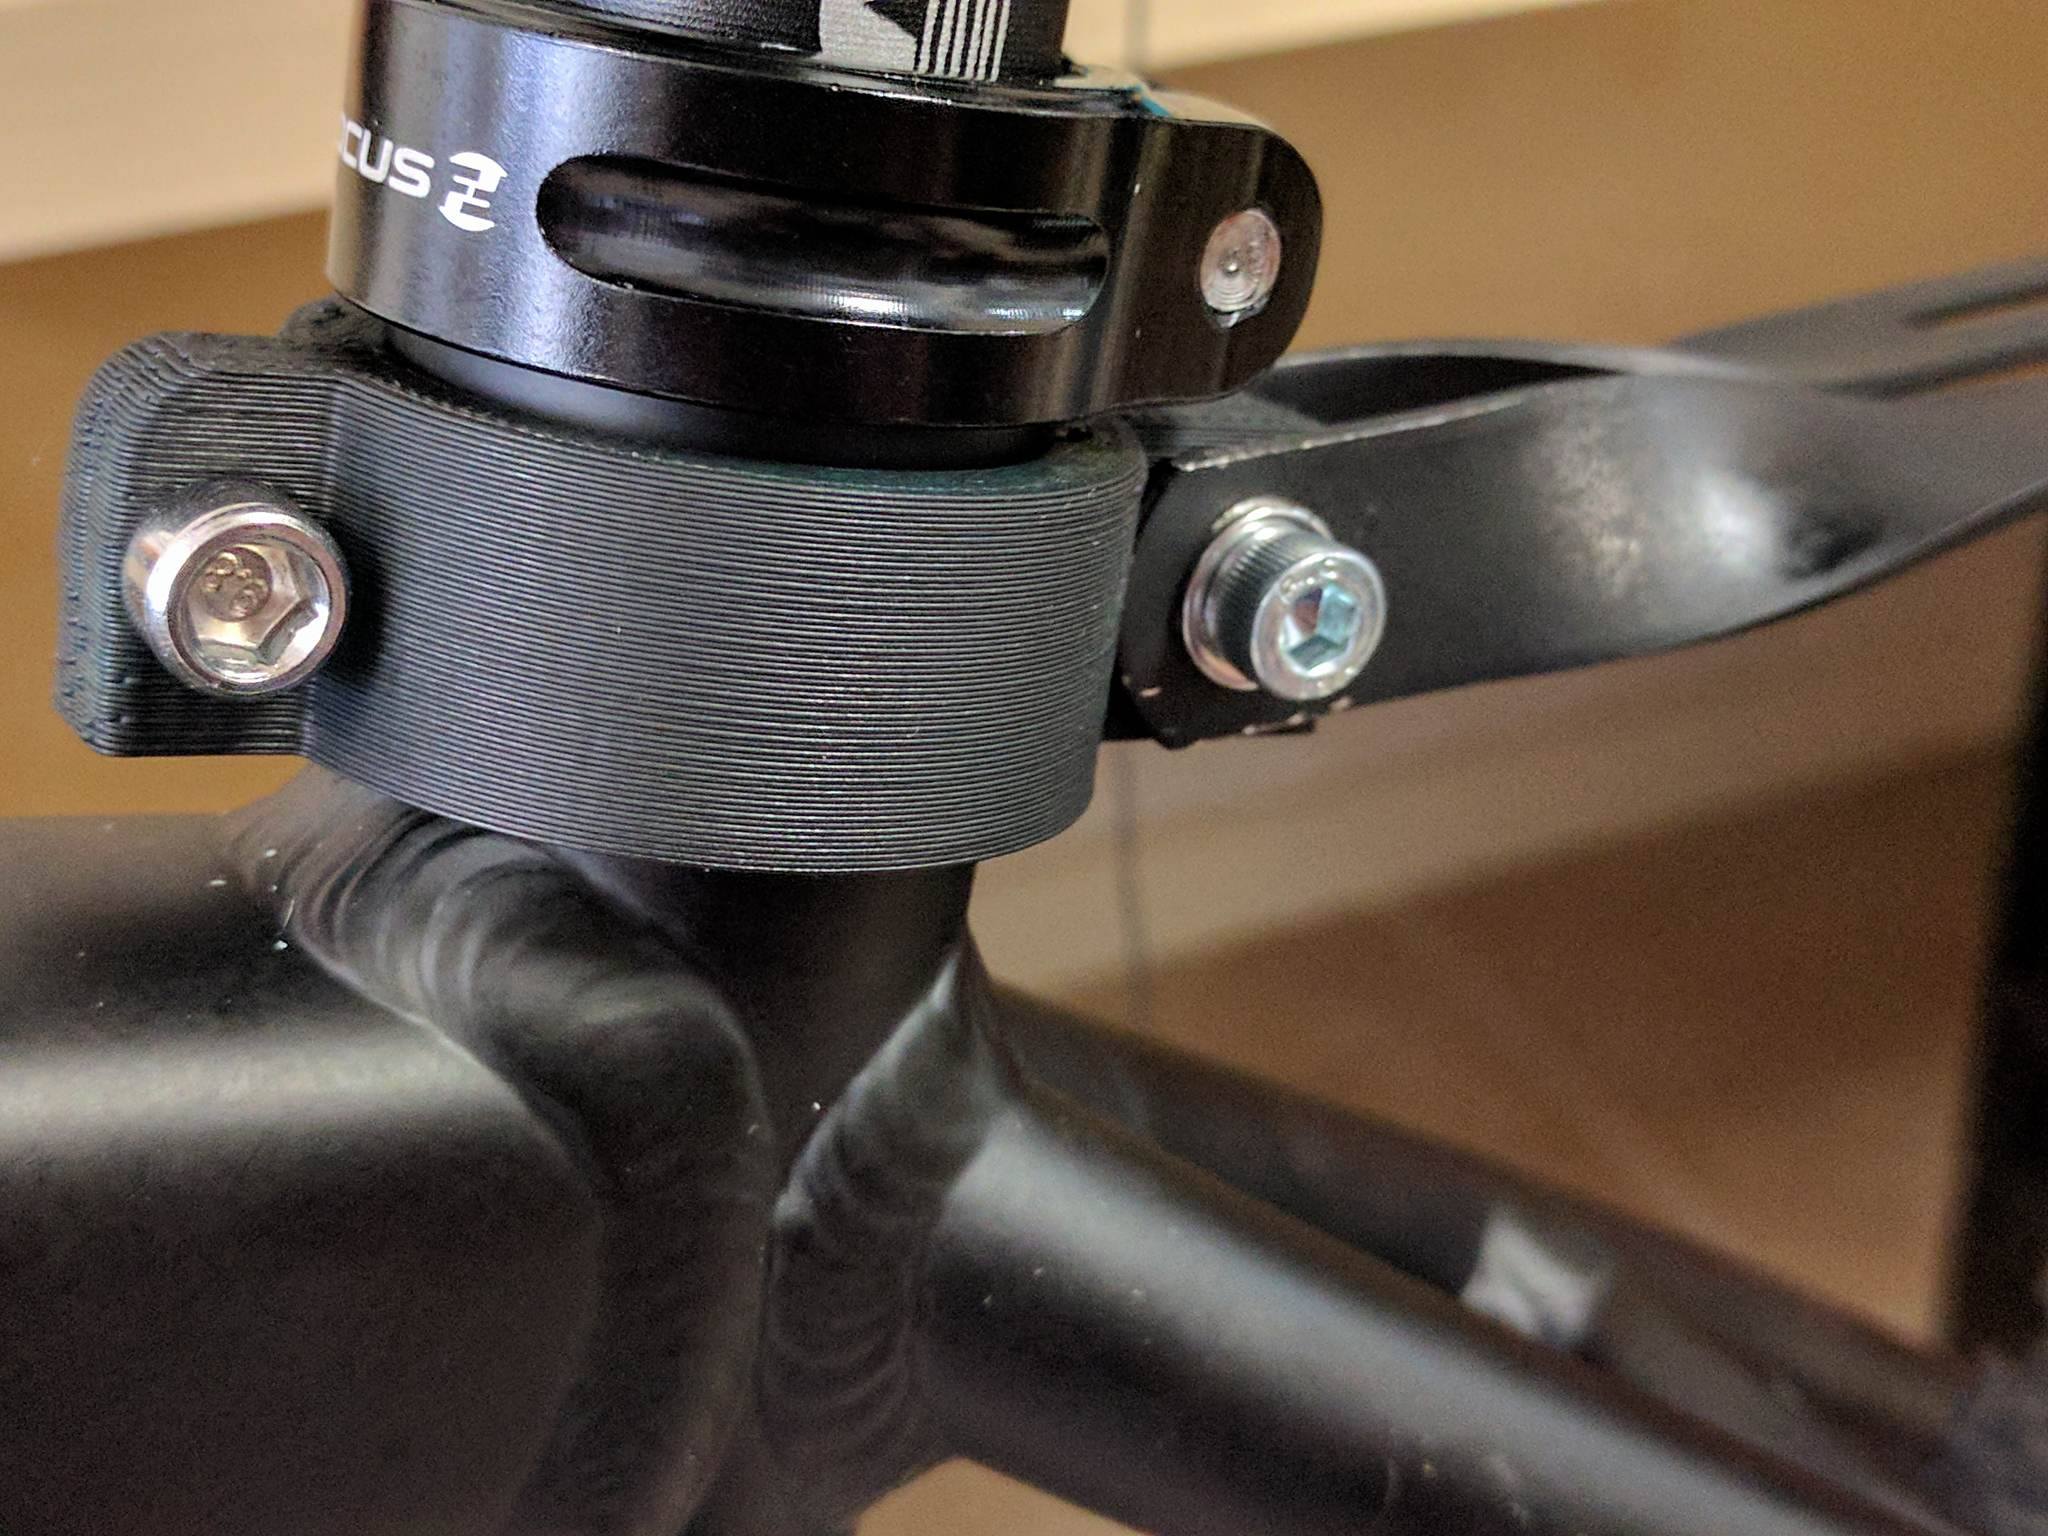
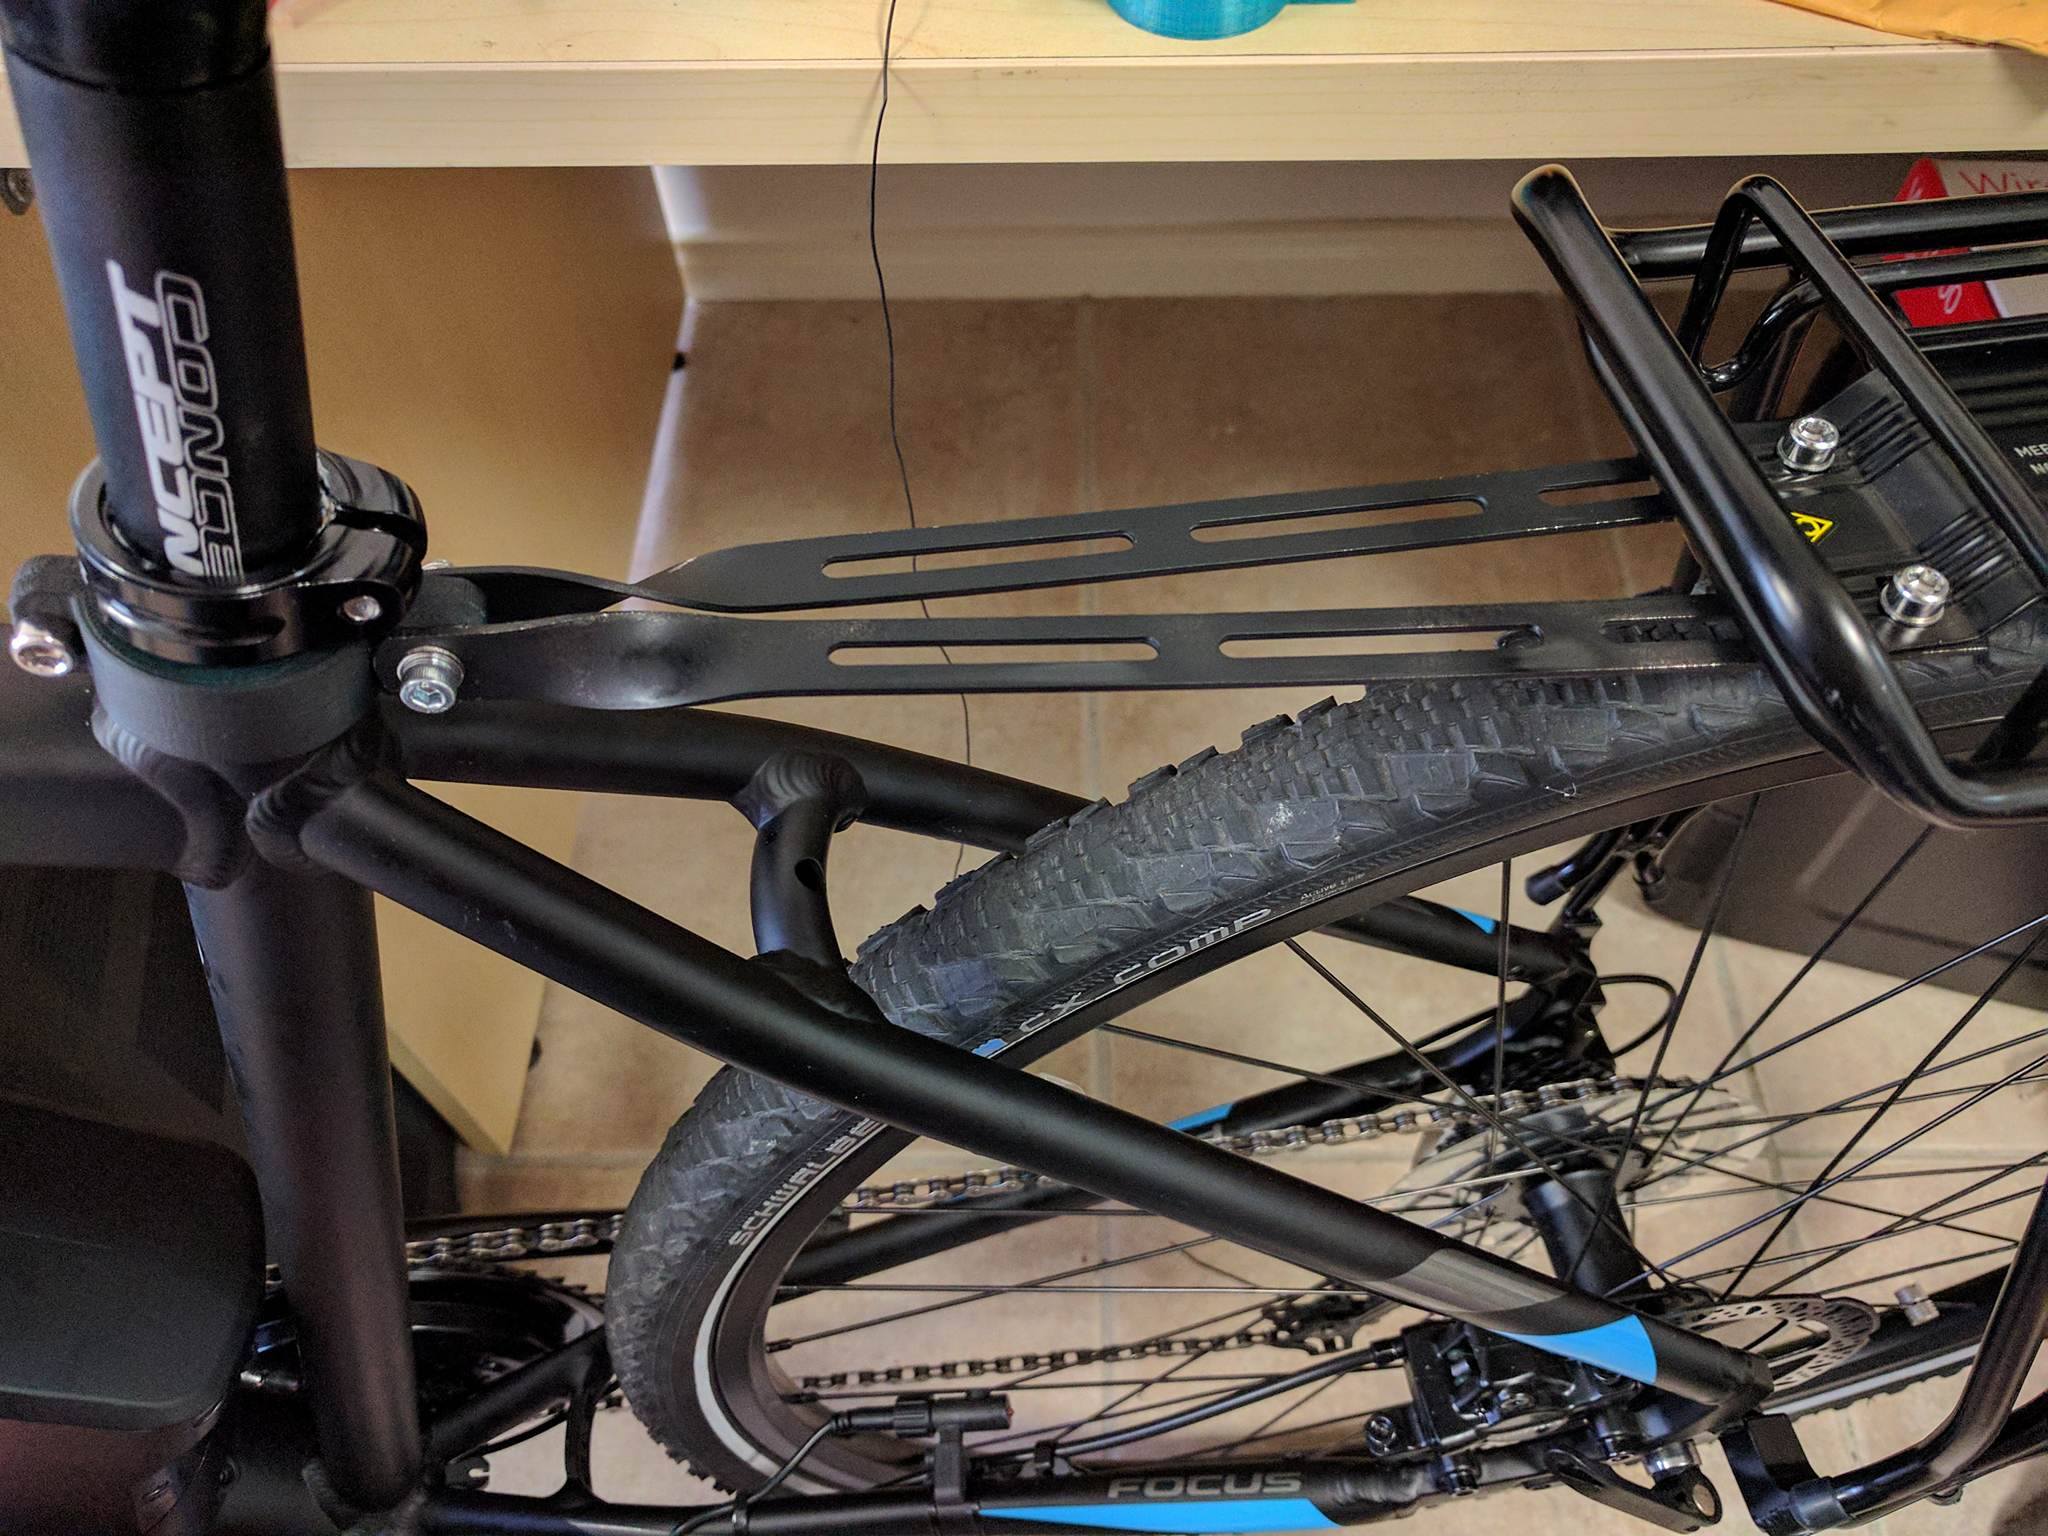
I also spray painted the support beams black – I thought the silver looked cheap.
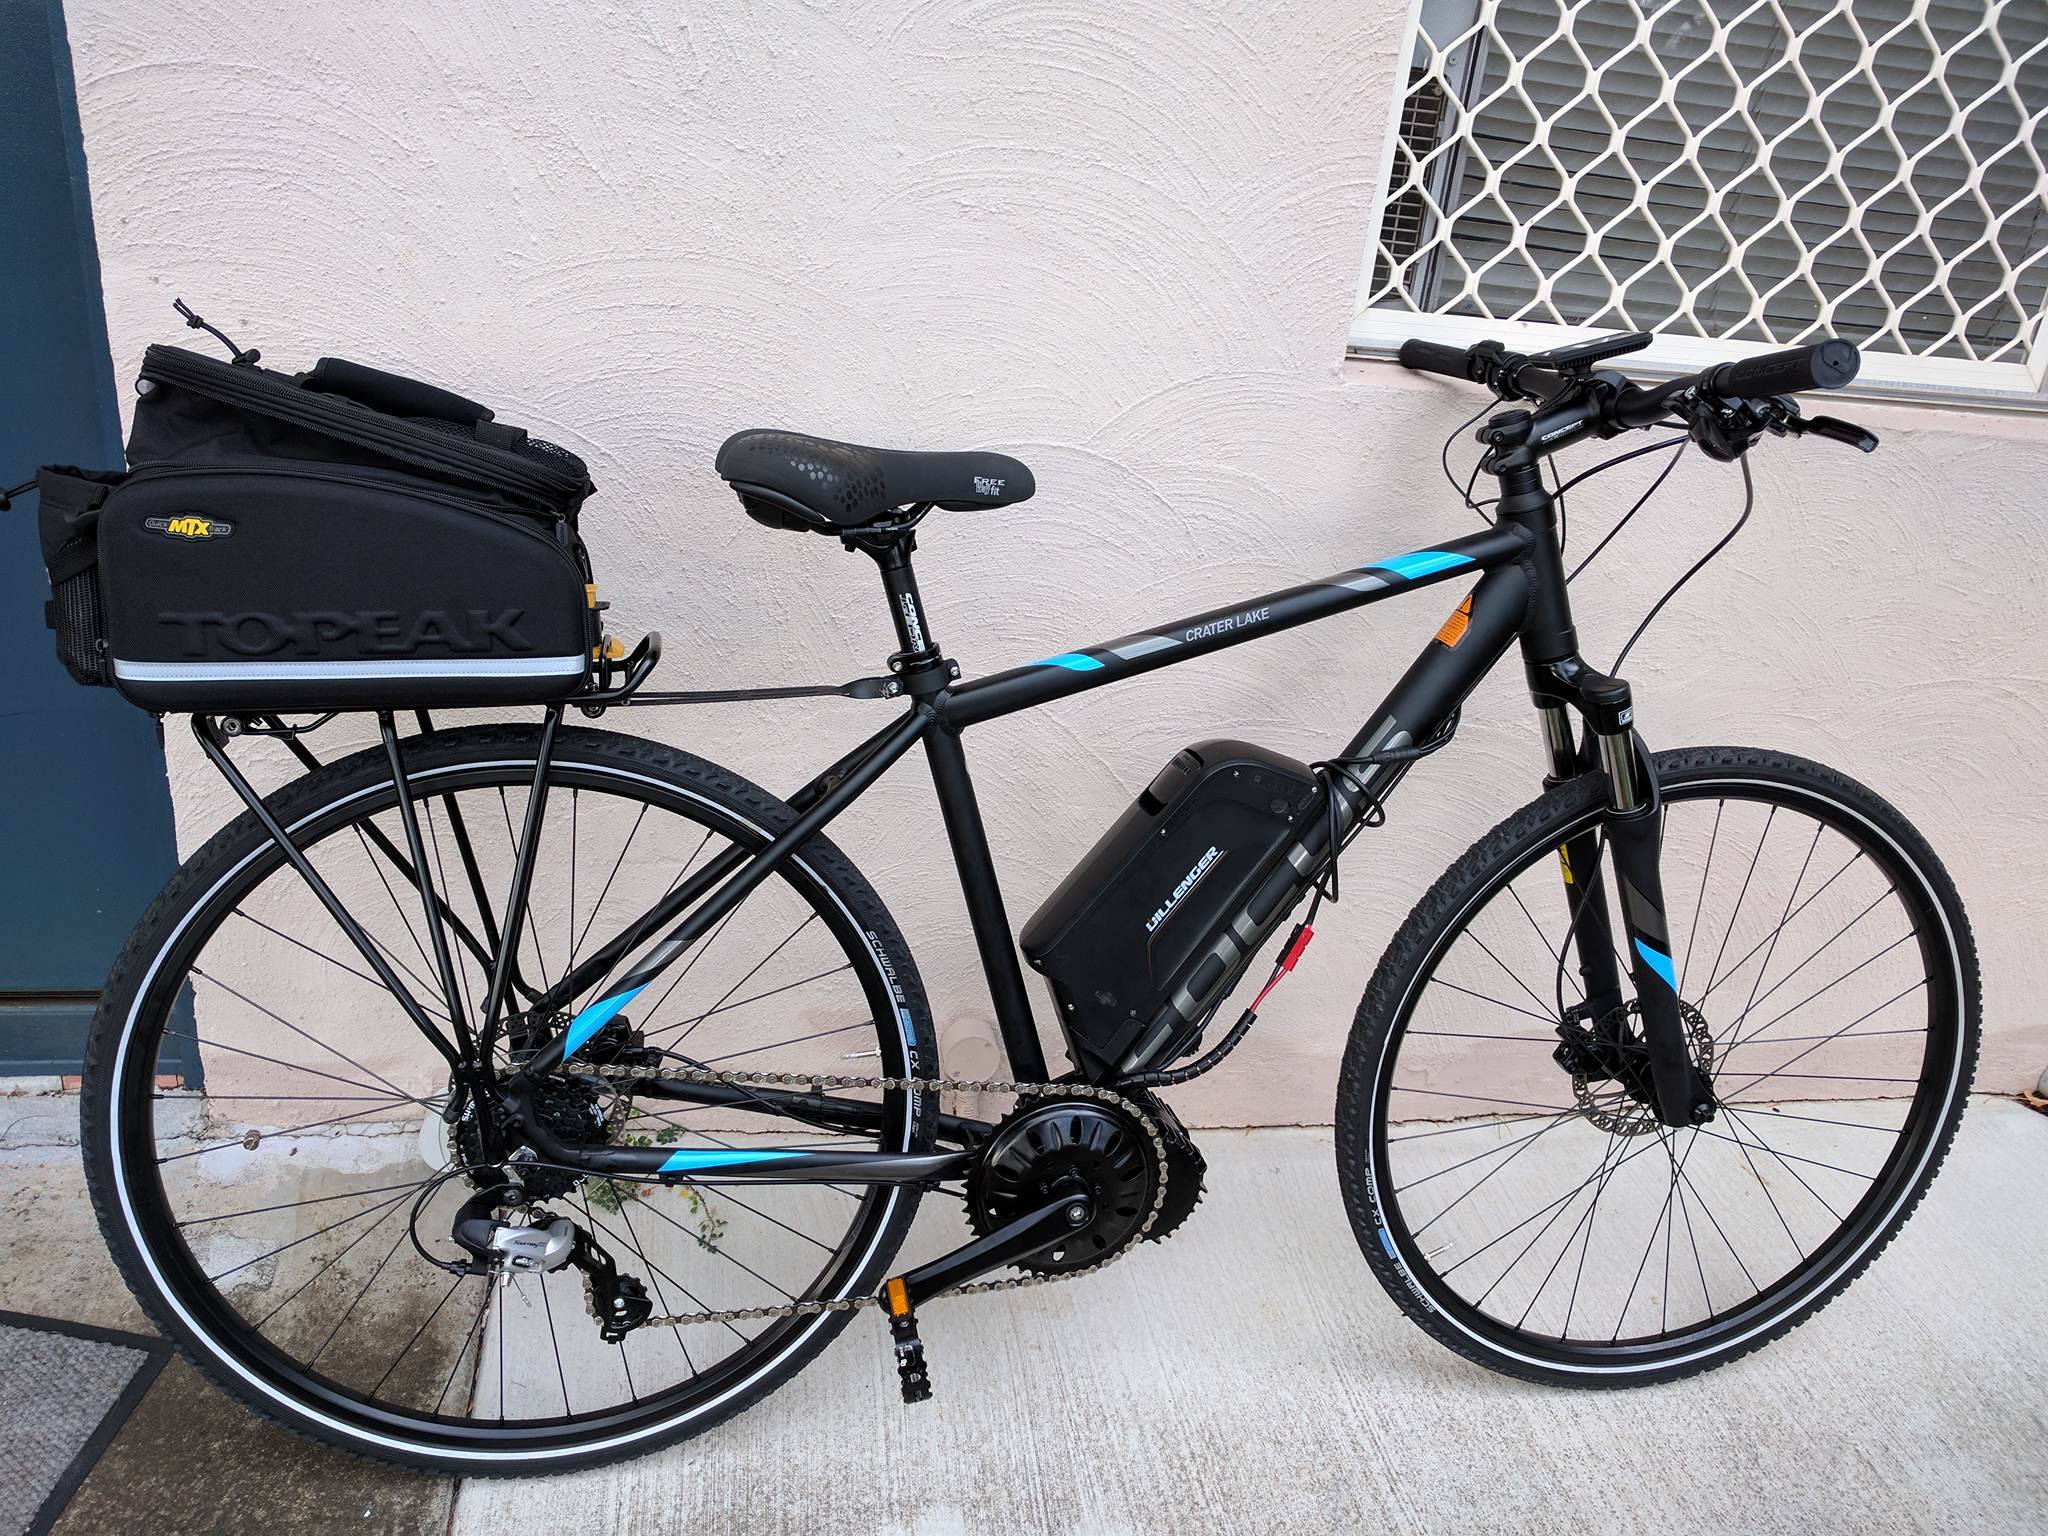
Electrics and rear rack fitted. Still some cabling tidy-up to to be done.
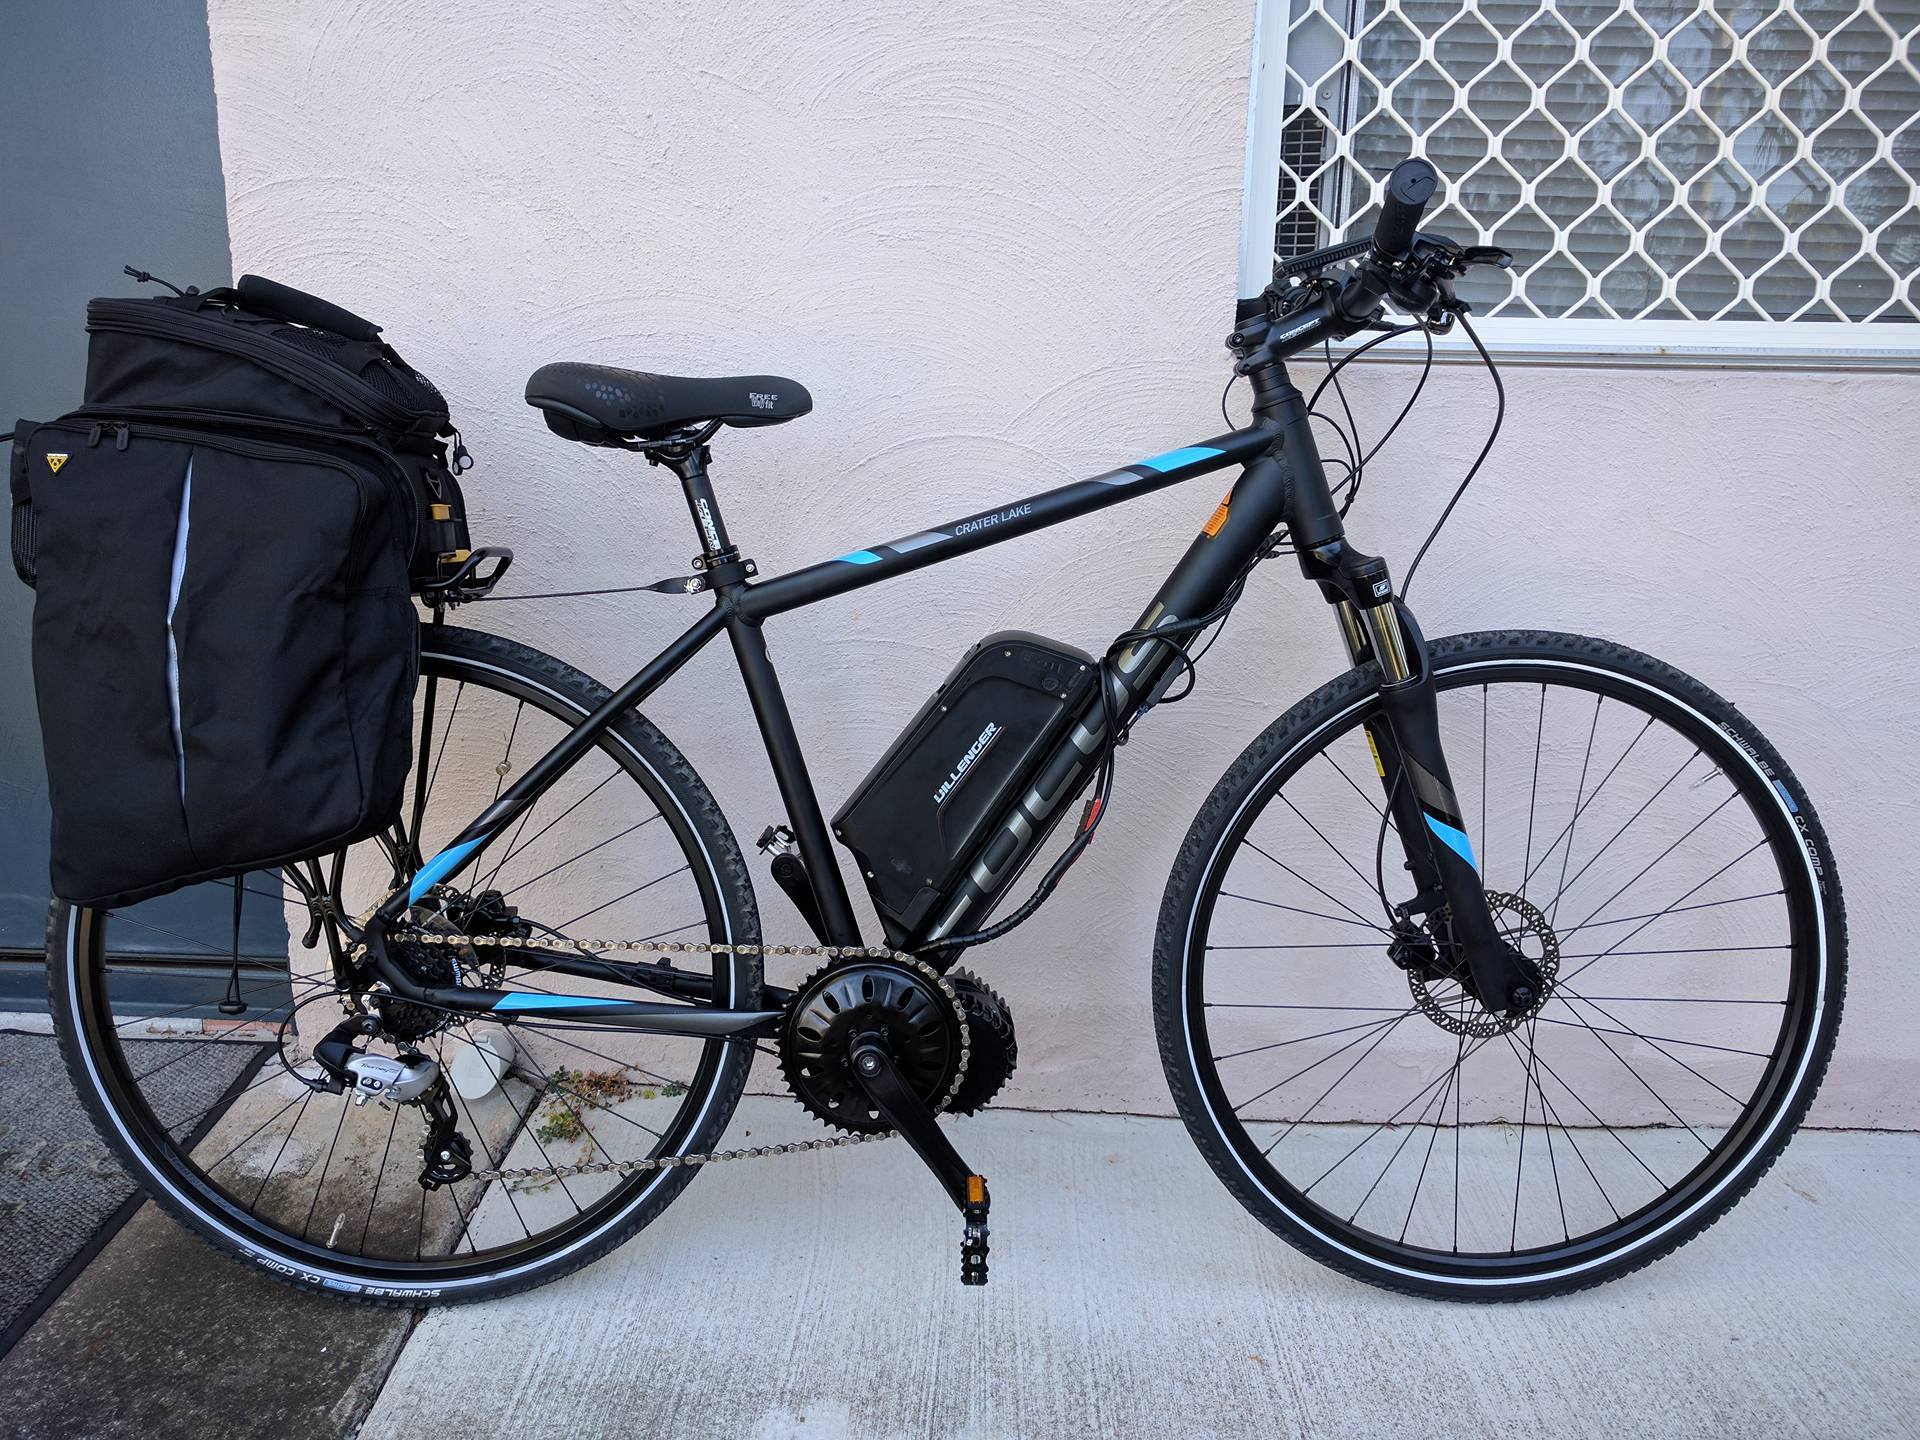
Pannier bags folded out – easily enough room for a change of clothes, shoes and other items.
I’ve been very happy with the bike so far – I’ve only had two things go wrong which were my pedals coming loose and then the motor coming loose over the first 20kms of riding. I don’t own a torque wrench so I didn’t know how tight to do them up. I suggest if you build your own bike to have a bike shop check your bolts to ensure everything is secure.
The bike has plenty of power, it will go up a 35% gradient hill at about 15-20kph. You can adjust the level of power from 0-9 levels. Battery usage depends largely on your riding style and speed. I managed to get about 35kms when running the bike at full power and cruising at 40kph+ (offroad only, of course).
Time-wise, I am able to commute to the CBD in around 40 minutes, which is about how long it would take in a car, and a lot faster than taking the bus.
Comparatively, today I did a ride totaling 44kms of which mostly I stayed in power level 1 – which is still enough to comfortably cruise around 25kph. I occasionally bumped up the assistance to level 5 for some big hills. After this ride my battery voltage had only dropped to 50%, so I suspect I could get up to 60kms from the battery if I stay in the lower power levels.

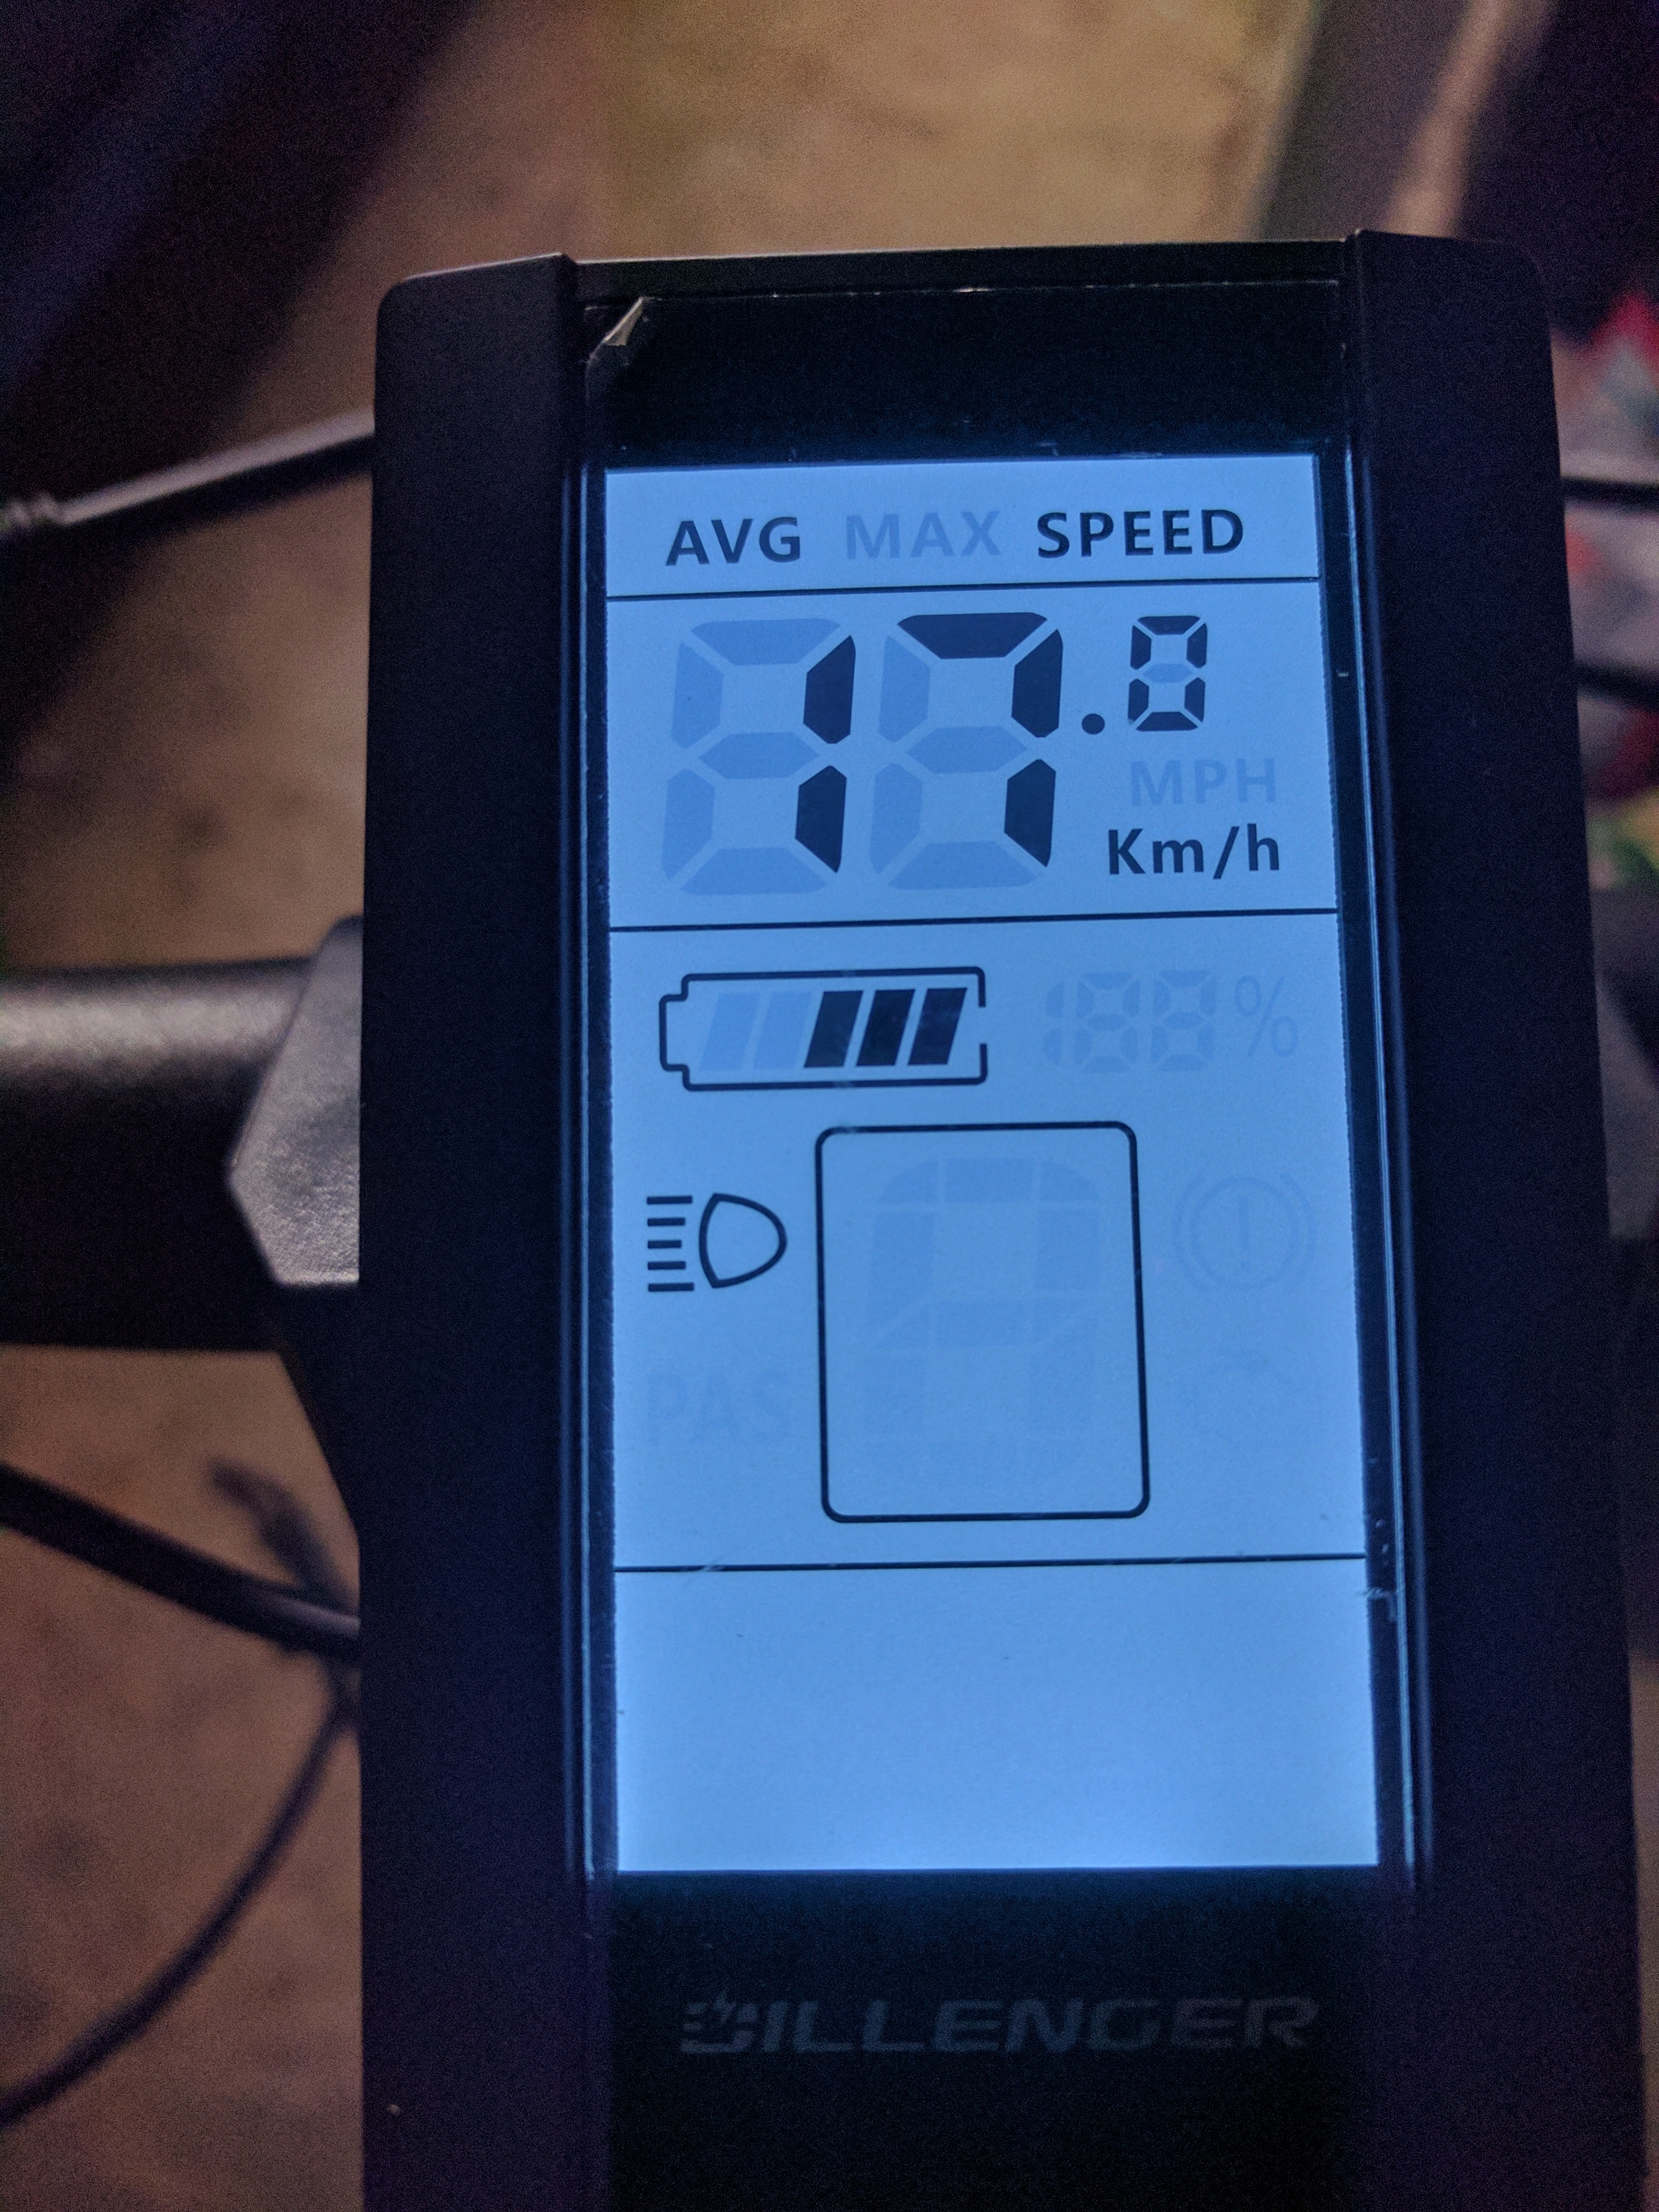
I do wish the bike had a proper amp/watt meter to track the power throughput. Using battery voltage as an indicator is very vague. The display does have an ‘instant’ watt meter however I’ve read that it is not very accurate, and as it only displays the immediate draw, it’s not useful for working out your range. I may end up adding my own amp/watt meter eventually.
Secondly I find that the engagement of the motor is very aggressive off the mark – I have heard that this can be tweaked by using a USB adapter and some PC software to change the settings. I’ve also heard that this can improve range, as the battery will no longer be dumping huge amps into the motor for relatively little gain.
I am very glad that I built my own bike with extra power – its great to be able to relax if you just want to go somewhere with little effort, and its also useful when moving through risky situations like crossing a road – you can get out of trouble quickly.
All up the bike has cost me about $3,000 to build, which I think is a bargain when you compare it to a lot of the e-bikes out there which are speed and power limited. Next I will be purchasing the USB adapter to fiddle with the settings, and a front and rear light to allow me to ride in the evenings.
Great article…very informative. I’ve just ordered a Bafang 750watt 48v 16ah package from Pirez Electric Bikes in Melbourne for my Bianchi Kuma MTB hardtail. Can I ask what gearing you’re using on your Focus? I live in quite a hilly area in Melbourne with gradients between 5 – 18%. My rear Deore mech is 9sp 11-32t and have been anguishing over the appropriate front chainring size. I’m thinking the Lekkie 46t. Would appreciate your thoughts and experience. Many thx Gary 👍
Welcome to being completely ripped off by Dillenger, the worst and most expensive ebike shop in Australia, you could have saved HUNDREDS of DOLLARS by buying from Lunamate in Perth and gotten better support and the gear sensor you wanted, oh well live and learn.
Yep if I were to go again I wouldn’t buy from Dillenger, however I went into the project with zero bicycle knowledge, let alone e-bike knowledge.
I’ve updated my article to point people toward lunacycle/lunamate instead of Dillenger.
Hi, Thanks for your article it is really interesting to me as I am contemplating a very similar build, possibly with a 1000W kit.
With the benefit of hindsight, what would you do differently if you built another Bafang bike? What battery motor combination would be ideal for your needs?
Did you change or modify your hydraulic brake levers to cut power to the motor when you activate them?
Do you cut the power to the motor when changing gear?
Sorry for asking so many questions. Cheers Sam
Hi Sam
Thanks for your comment, glad you liked my article.
If I were to do the build again, I’d make the following changes:
1. Spend a little more on my starting bike. Mainly I would want drop-bars instead of a flat bar. I think this would help with fatigue on long rides.
2. I’d get a bigger battery. I’d get something around 14AH or maybe a little more. And I’d make it a 52v instead of a 48v battery, to help with voltage sag. I’d keep the BBSHD, it’s a great motor.
Regarding brakes, I’ve not found I needed the brake sensors as I usually ride in a lower power level. Additionally, when moving around obstacles I tend to not pedal and just use the thumb throttle. The motor cuts out within a second of when you stop pedaling, and if you pedal backward it’s instant. I could foresee that accidentally pedaling forward could result in you getting launched into traffic if you were in a high power level, but I’ve not had that happen.
In my opinion, you absolutely must, must, must have a gearsensor to cut power to the motor when changing gear. The amount of power the BBSHD puts through the drivetrain means that your derailleur won’t be able to shift while under load. It makes a huge difference.
Additionally, you should expect your rear sprocket to wear out a lot quicker than a normal bike. The gearsensor will help extend its life by reducing the load while the chain changes gears.
I’d suggest checking out LunaCycle or LunaMate in AU/NZ for parts.
Hope this helps
James
Is the LCD panel required? Does the kit work without the lcd panel? I’ll keep my bike out. the panel may be damaged or stolen. if the kit does not work in these situations this is not good. Sorry for my english. Use your bike in nice days.
Hi, thanks for your comment. The LCD panel is required for the kit to work. You can unplug it and take it inside if you wanted to. You can also buy new screens separately for about $90 USD.