This is the biggest set of upgrades to the Delica since I did my initial camper conversion! (you can read more about that here).
I managed to get almost 12 months out of my 2nd hand batteries, but now they’re struggling to hold a charge. I work them pretty hard charging my drone, cameras and laptop, so that’s not surprising.
My goals for this upgrade were as follows:
- Upgrade to a larger battery
- Install a quality solar+alternator charger
- Add a battery & power consumption monitor
- Get some extra storage space for clothes
- Create a space for my Diesel Heater (more info here)
With all these ideas in mind, I started as usual by designing it in 3D in Fusion360:

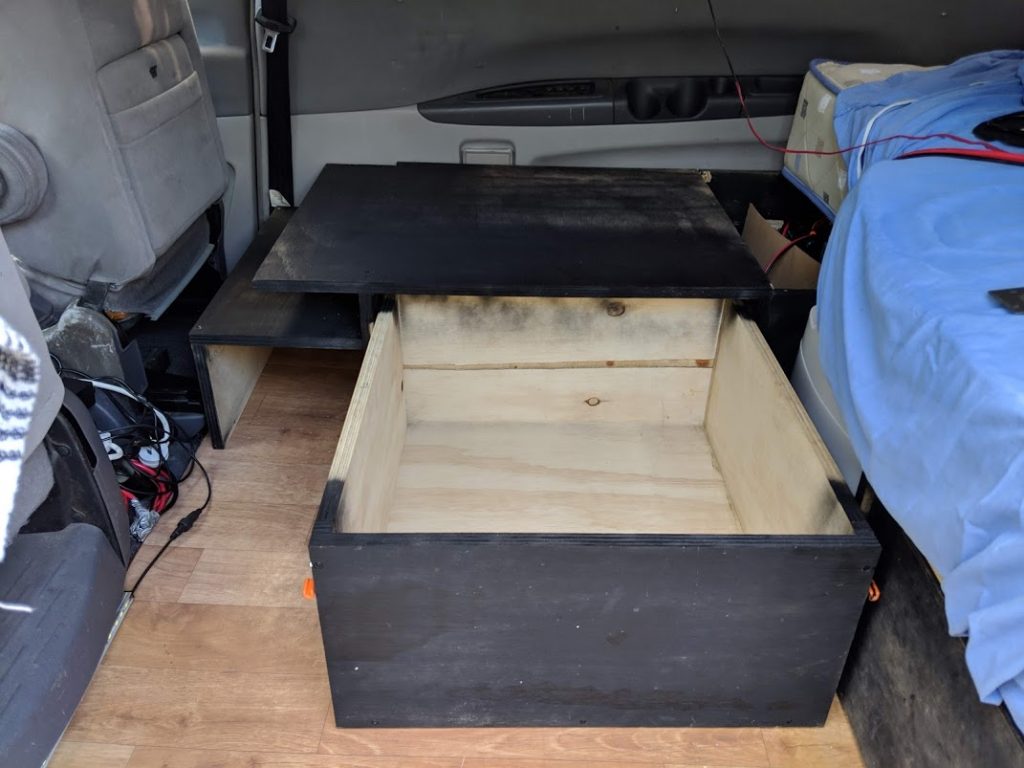
Originally I had considered building a cabinet above the fridge, but then I realized it would be much easier to build one under it, and would also provide a convenient place for the diesel heater.
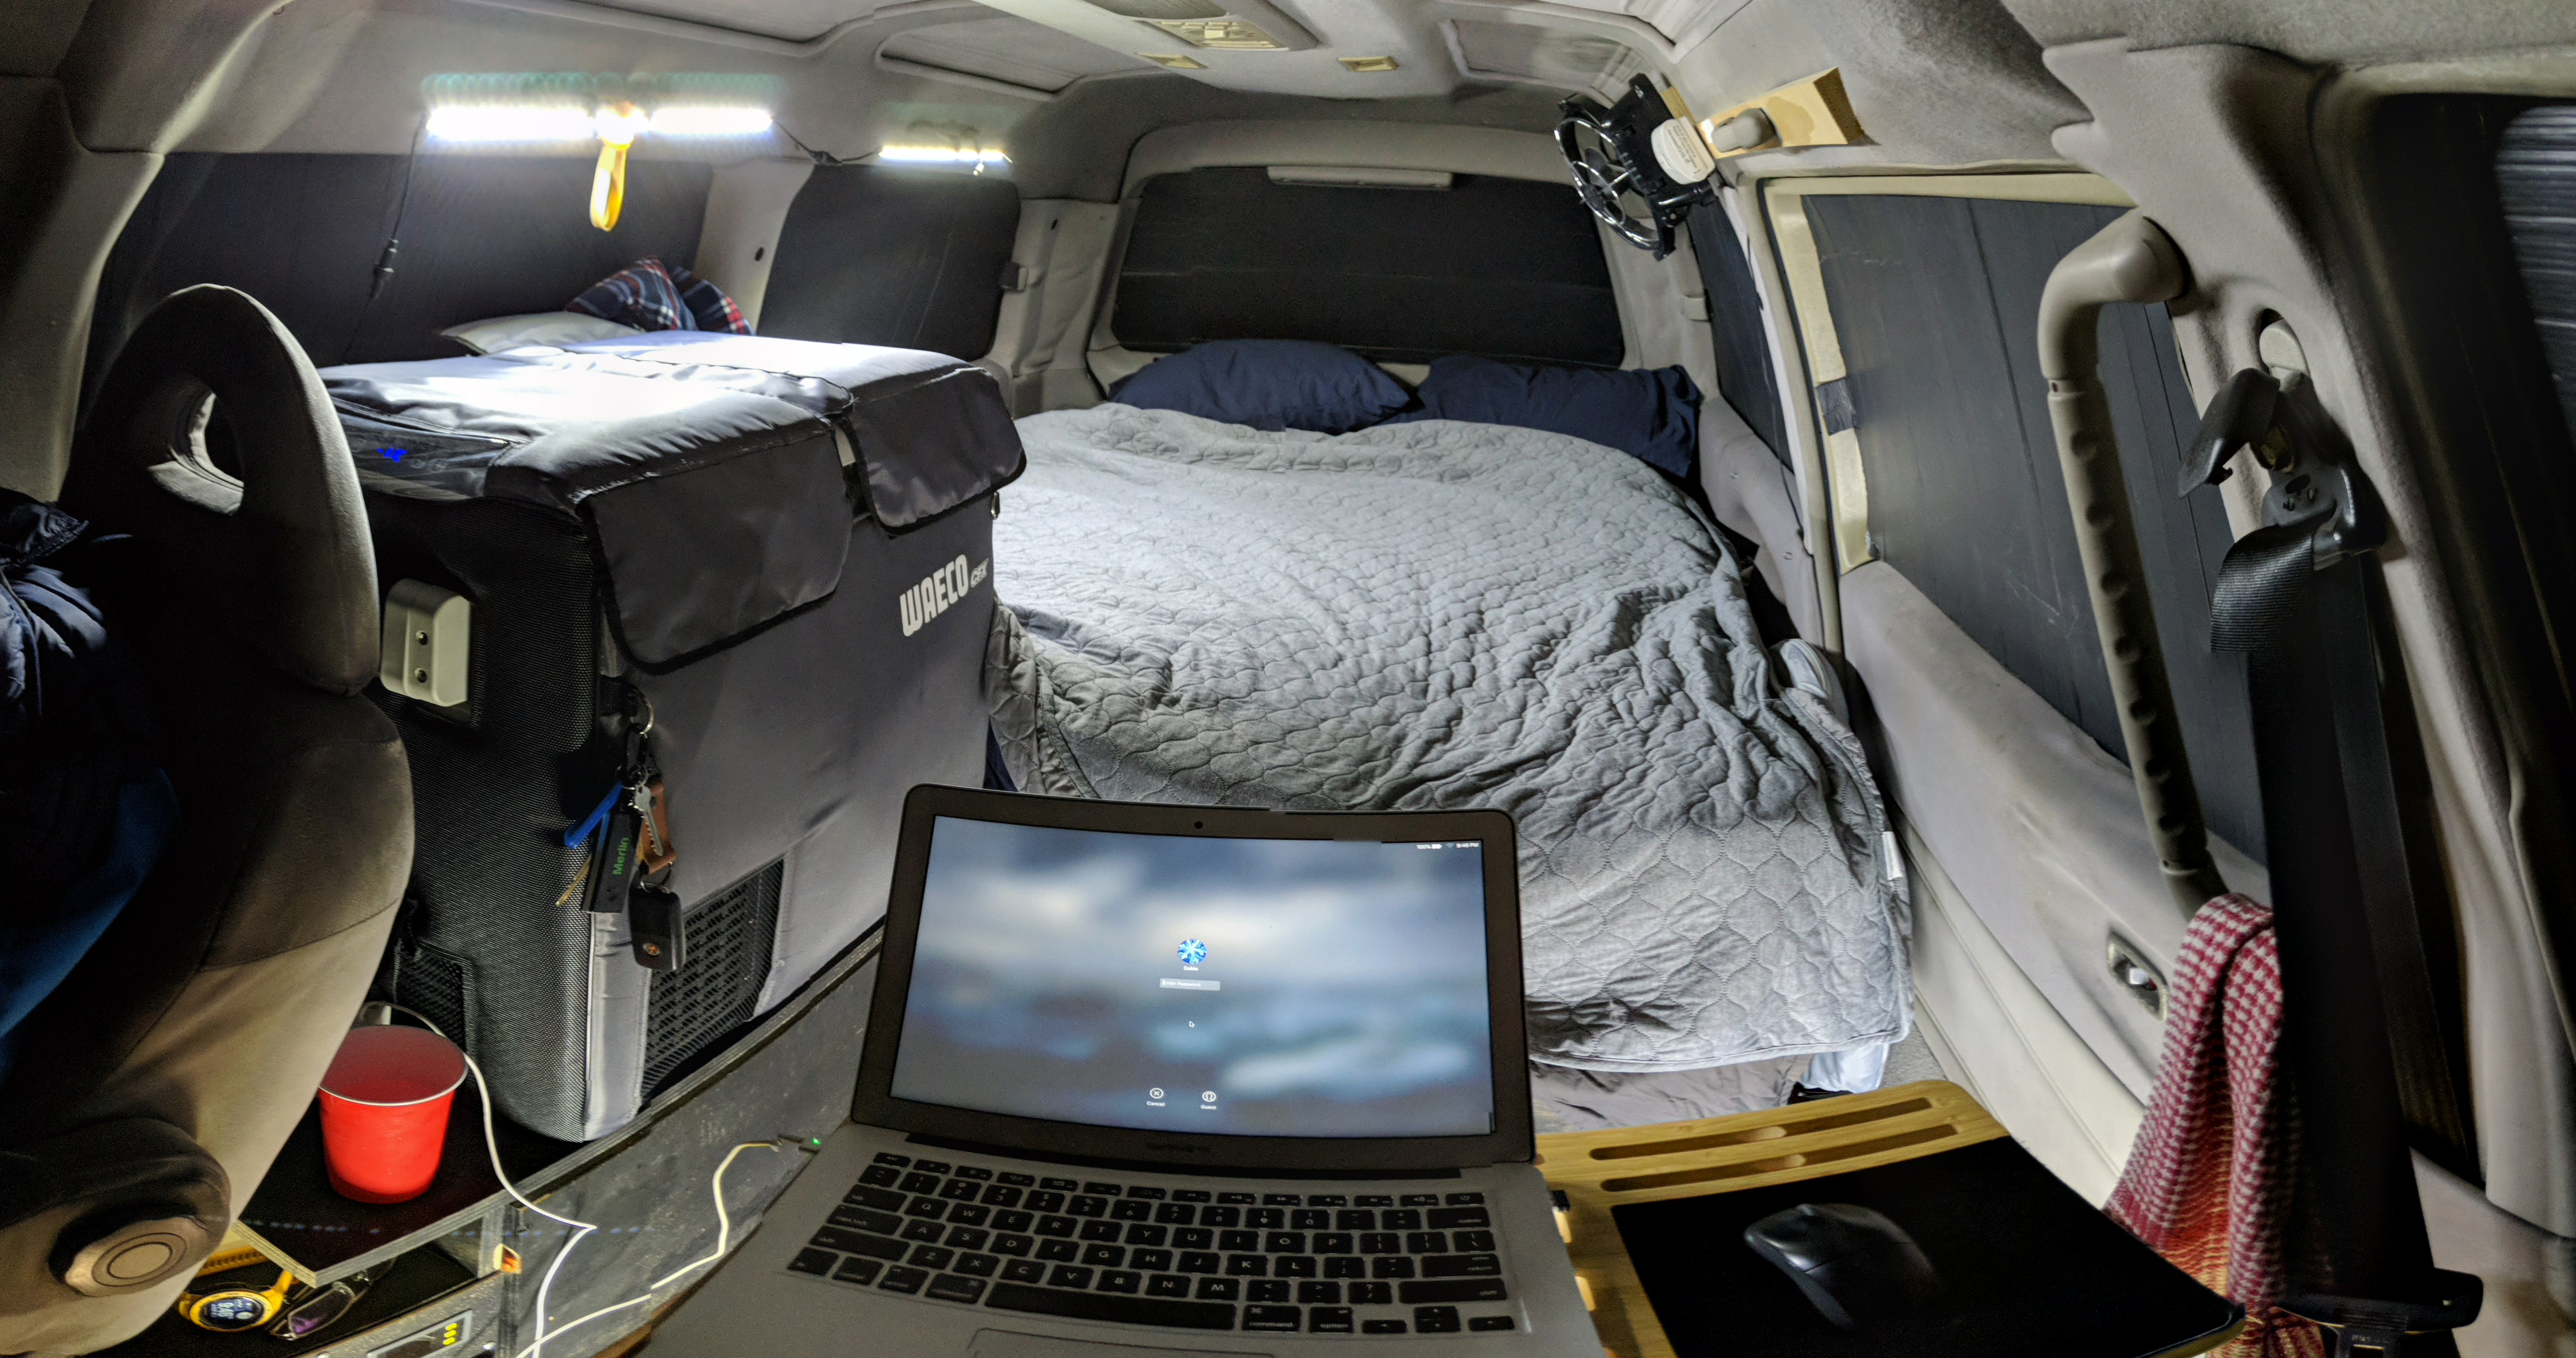
I used some buckets to simulate where the fridge would sit, to ensure that it would fit behind the seat, and that I could still open the lid and get the baskets out. It was a very, very tight fit, but it works! I really hope I never have to replace this fridge as the whole van is basically built around it!

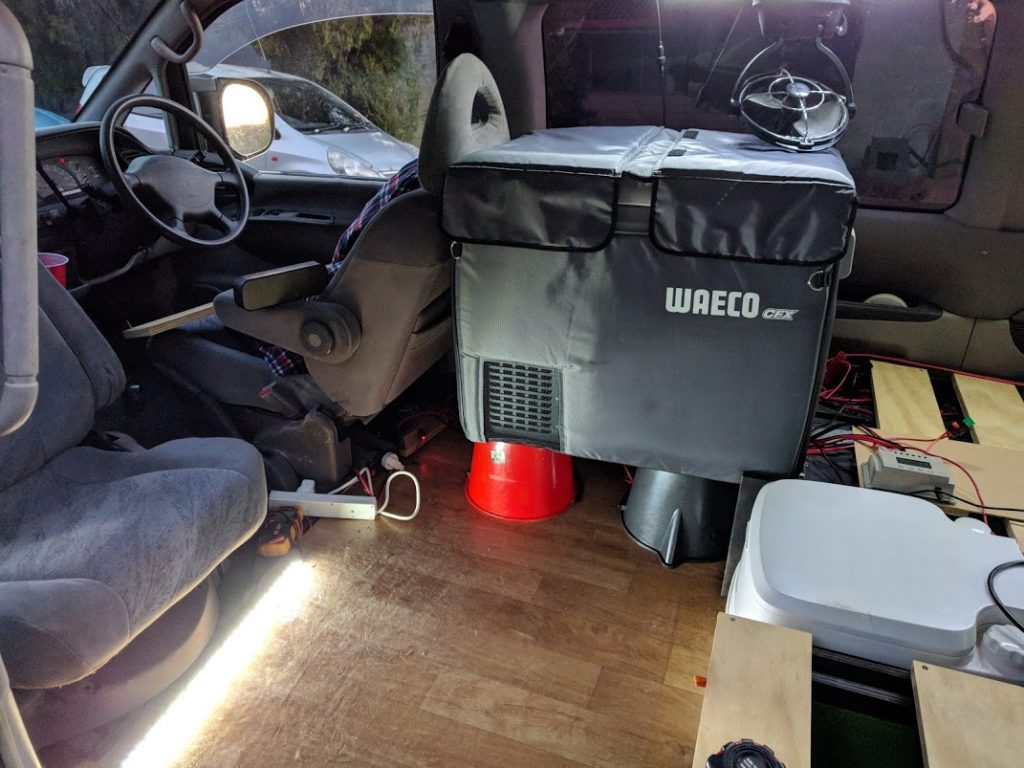
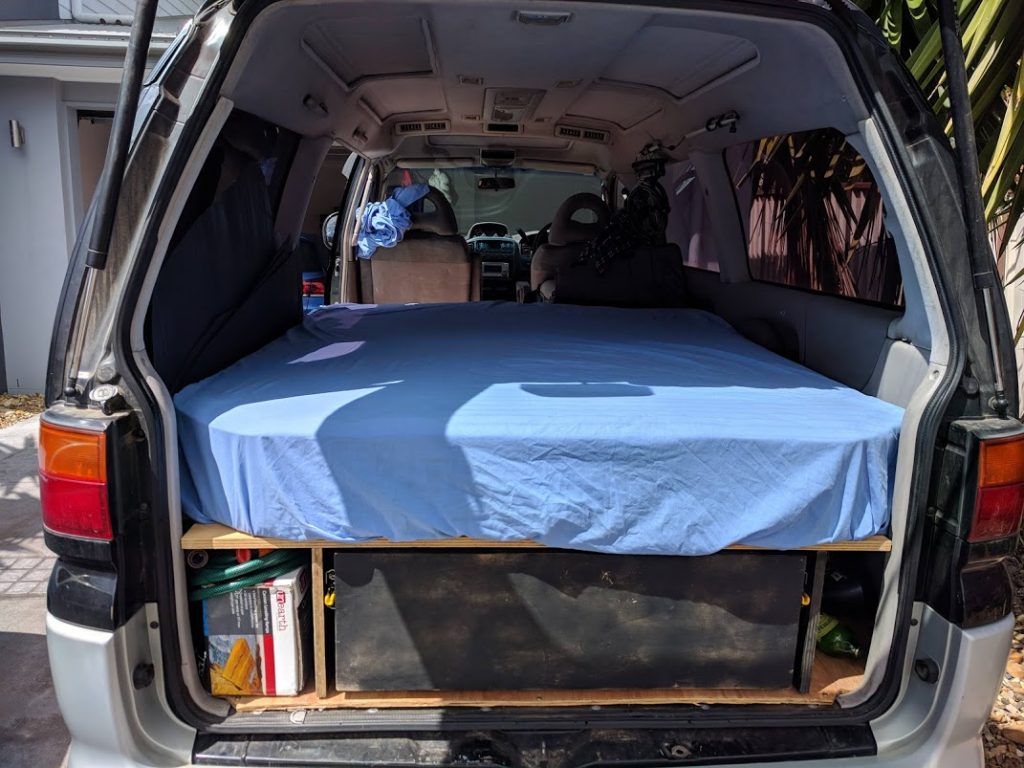
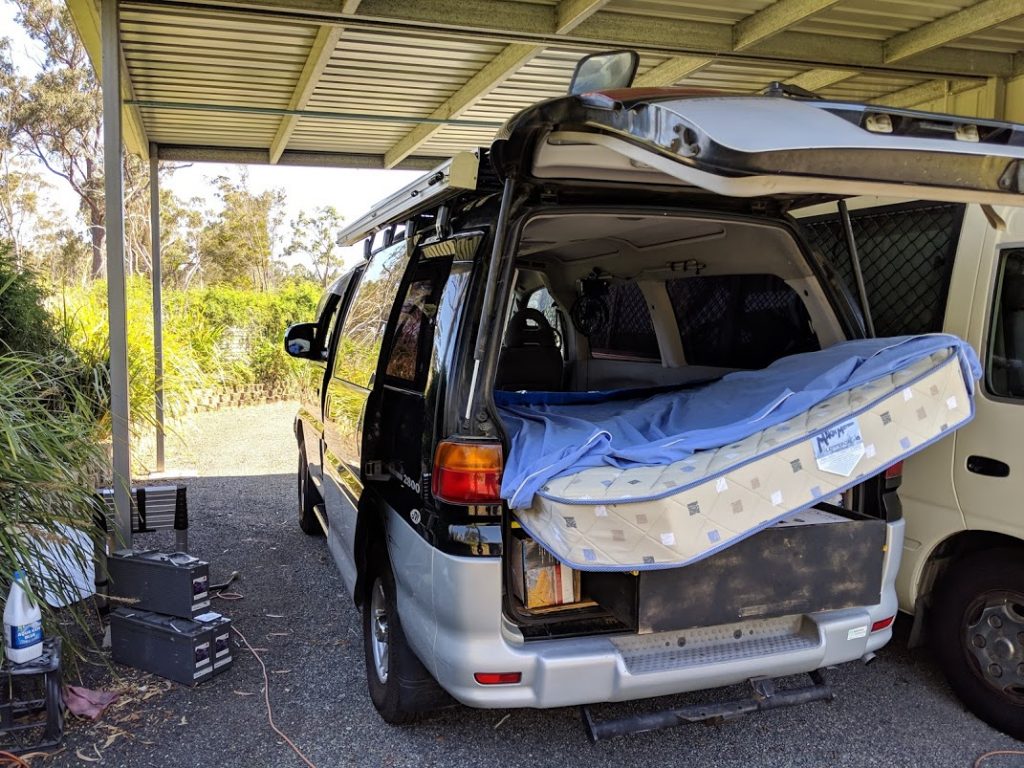
Because of how the drivers seat curves backwards, once I raised up the fridge, there would no longer be enough room for it. To solve this, I had a custom innerspring mattress made by Makin Mattresses to go around the fridge. It also had the edges at the rear chamfered off to fit perfectly into the tailgate, so the bed can sit flush with the rear door. Other than these changes, it’s a full size double bed. It cost about $650 and is really comfortable.

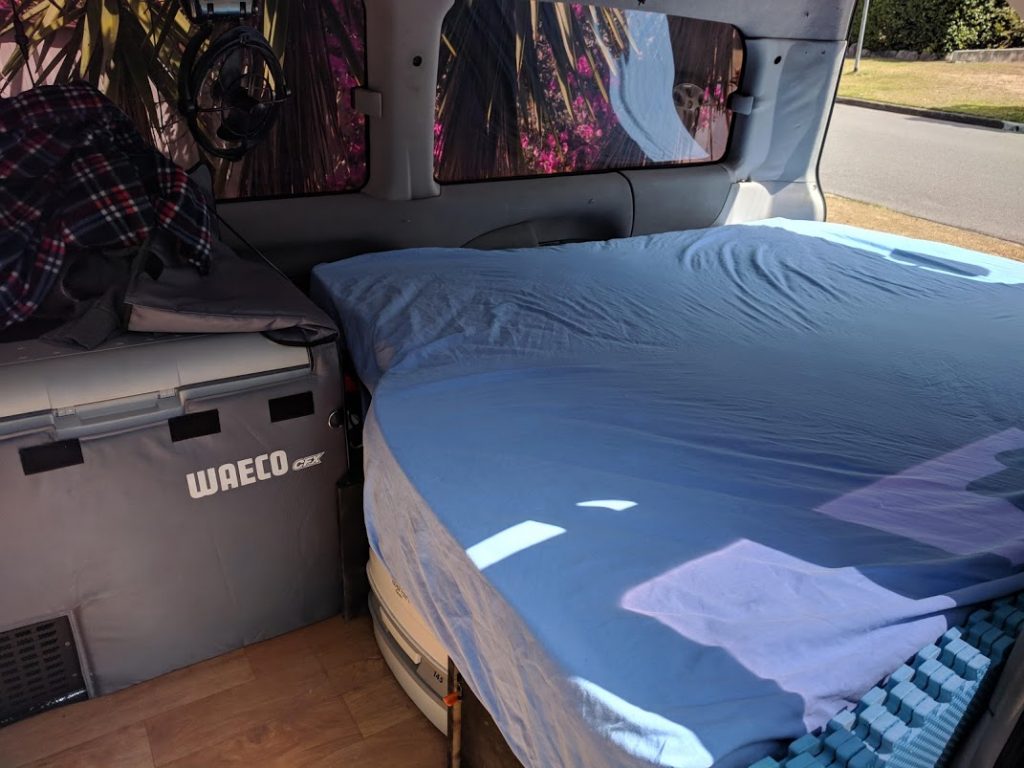
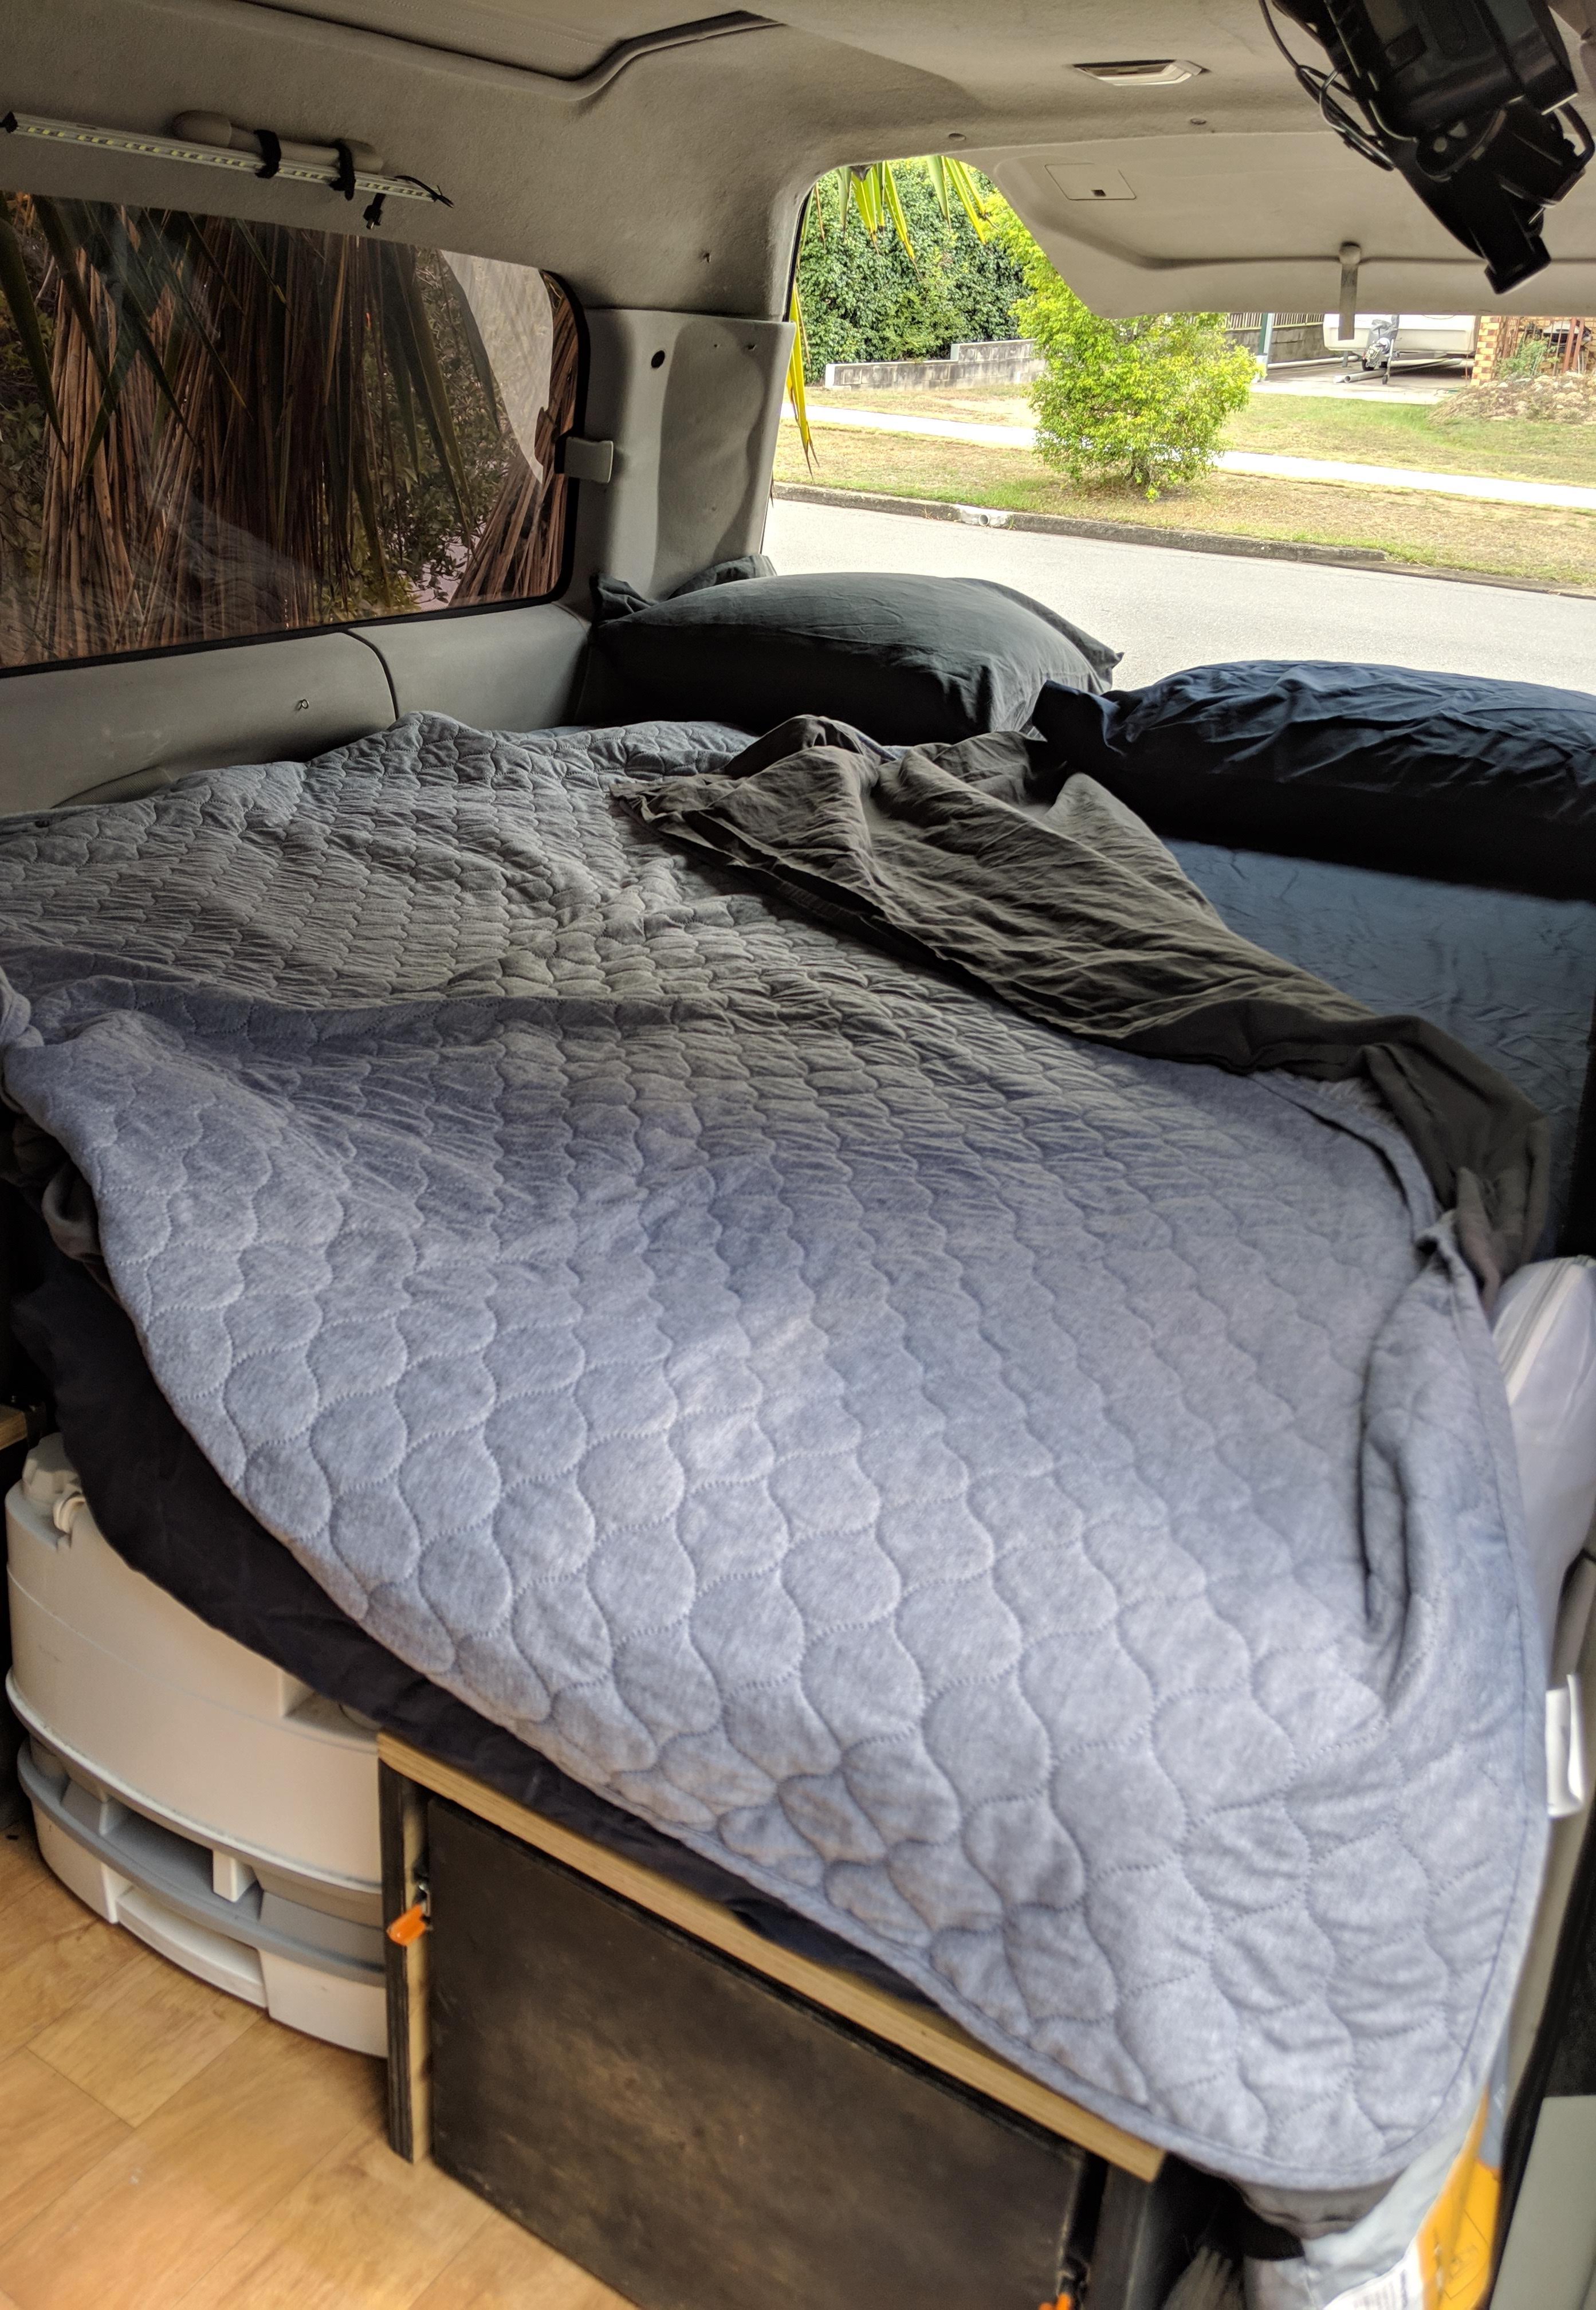
Since the bed goes right to the edges of the van, a ‘double’ size blanket would bunch up at the sides, since it cant hang over the edges. To solve this, I combined a ‘double’ fitted sheet with a ‘single’ top sheet and blanket, which fits perfectly – the ‘single’ goes right to the edge without bunching up.
With the 3D design finished, I sent the dimensions to be cut by Mister Plywood at Underwood, and got the locking drawer slides from Dunn & Watson. My friend Erik helped me put it together.
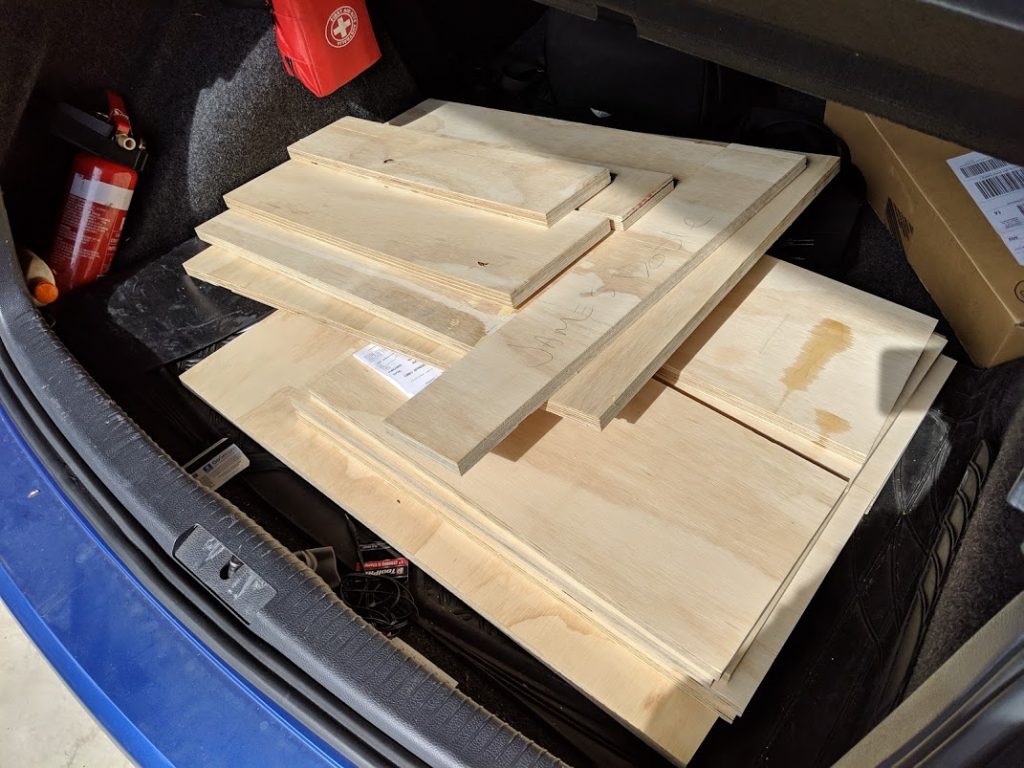
Once we’d finished the assembly, I was very pleased that it fit perfectly and was looking forward to the extra storage
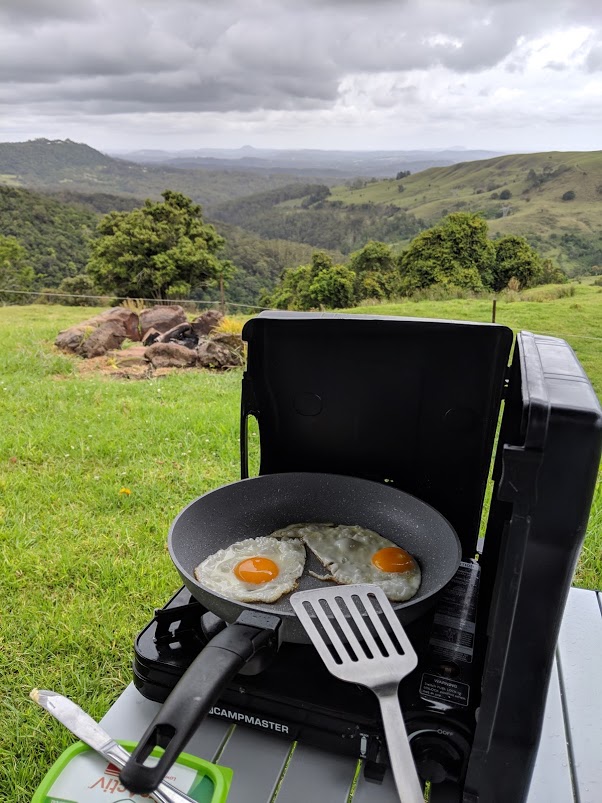
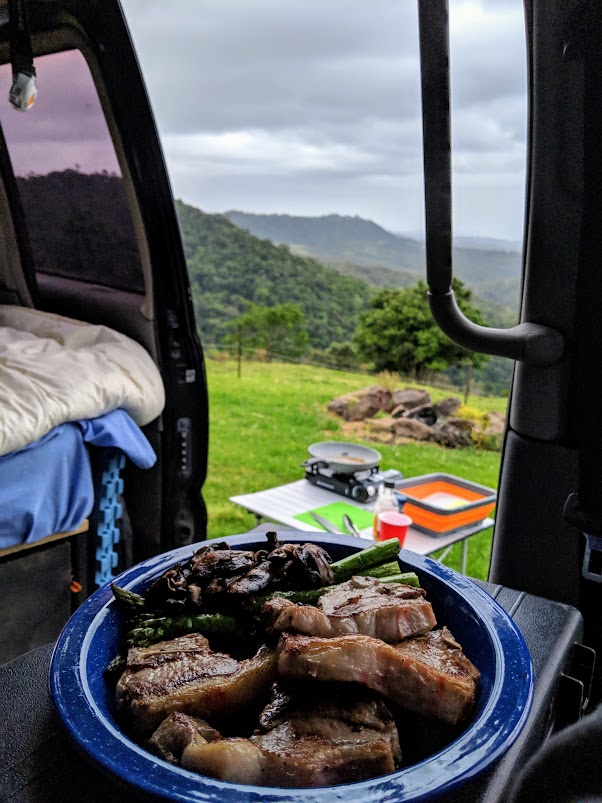
Next I had to order the charger and other electrical components. While I waited, I did a weekend trip to the sunshine coast to a farm I found on YouCamp. I had just finished installing my water tank, so I was keen to try it out.
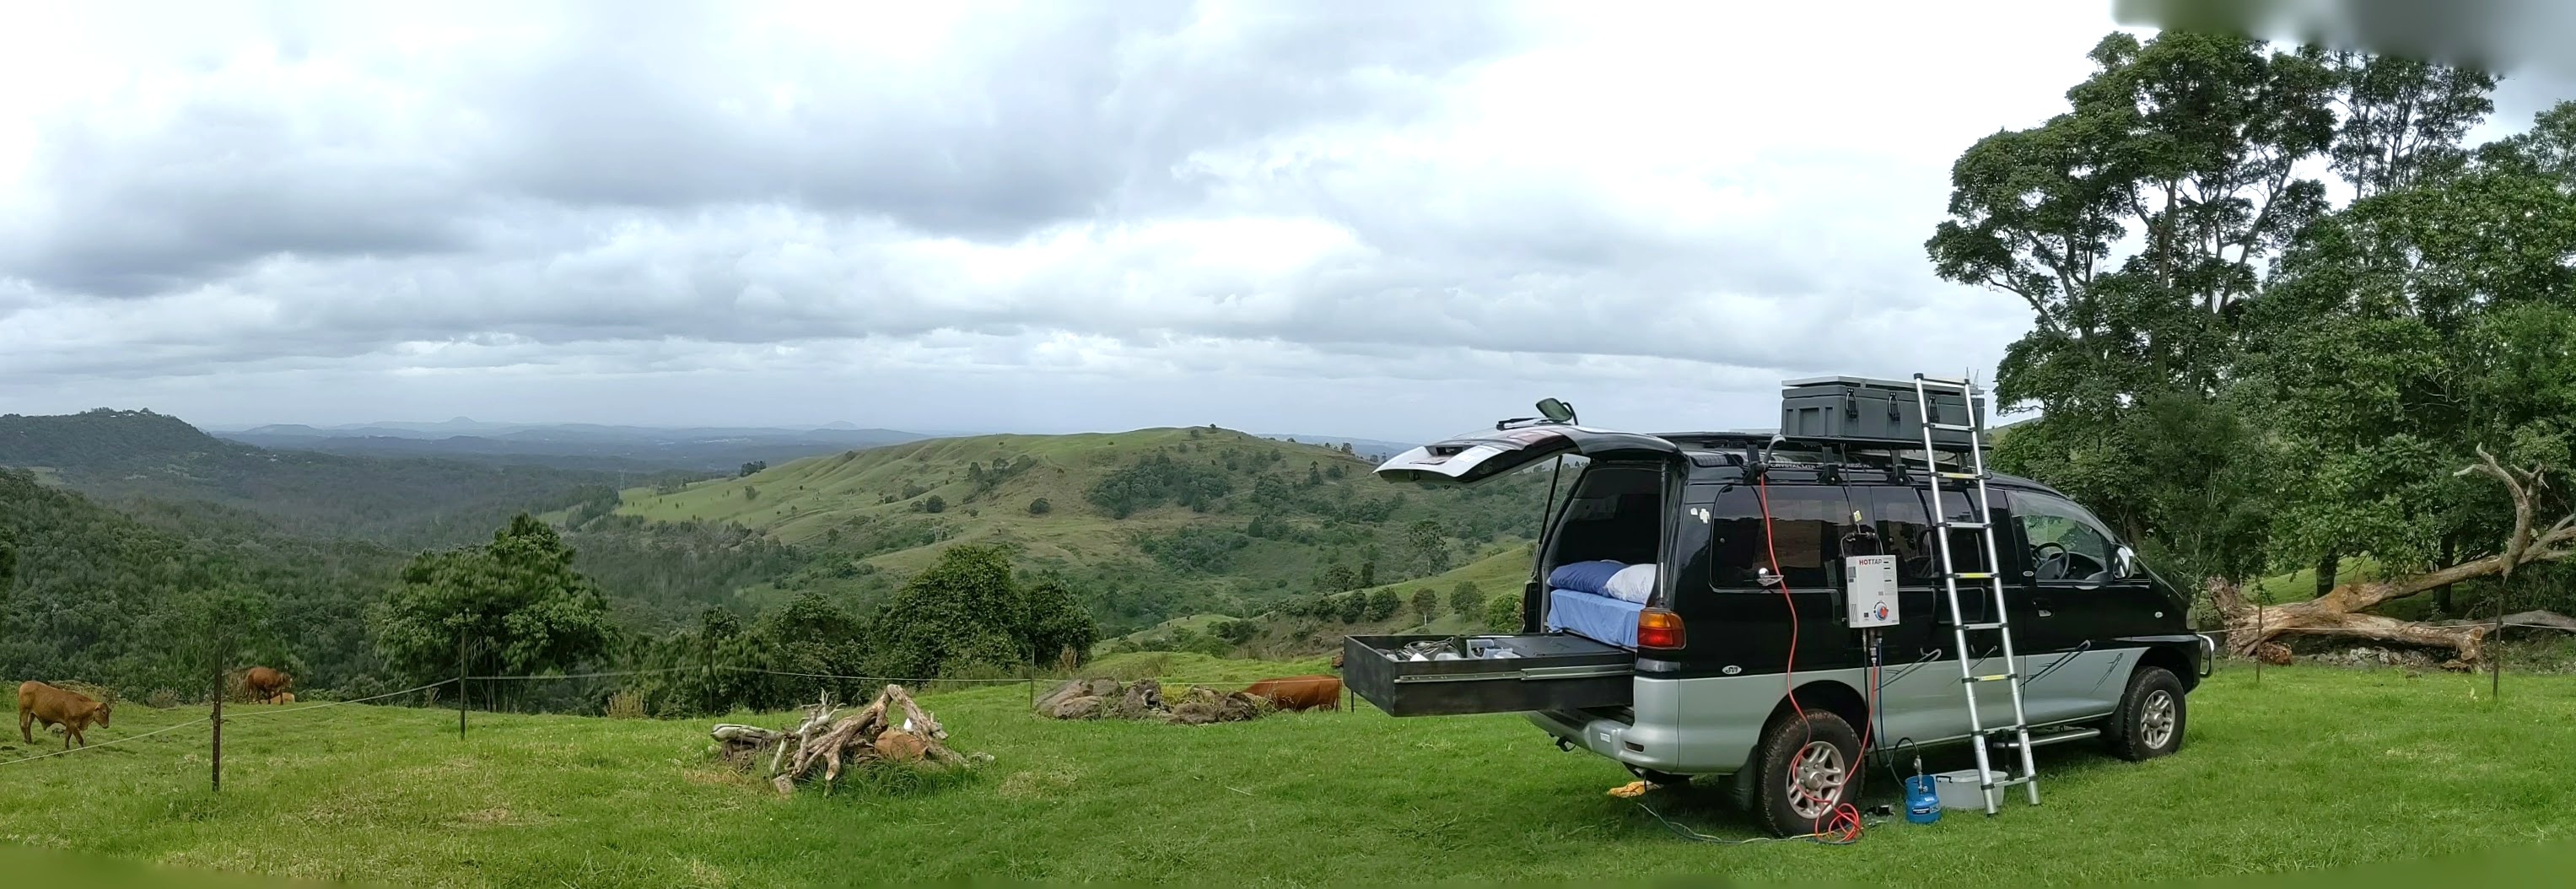
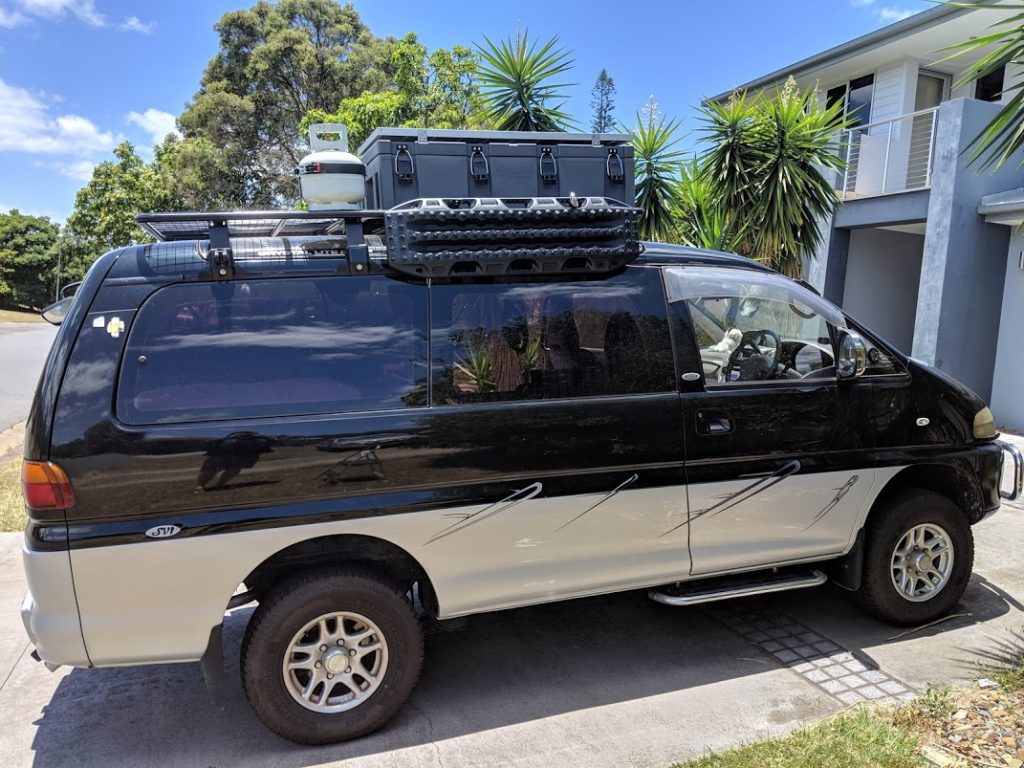
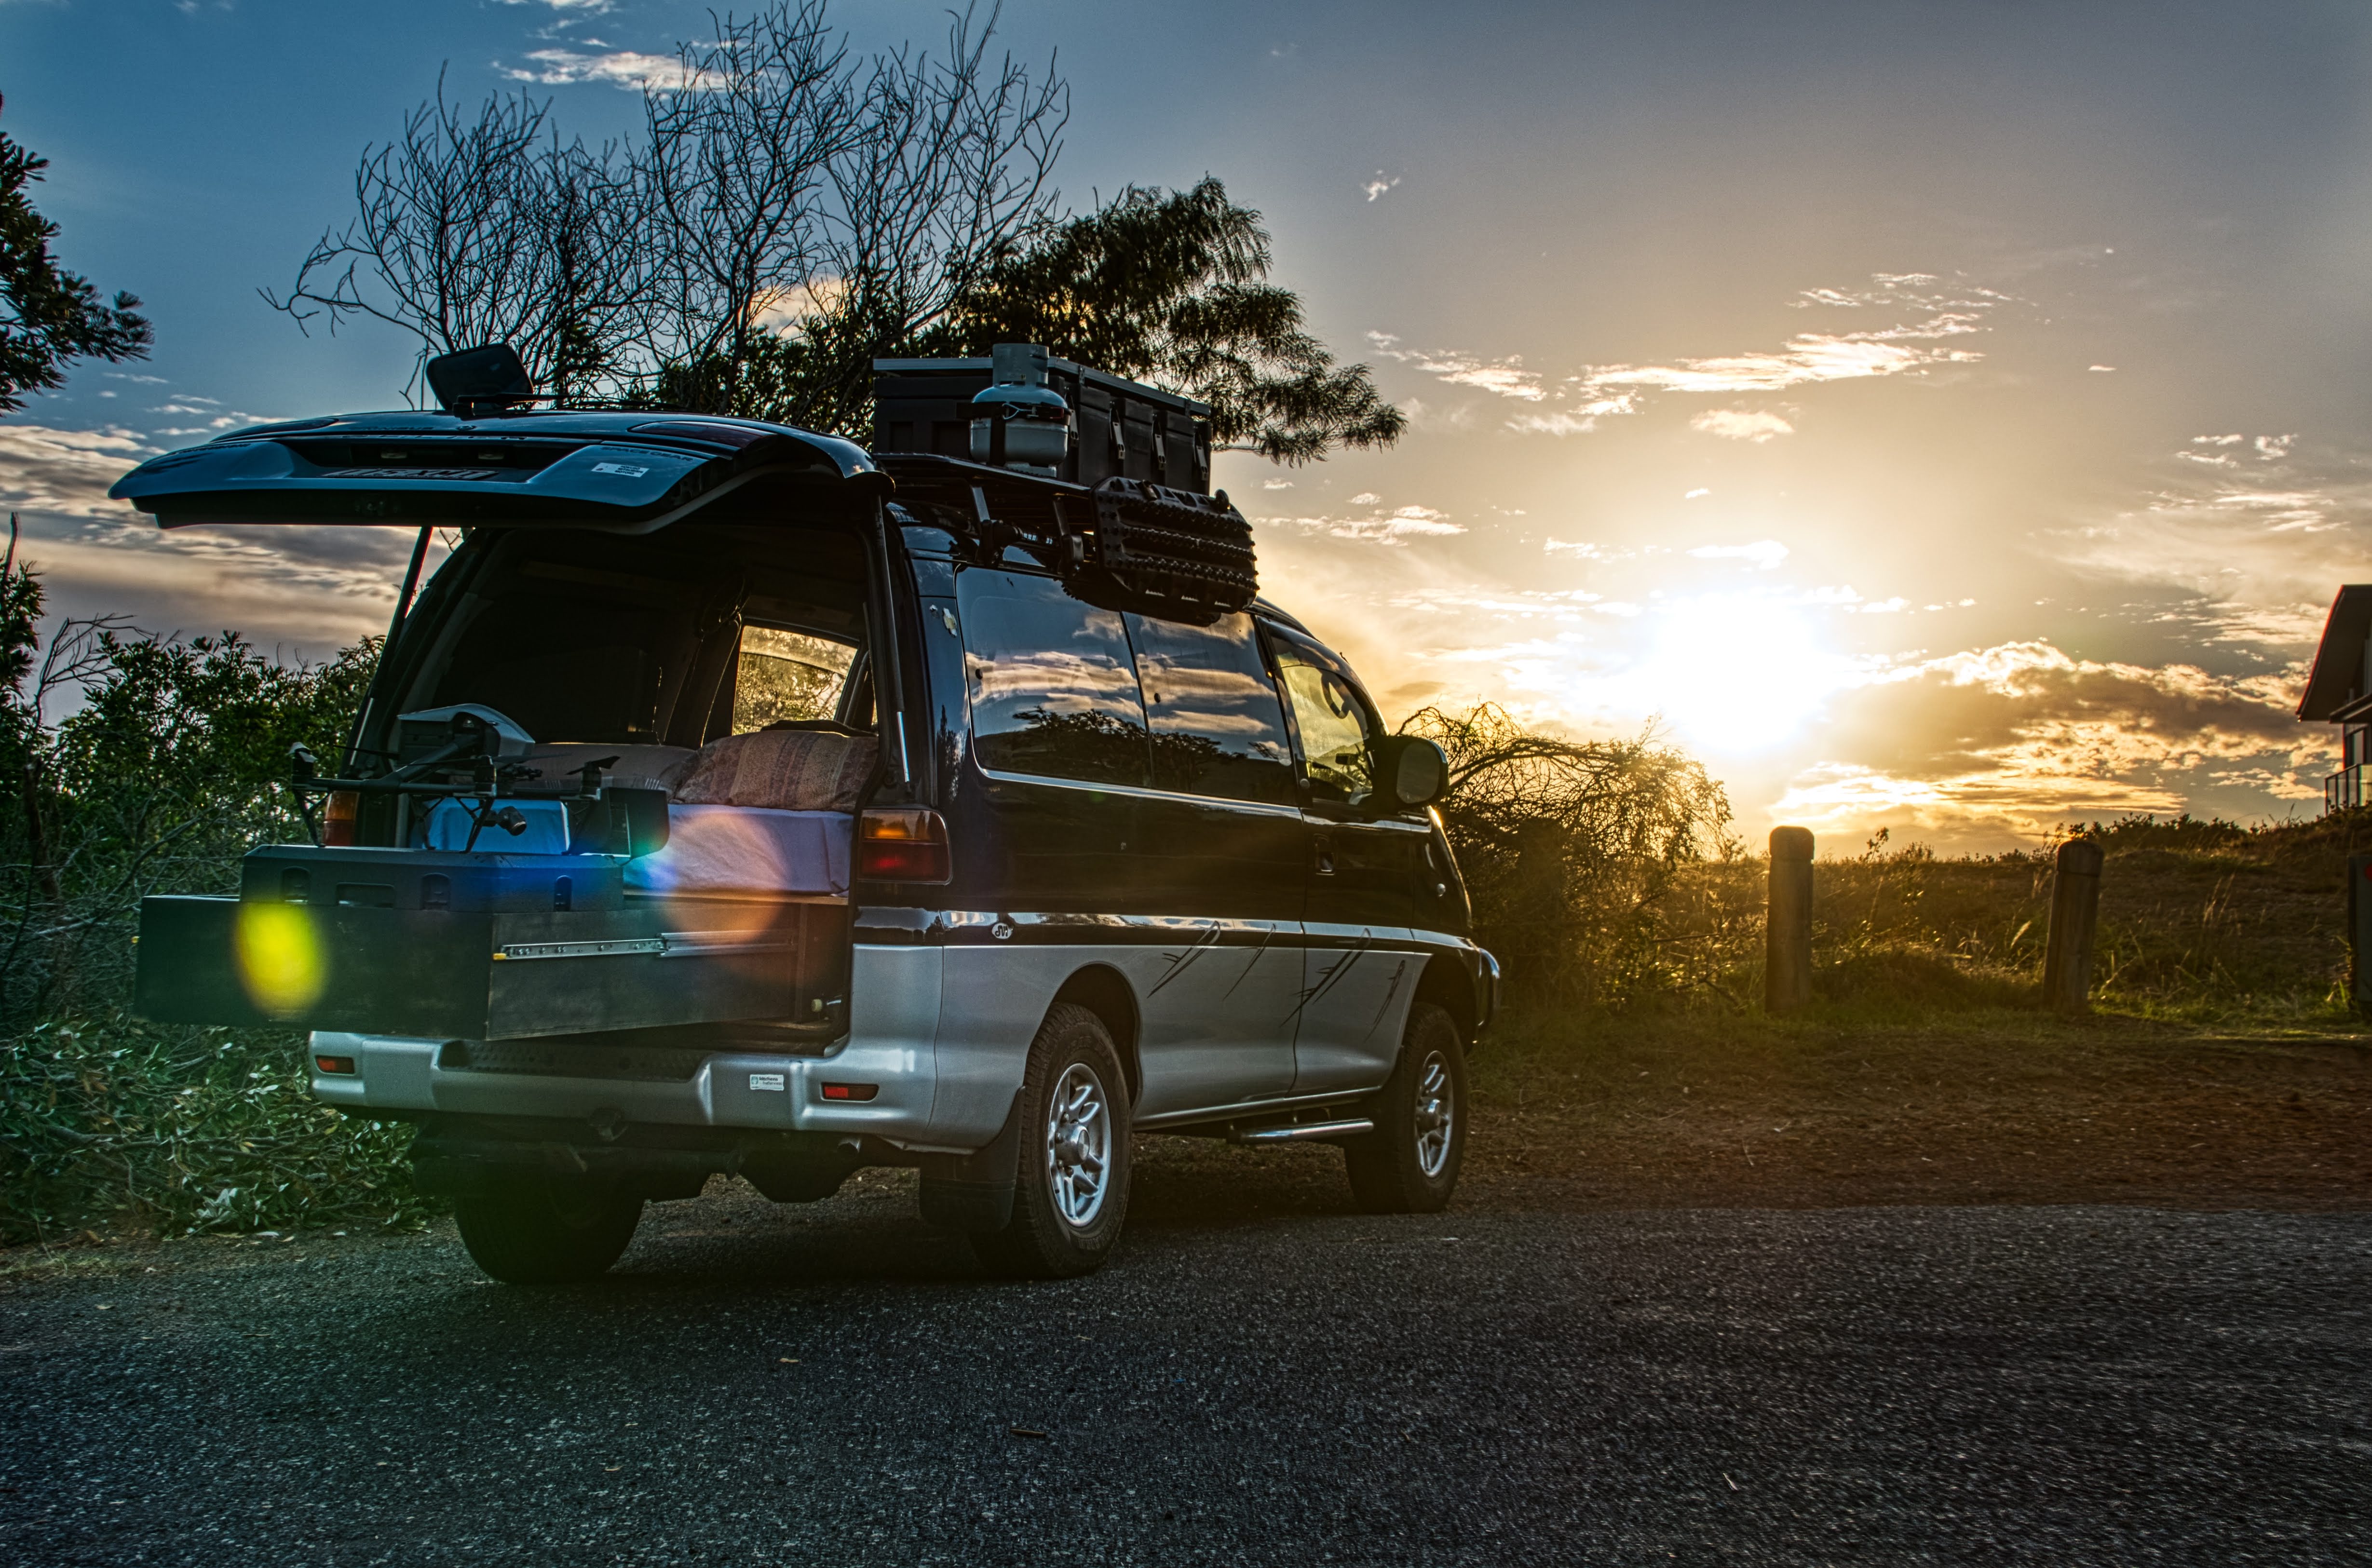
It was a great spot, on the side of a mountain looking down into the valley. The water tank and my shower worked great. I store the Joolca Hottap in the roof box when I’m not using it, hence the ladder.
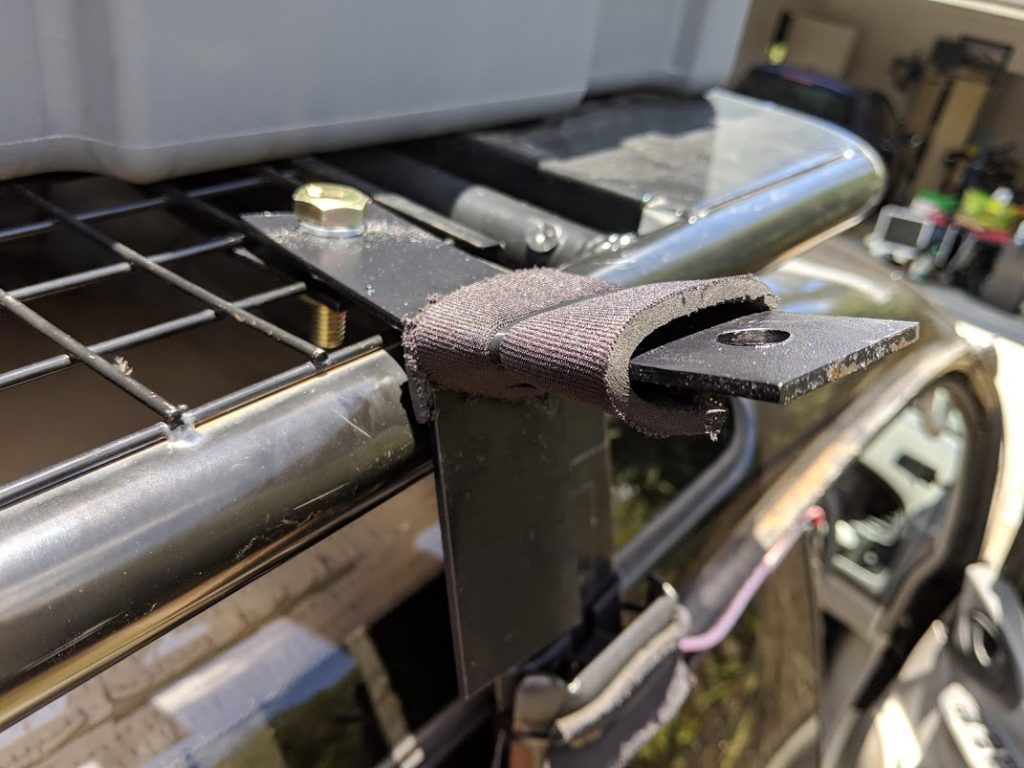
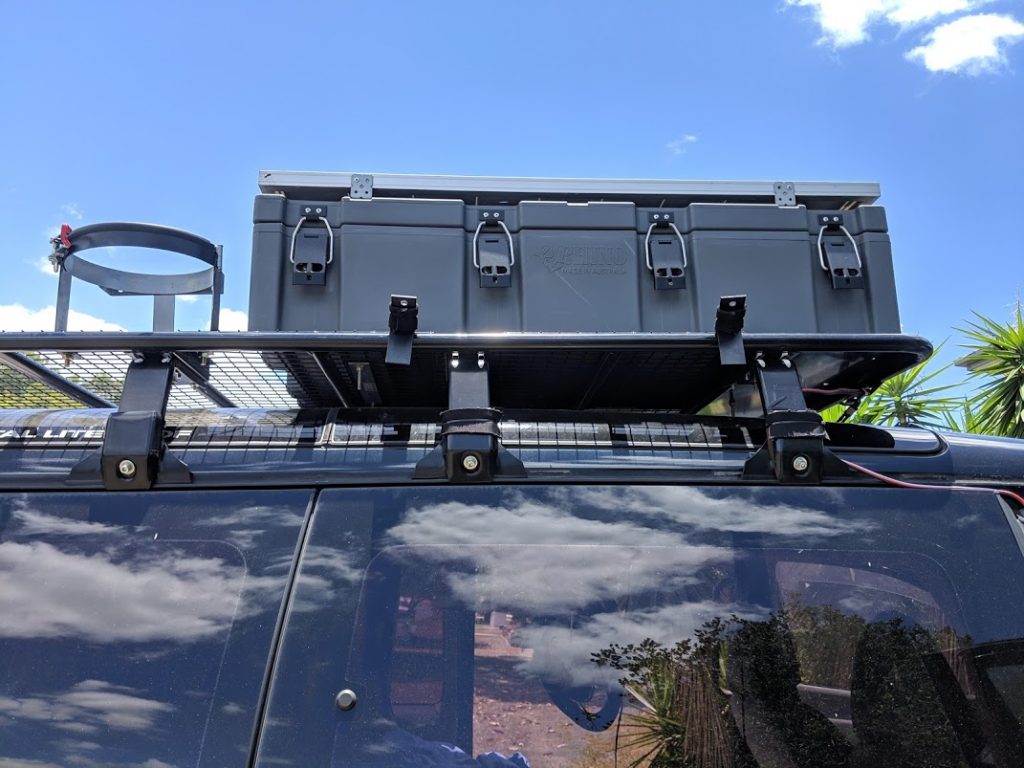
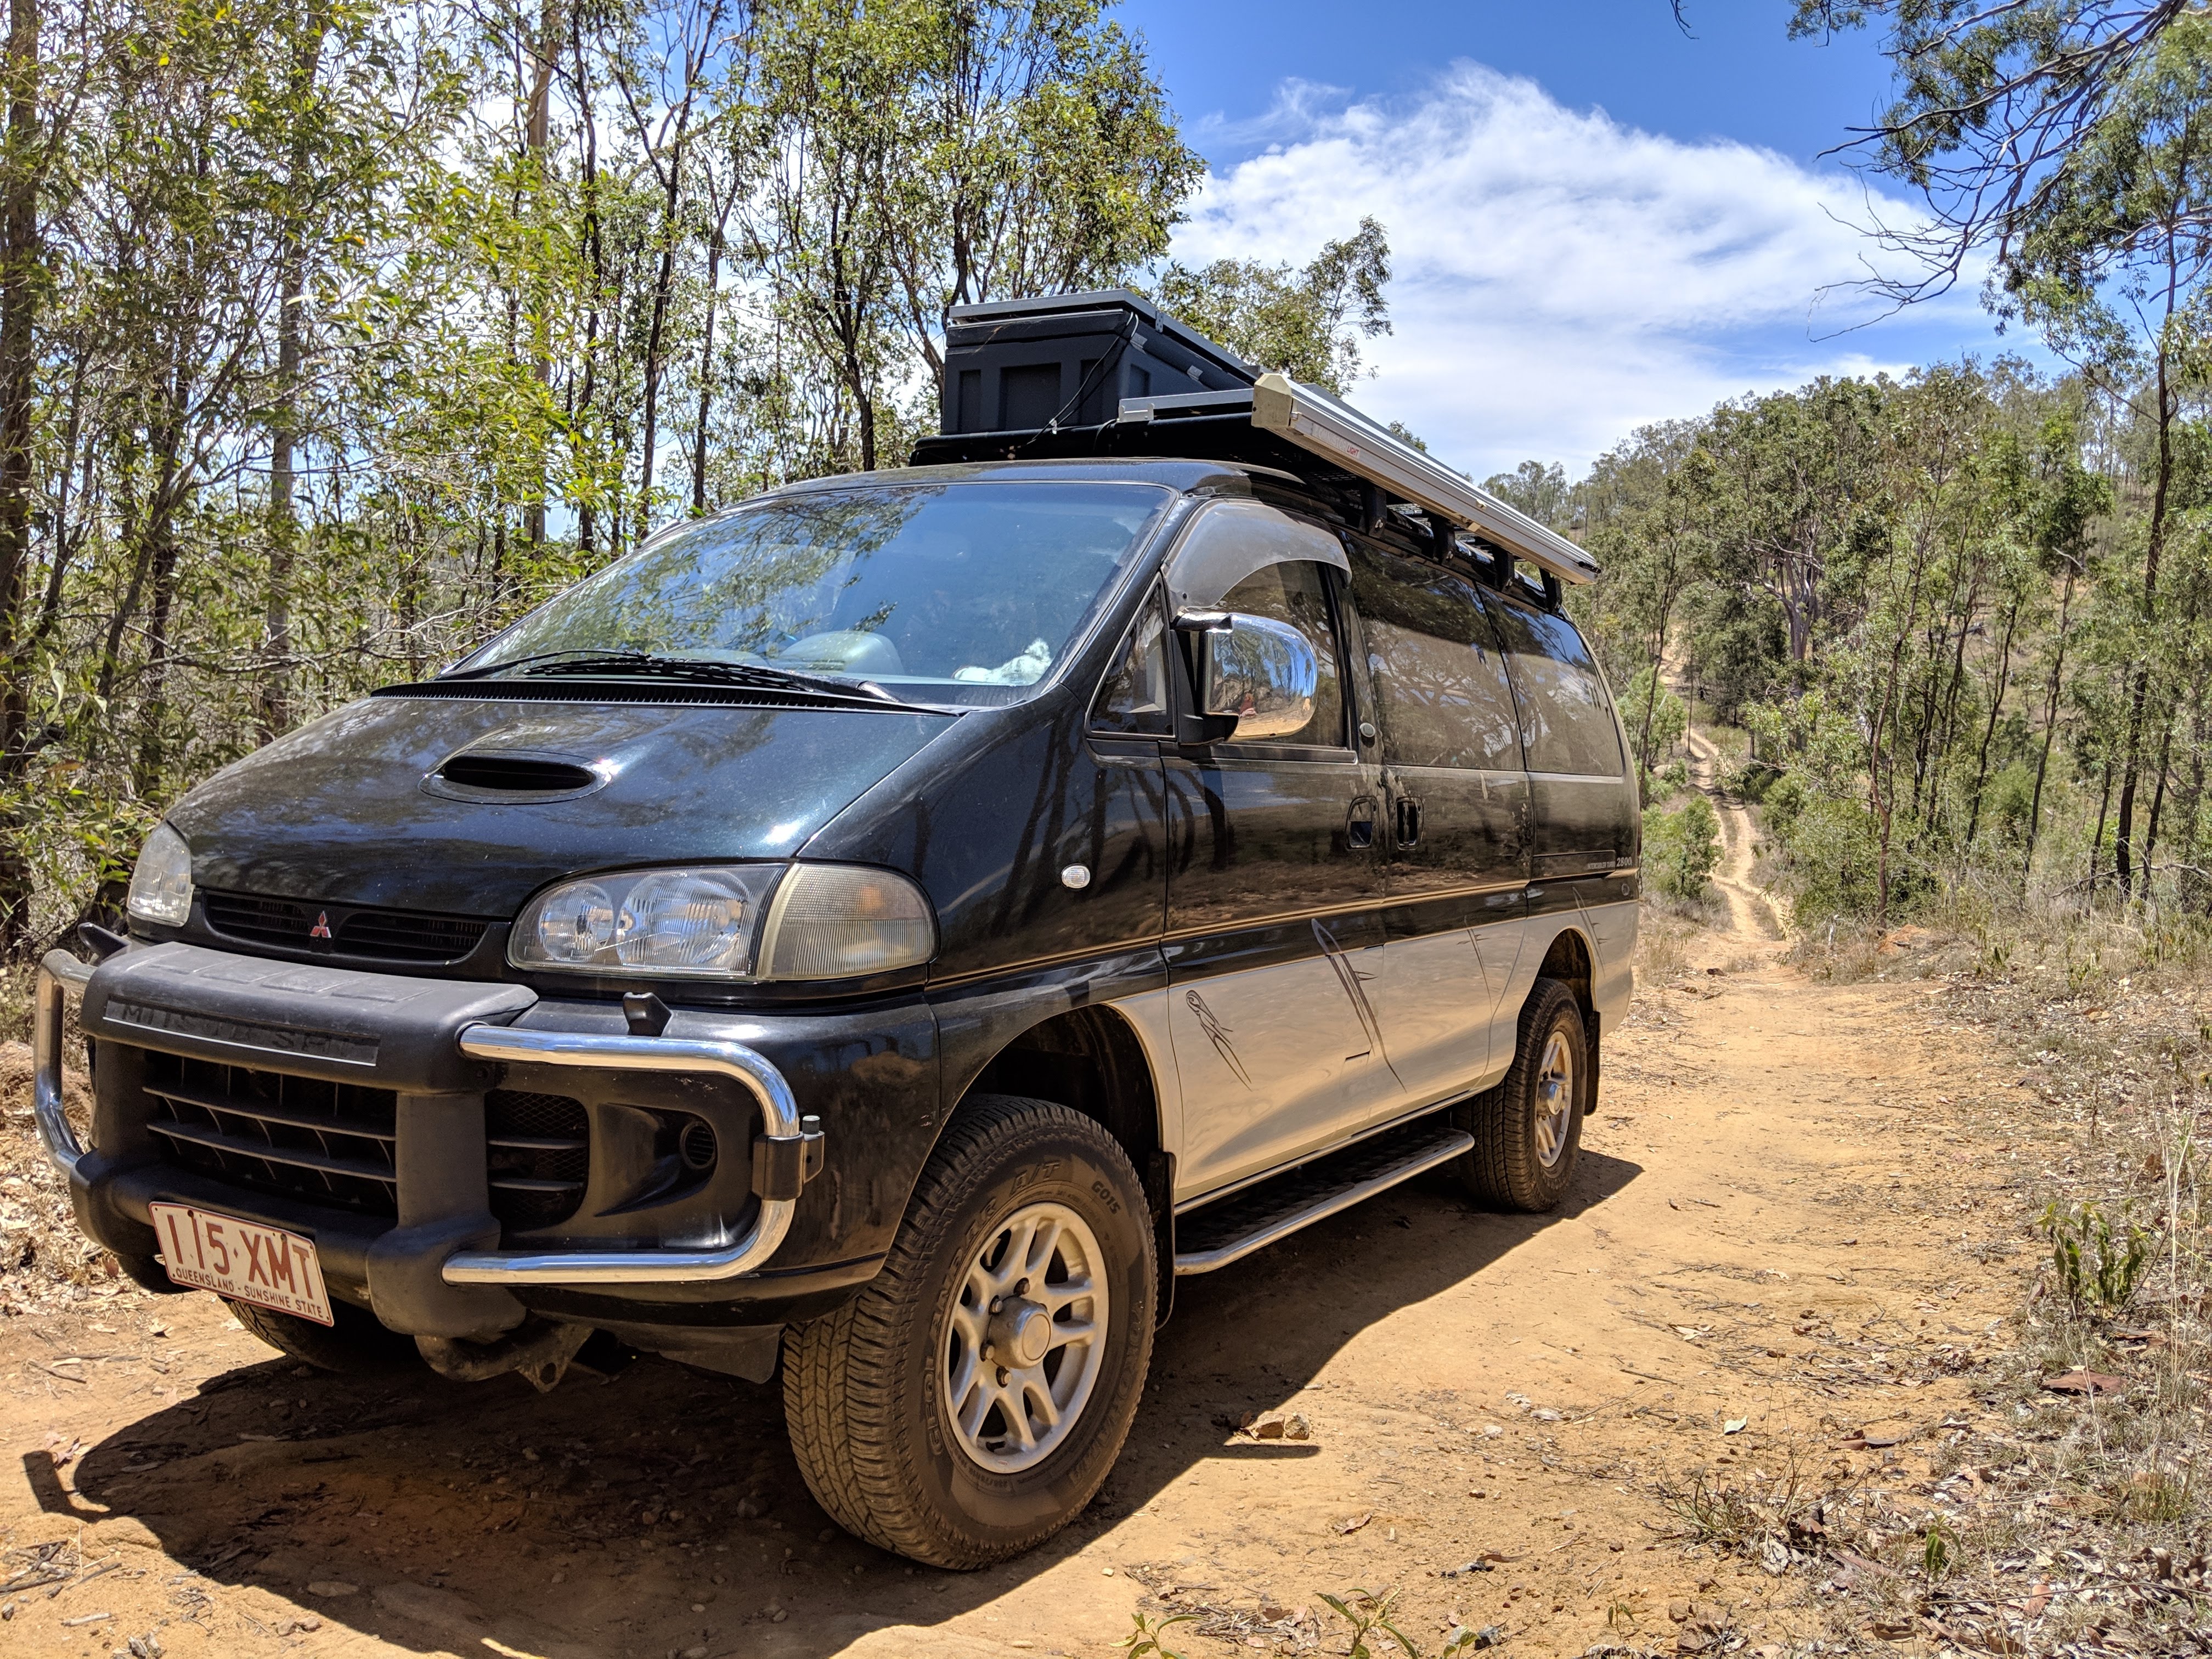
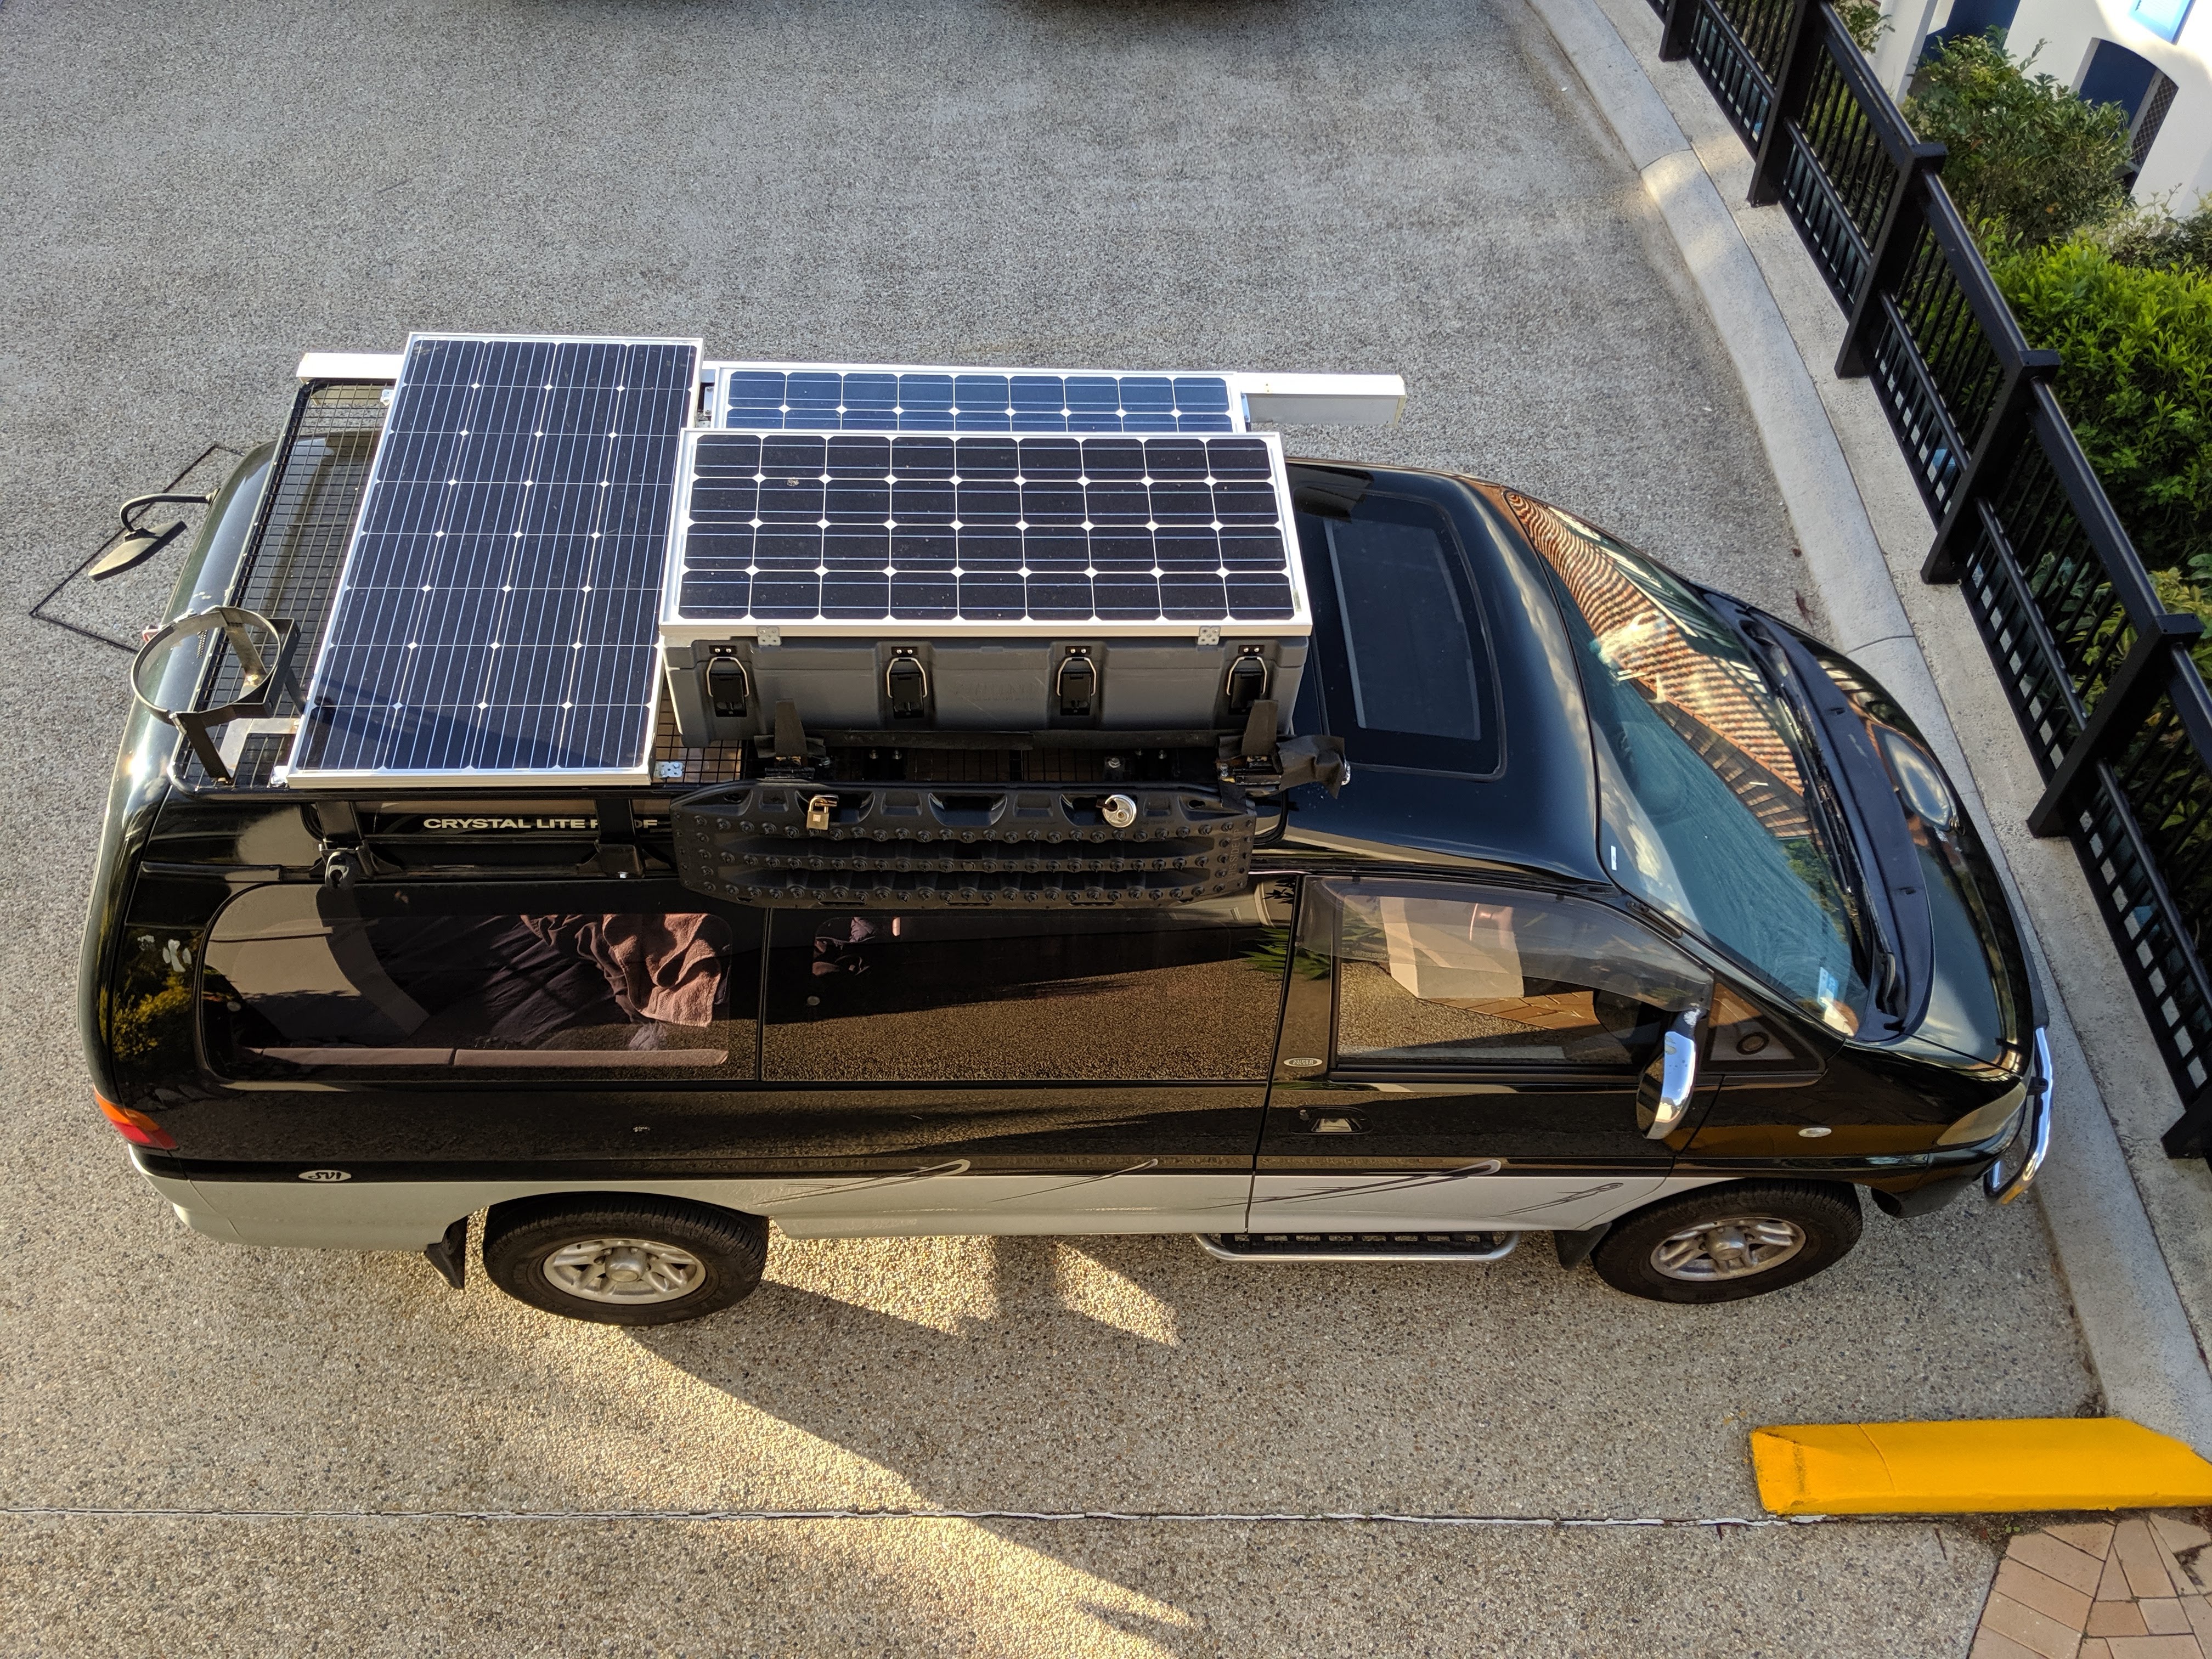
When I got back, I decided I wanted to add some MaxTrax to the van, just in case I got stuck while I was exploring somewhere. I welded up some simple mounts and attached them to the van. I put them on the side of the rack so I can access them without having to get the ladder out. They’re secured with padlocks. I also attached a gas bottle mount to the roof.
Once I had the MaxTrax, I thought I’d try some 4wding so I went to Swan Gully 4wd Park. The van went really well, but I didn’t really enjoy it that much. I think I prefer 4wding with the purpose of getting somewhere interesting, rather than 4wding just for the sake of it.
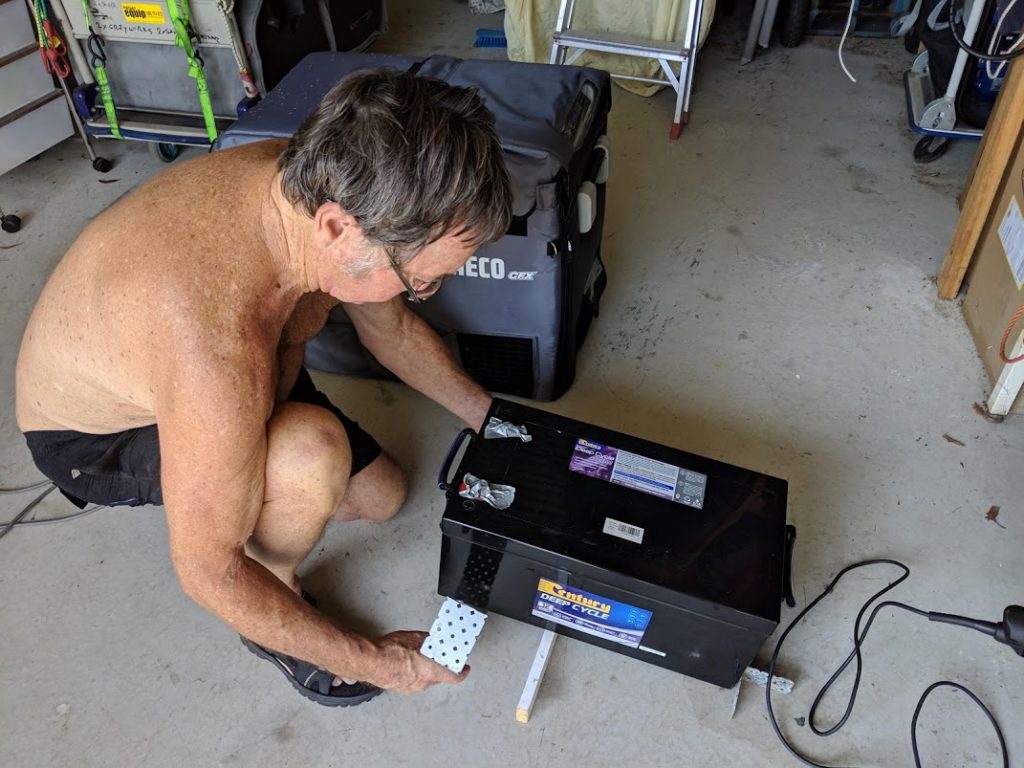
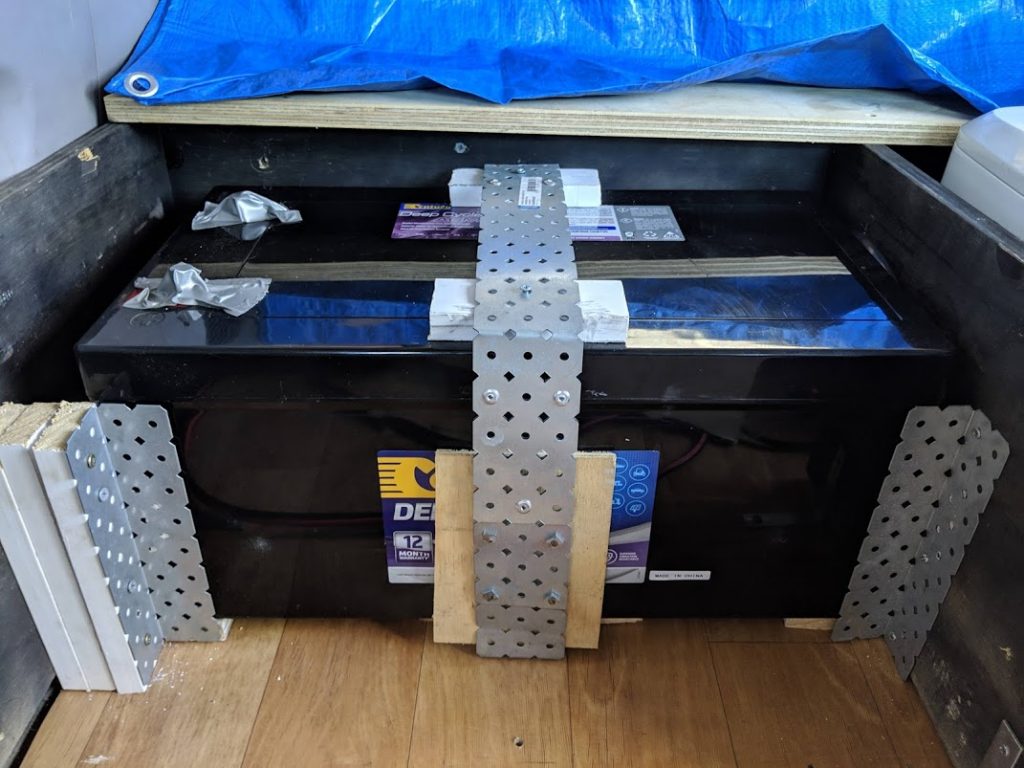
Anyway, back to the electrics upgrade! I bought a Century 270Ah AGM Deep Cycle Battery from a local battery world store. I drove down to see my parents and Dad helped me make up a secure mount for the battery.
On the way back home to Brisbane, I took the scenic route and did some exploring.

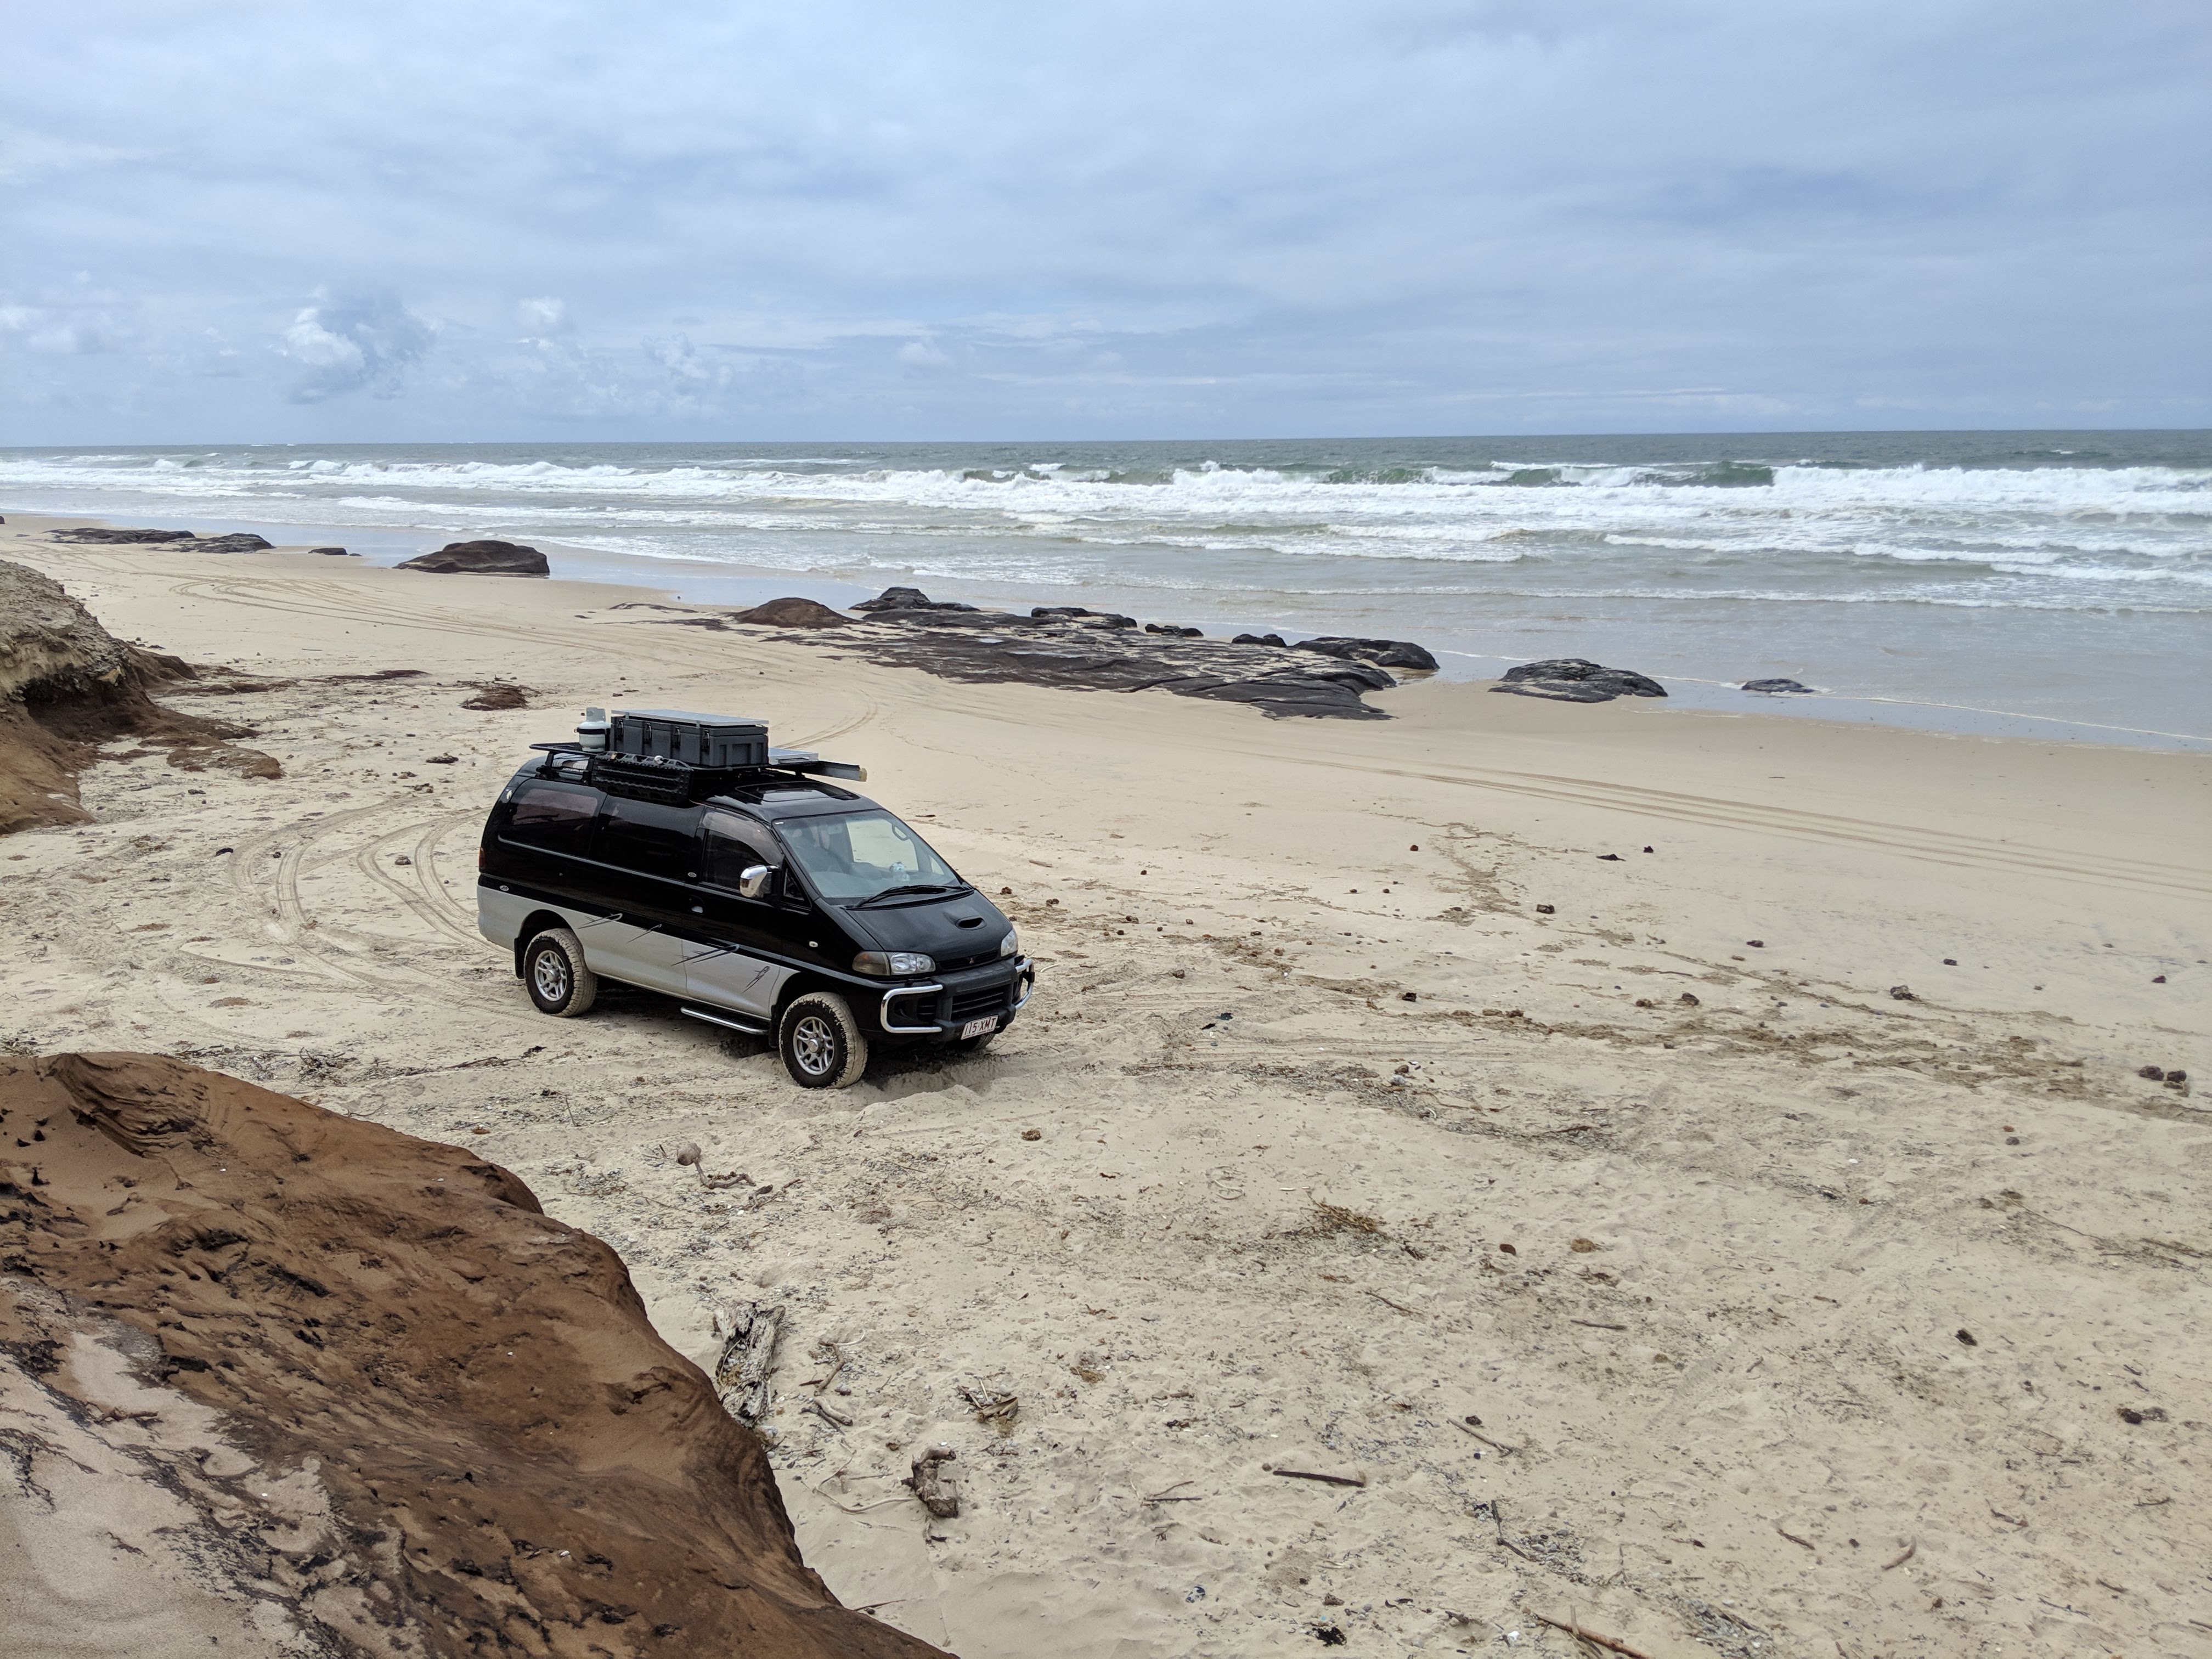
I also did some beach driving in the Bundjalung National Park. The Delica ate it up – it’s super capable on sand, it continues to impress me.
When I got home, I started work on a simple circuit. I wanted to be able to track my power usage, as well as have a breaker and fuses. I also needed to install a good quality charger that would work with the alternator and solar.
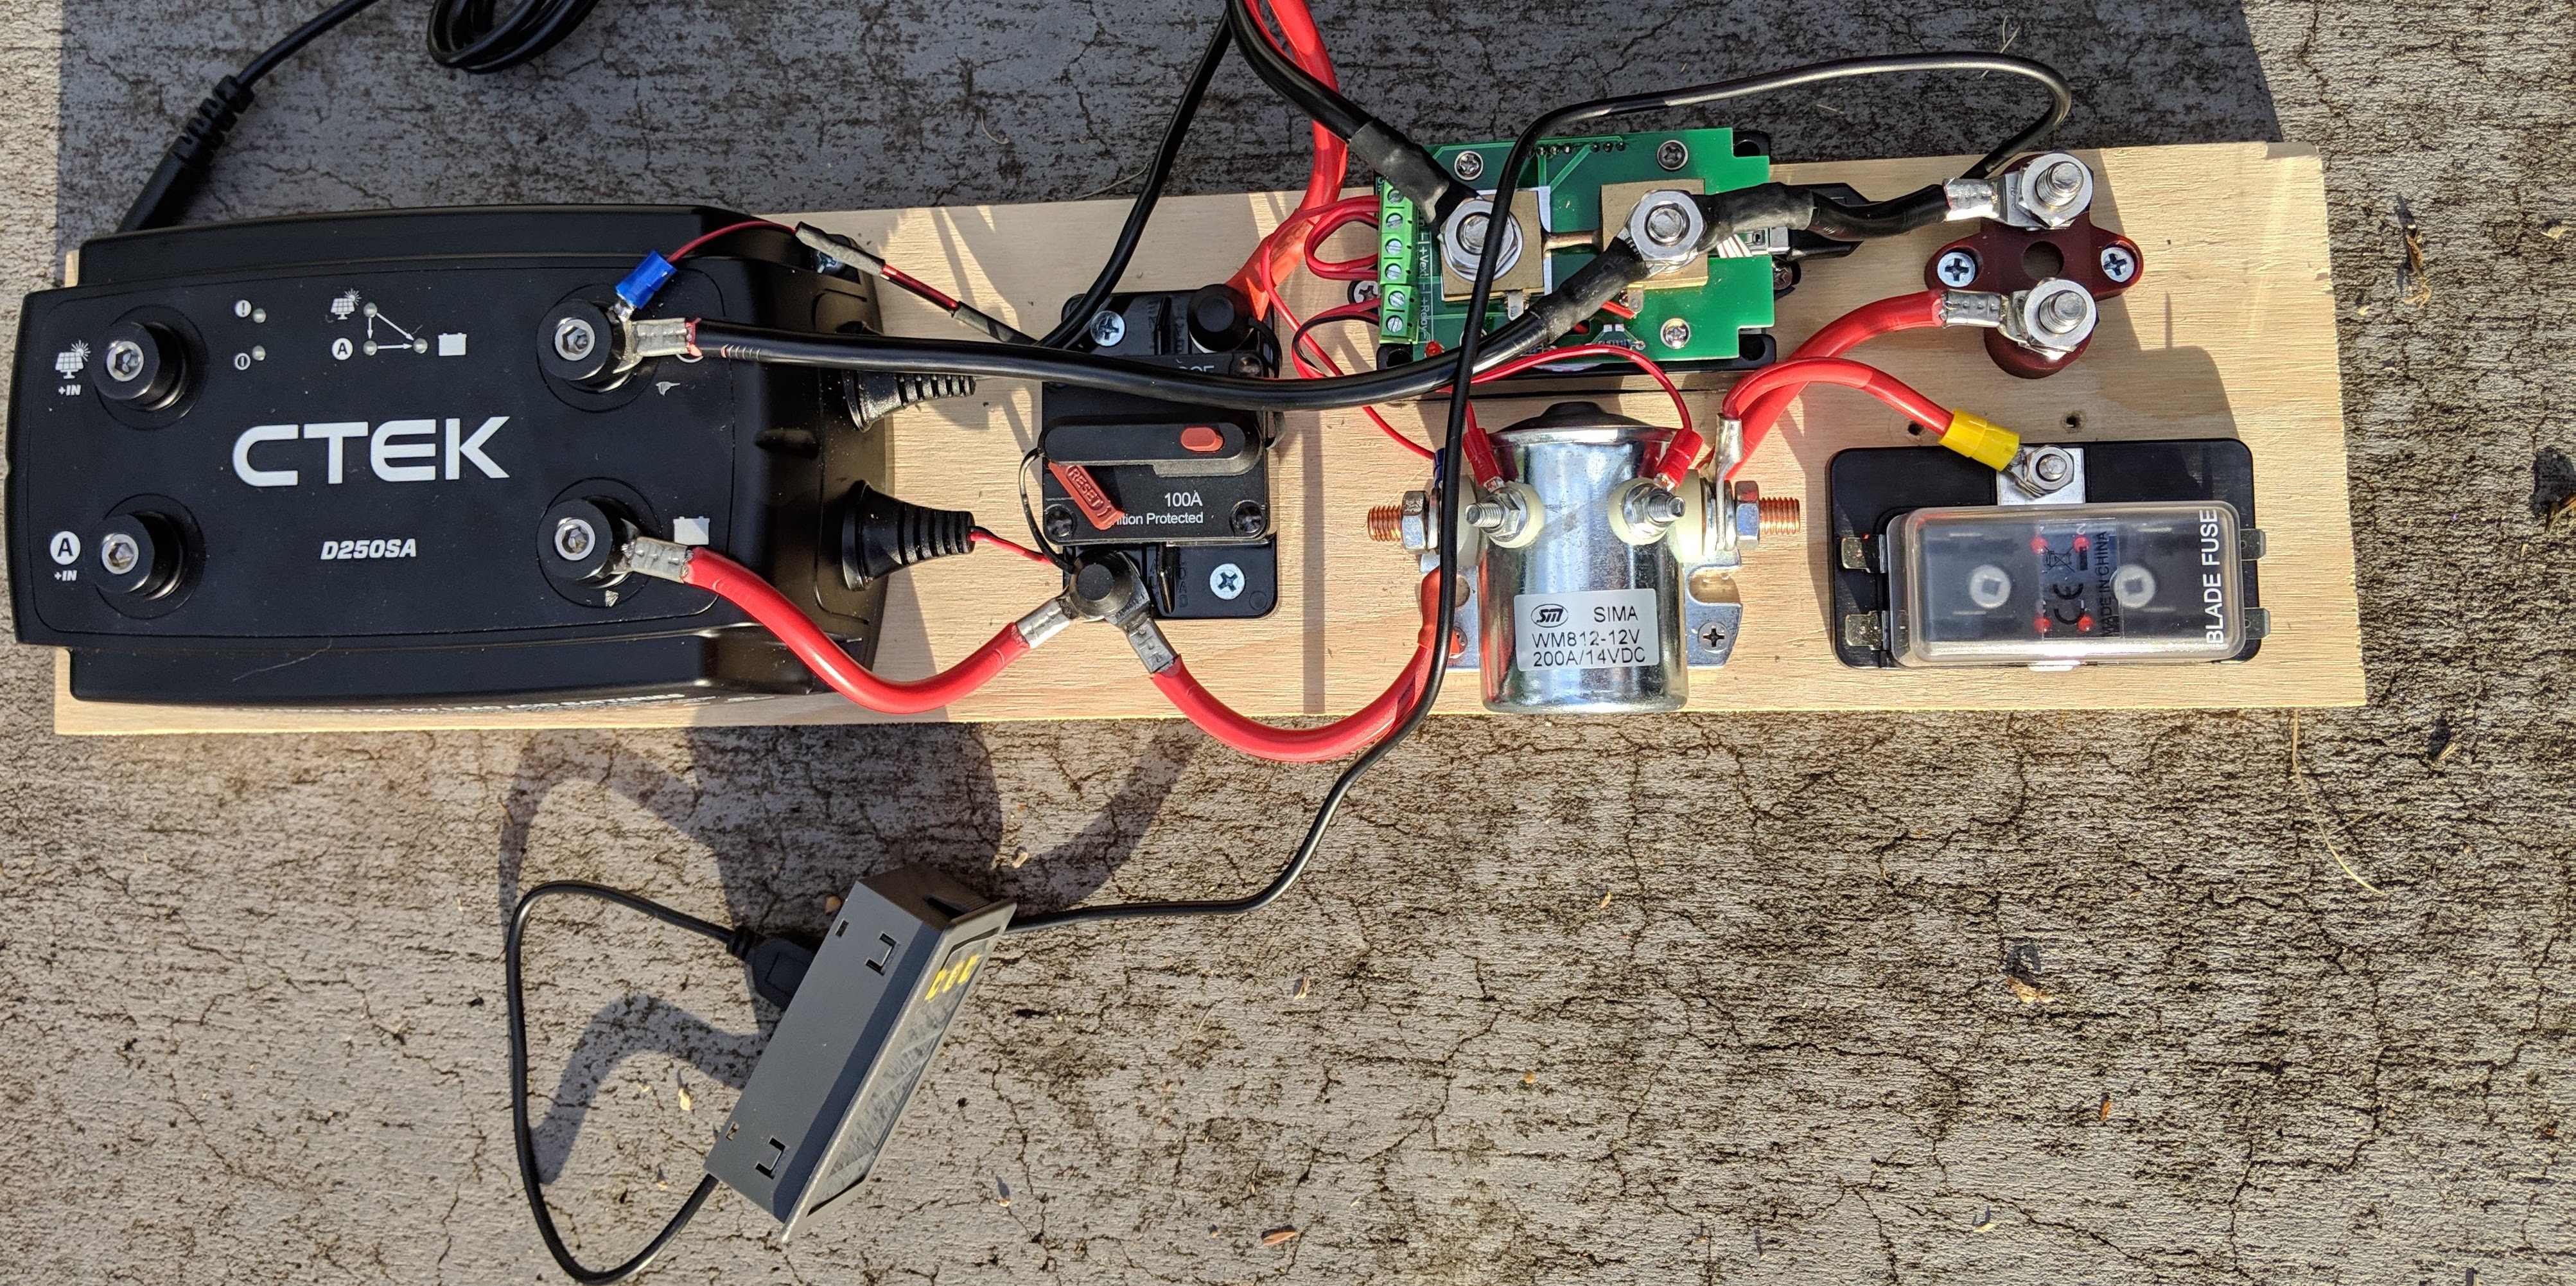
I went with a CTEK D250SA since it can handle Solar and Alternator charging at up to 20A. It also has an AGM mode, and a temperature sensor to ensure the voltage used is appropriate for the environment.
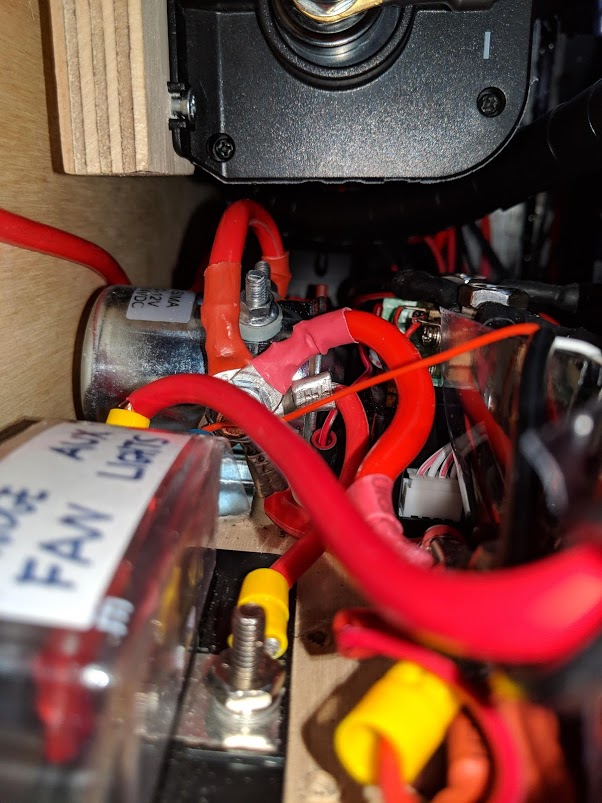
I designed the circuit to handle up to 100A of load, but realistically its unlikely it will exceed 50A. I think its better to over-budget to keep things running cool.
I installed a 100A breaker, as well as a current shunt with a power monitor which I got from eBay. I also bought a continuous relay, with the idea of having the power monitor turn off the circuit if the voltage is too low … but I’m not sure if that’s what eBay shipped me! It looked like a standard starter solenoid to me.
Regardless, it didn’t work as it got red hot after being on for a few minutes. I ended up just bypassing it. Since then I’ve done some more research and will eventually replace it with a ‘latching’ relay, as that won’t get hot or use any power once it’s activated.
Lastly, I connected the CTEK charger’s positive lead to the starter battery by running a cable through the firewall under the steering wheel. I put 30A fuses at both ends. I attached the earth to a bolt under the driver’s seat.
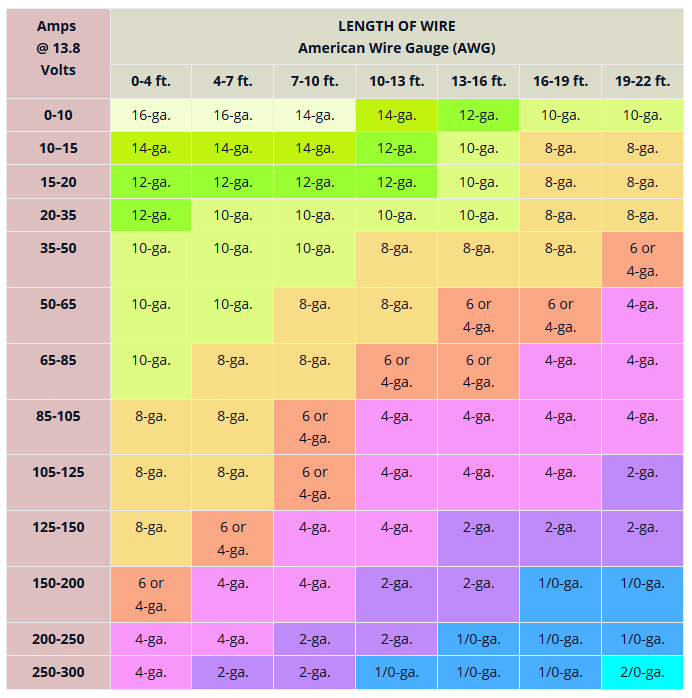
I found this great graph for figuring out the thickness of wire you need. It’s in feet, but you can convert that to meters. I’ll repost it here >>> in case anyone needs it. If this is your graphic leave me a comment and I’ll credit you 🙂
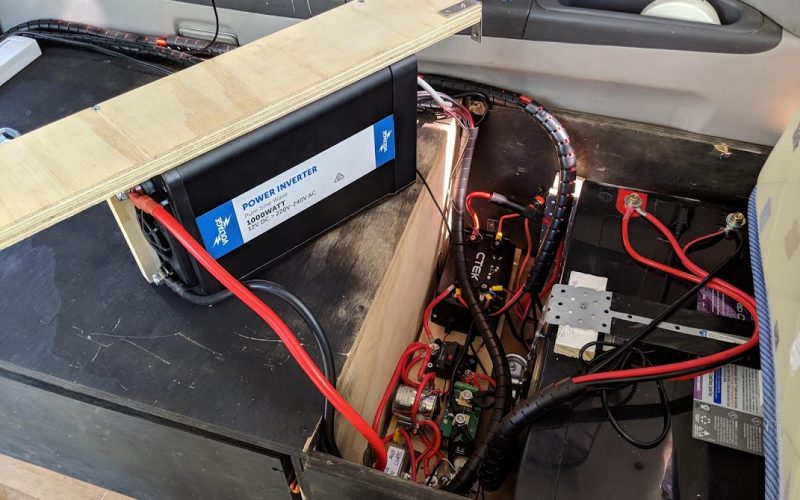
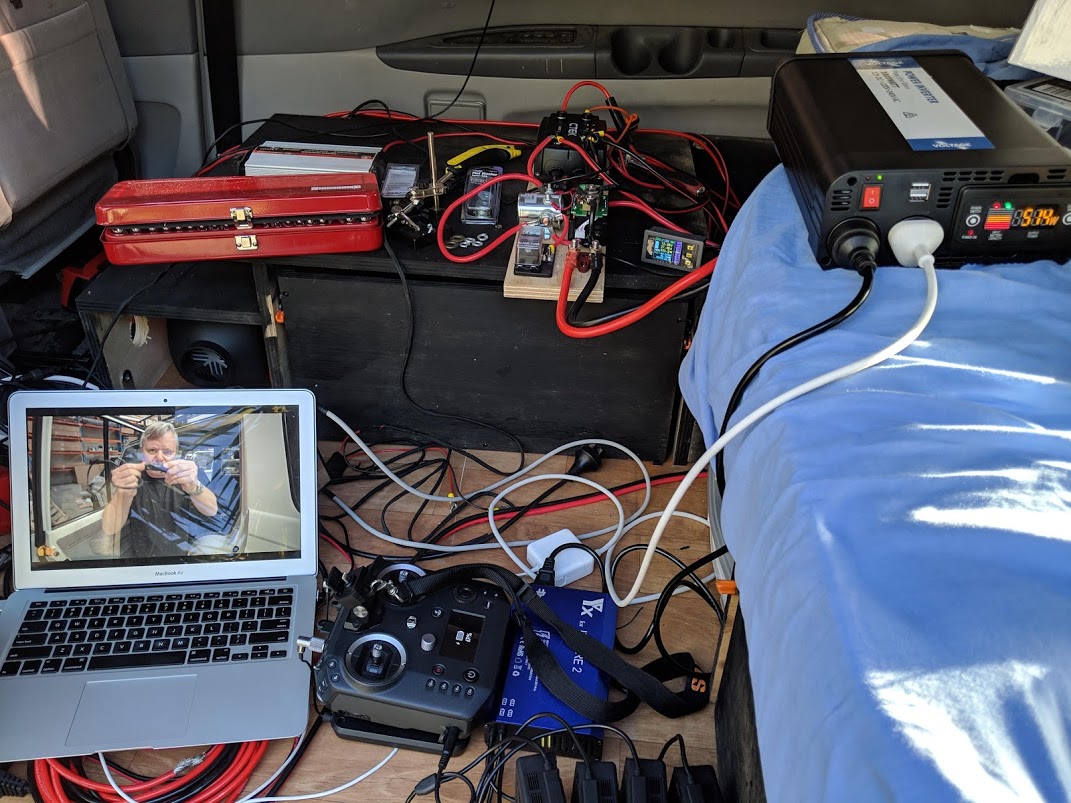
I also purchased a 1000w ‘Voltage’ 240v inverter and hooked up the circuit to the battery. I wanted to test the circuit under full load to ensure it wouldn’t get too hot in normal usage.
That went pretty well, but I wanted to test it for at least an hour … and my drone batteries were already full! Time to get a bit silly …
Everything worked, and the circuit stayed nice and cool, which is important since there’s not a lot of airflow once the bed is covering the battery box. There was minimal voltage drop too. I built a simple mount for the inverter, and installed everything into the space between the battery and the new cabinet.
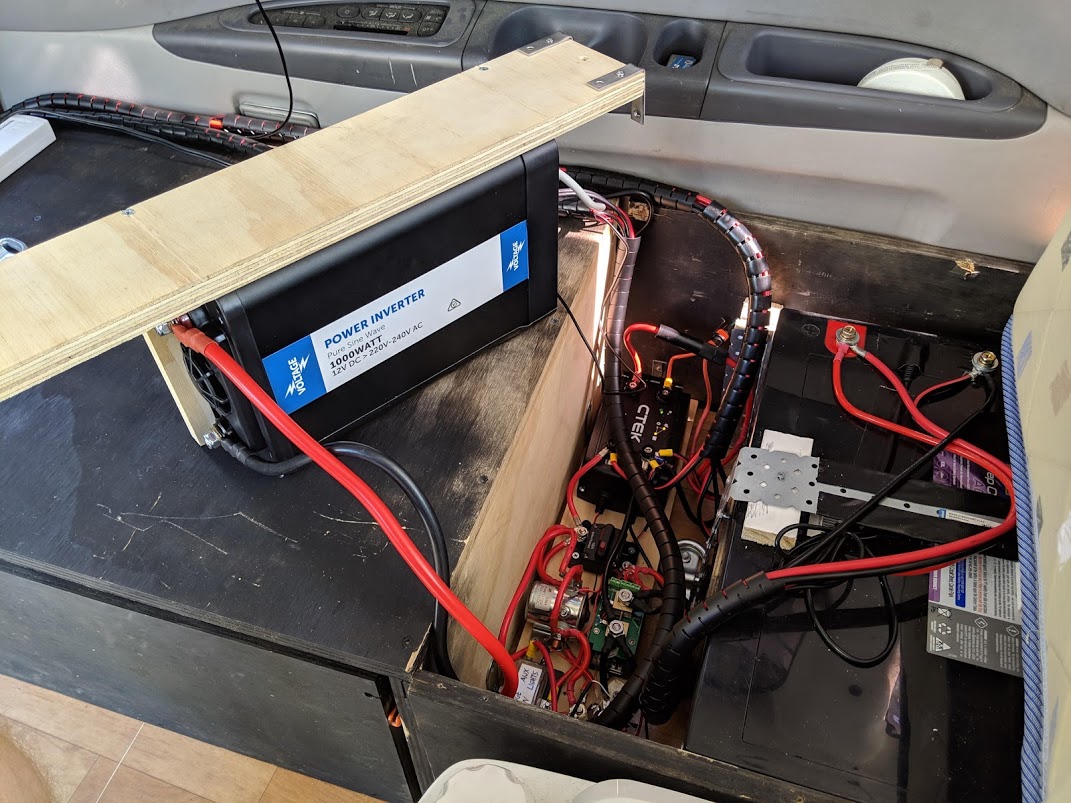
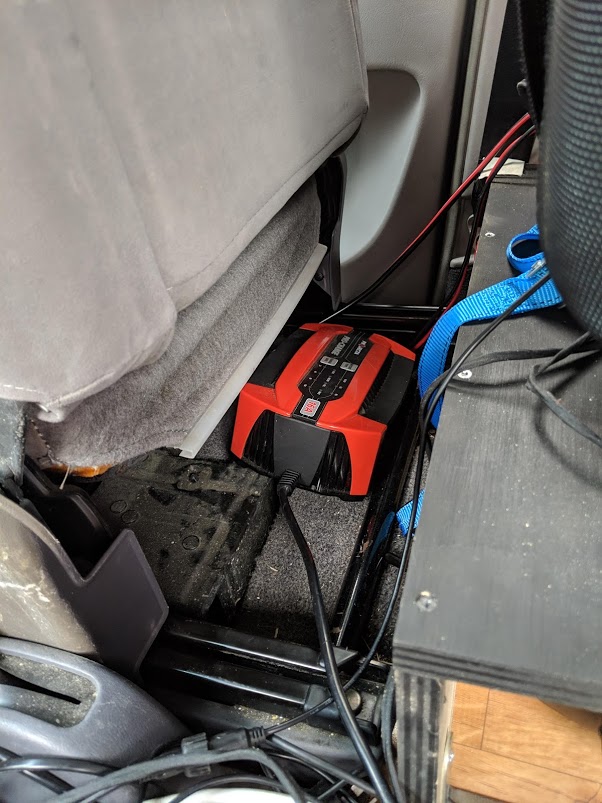
It’s a really tight fit with the inverter in place, but it does fit! The edge of the fridge sits on top of the piece of wood that the inverter is mounted to. I also permanently installed a 16A 240v charger under the driver’s seat. If I want to charge the batteries from shore power, I can put an extension cable through the driver’s window and connect it to the charger.
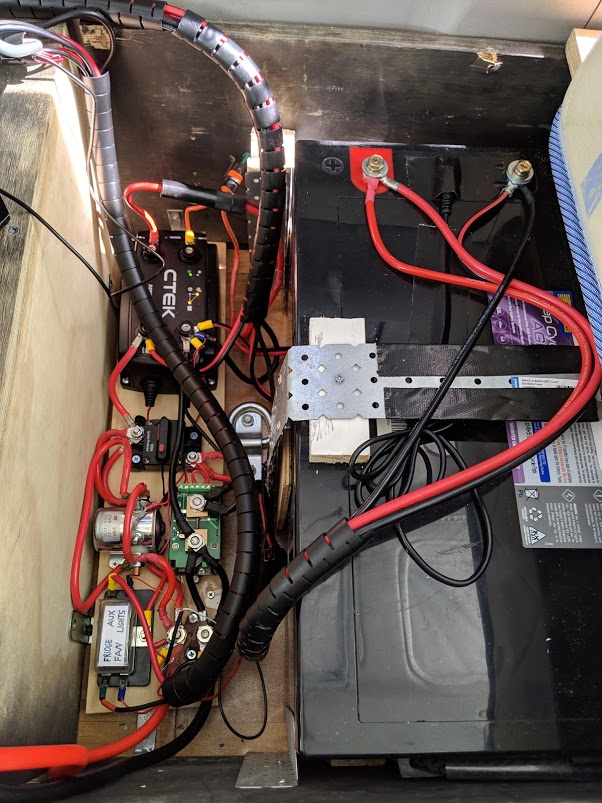
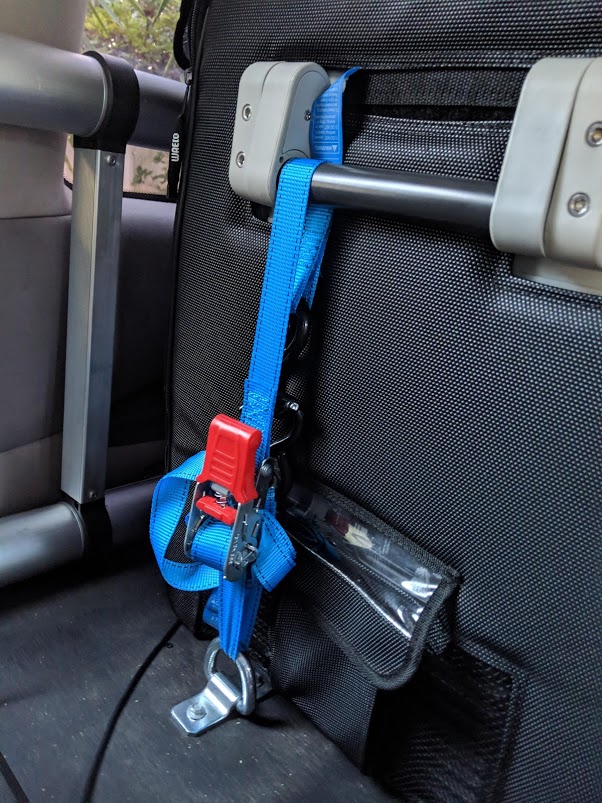
I fixed the fridge in place with some D-shackles and ratchet straps. I also added an additional 250w solar panel, and moved the gas bottle to the rear of the rack. This brings my total solar to 570w!
Here’s a little video of the setup:

I’m super happy with how it came out. The extra storage is so handy. I keep all my clothes and some electronics like my torch & e-reader in the drawer.
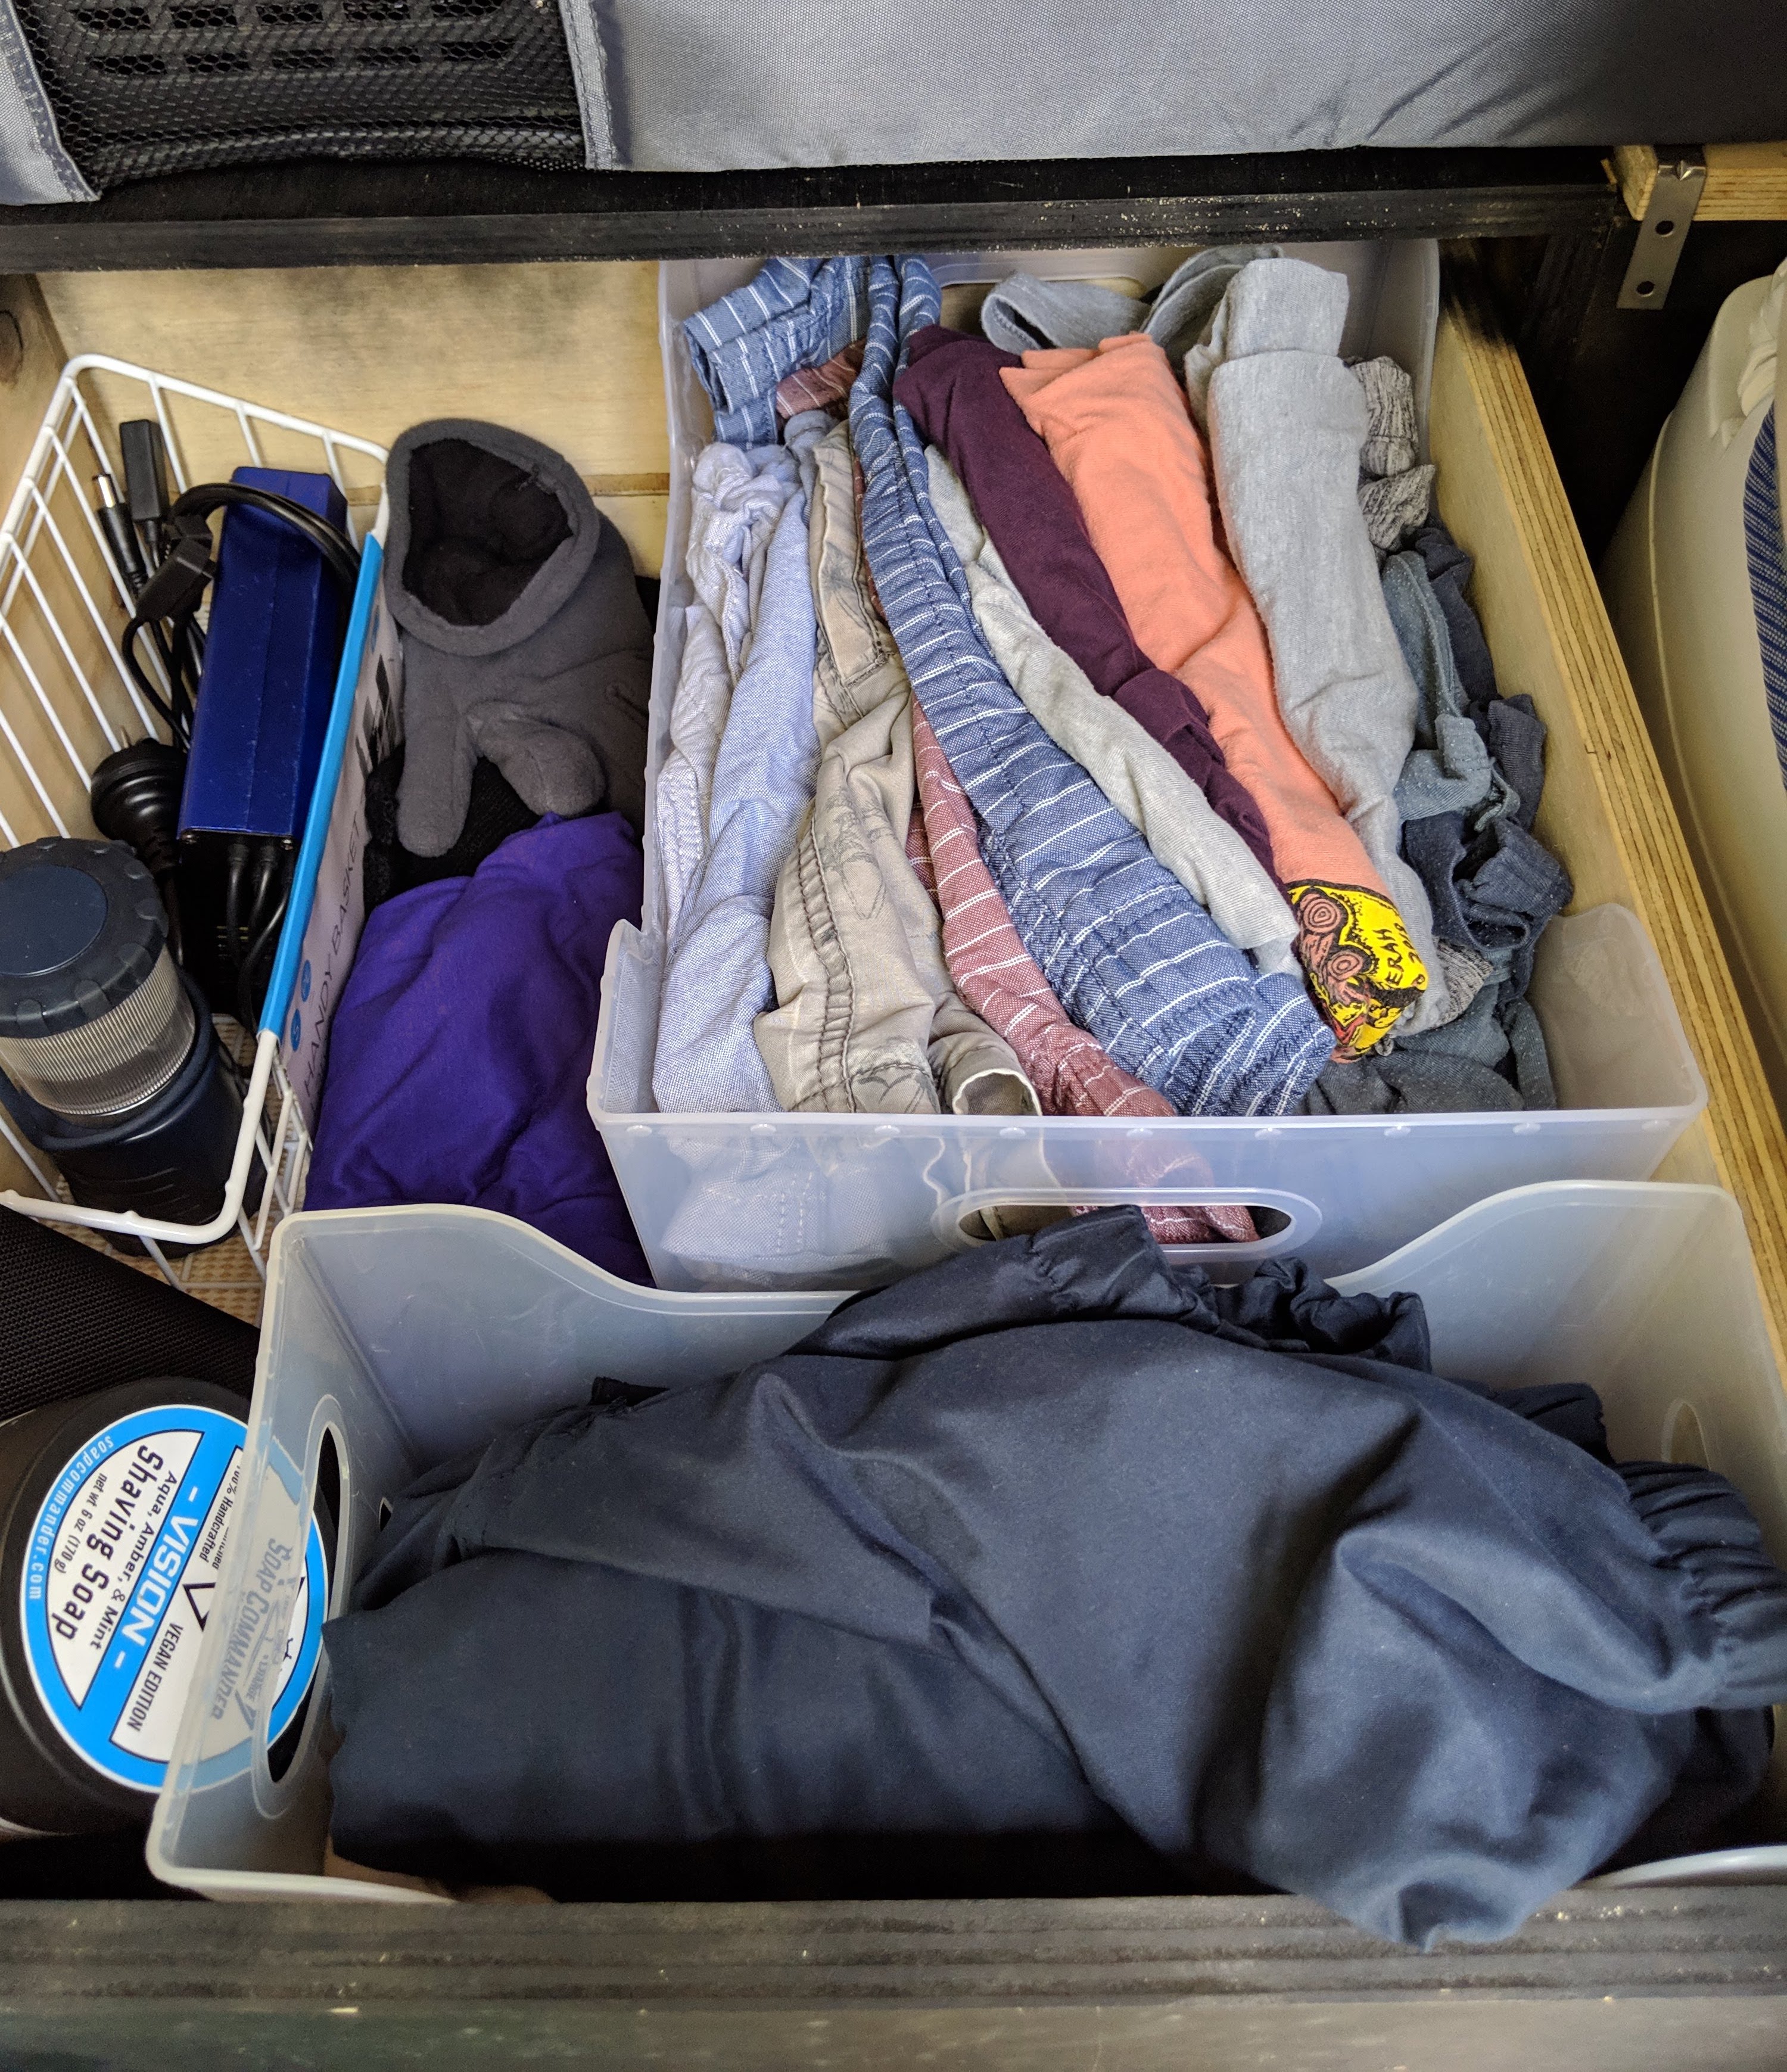
The fridge is easy to access, I can sit on the bed or just lean over from the passenger’s seat, and the small shelf next to the fridge is a good spot to put a cold drink, as well as some bits and pieces like my glasses, watch, or a book.
I’m really pleased with how this came out, and the inverter and extra storage are so handy. I am very comfortable when camping now!
Hi I really loved your article, it was very informative and will help me a lot with how I can handle my future client conversations. Kudos to you mate.
Hi I really loved your article, it was very informative and will help me a lot with how I can handle my future client conversations. Kudos to you mate.