I’m lucky to be involved in the eSports scene doing IT work for live events. Every now and then I get to do some videography as well. These events are usually held in huge convention centres and involve massive stages and stands. What’s the best way to capture the scale? … height!
Of course I would love to use my Hexicopter to capture the events from the sky, however this introduces a massive safety risk. Plus it’s very difficult to take my Vampire interstate on a plane due to it’s size.
I got my idea from the selfie sticks that are going around – why not put a gimbal on the end of a selfie stick? But a really loooooong selfie stick? This would let me get ‘up in the air’ like a drone!

I had PAX 2015 coming up in Melbourne, so I set myself the goal of designing the worlds largest gimbal-stabilized selfie stick.
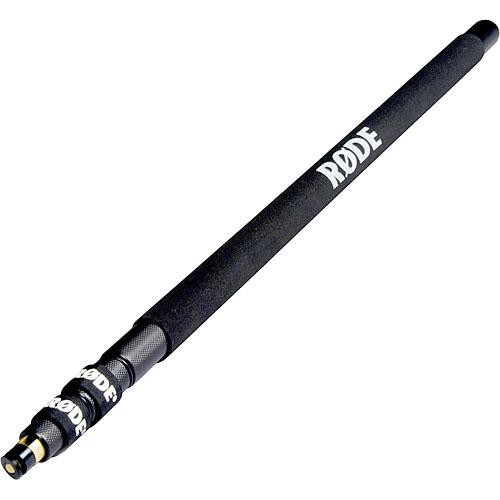
I was most concerned about flex in the pole causing vibrations and wobbling in the video, so I did some research and eventually purchased a Rode Boompole which has a 3m extended length, but compacts down to 0.84m – great for taking on the plane! The boompole is designed to carry large microphones, so it should be strong enough to carry a small camera and gimbal.
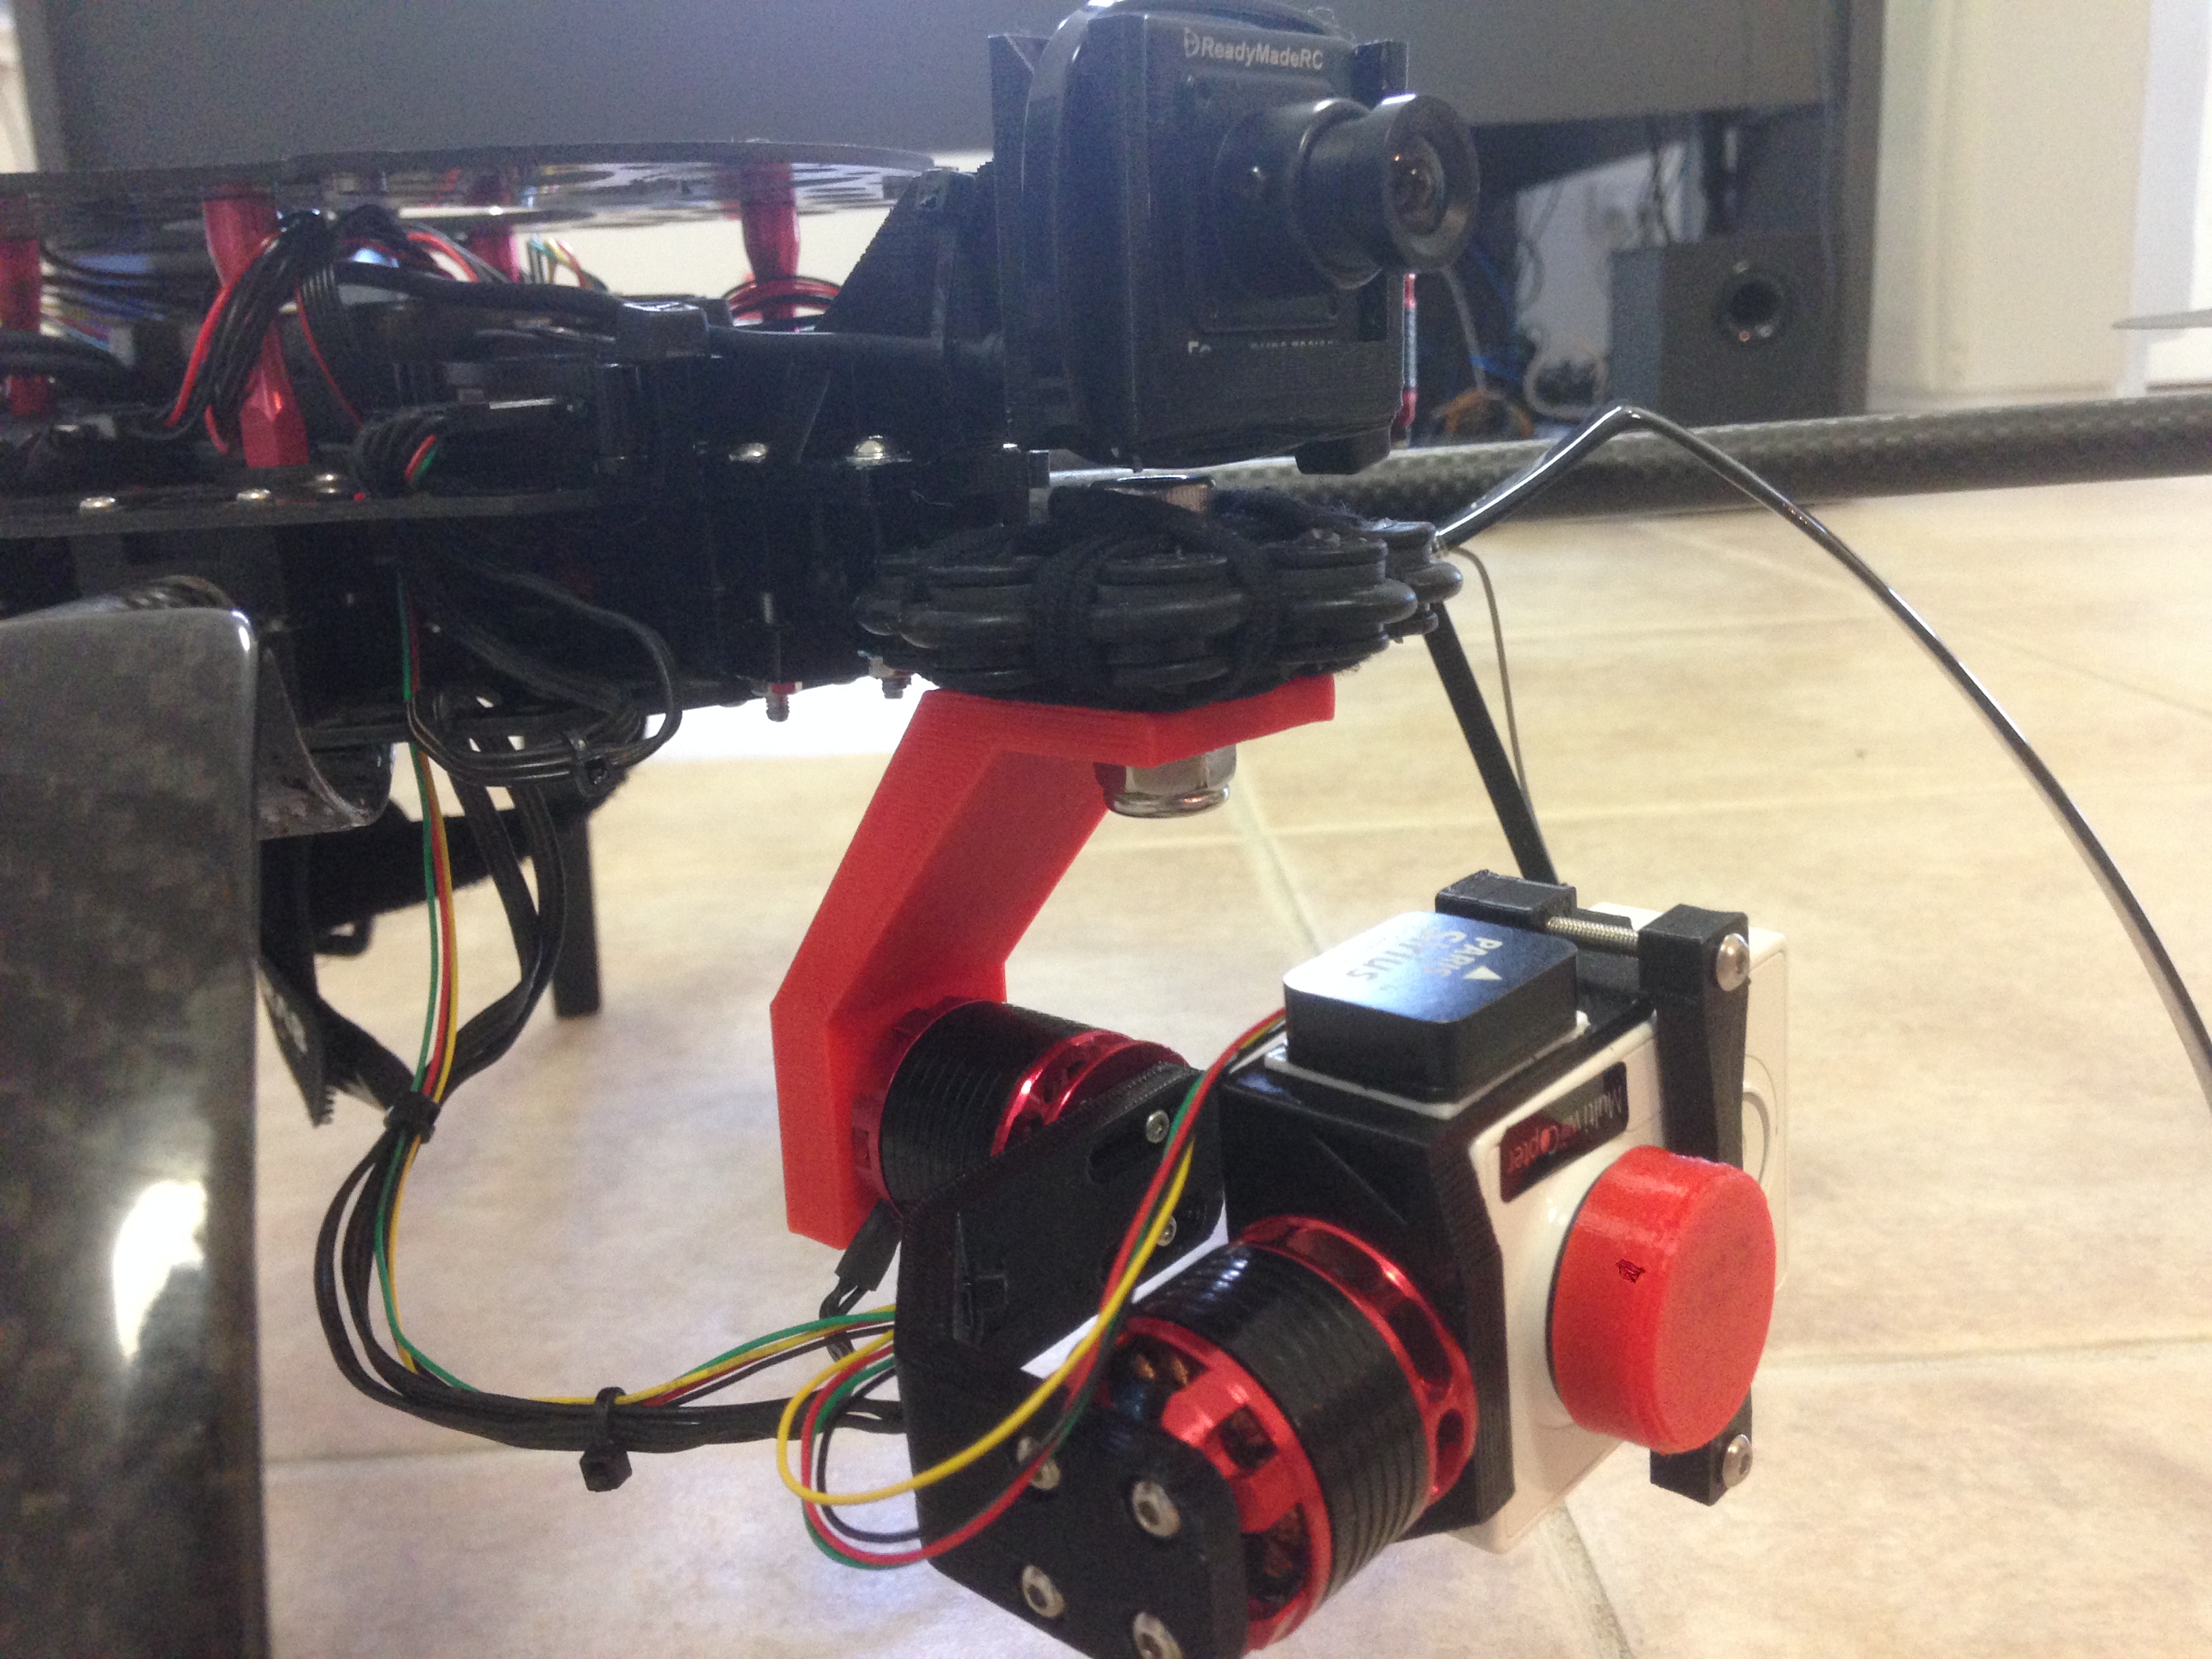
Next I set to work designing the gimbal itself. I had already begun designing a new gimbal for my Vampire to suit the Xiaomi Yi camera. First I did some searching on thingiverse and found a gimbal which someone else had designed:
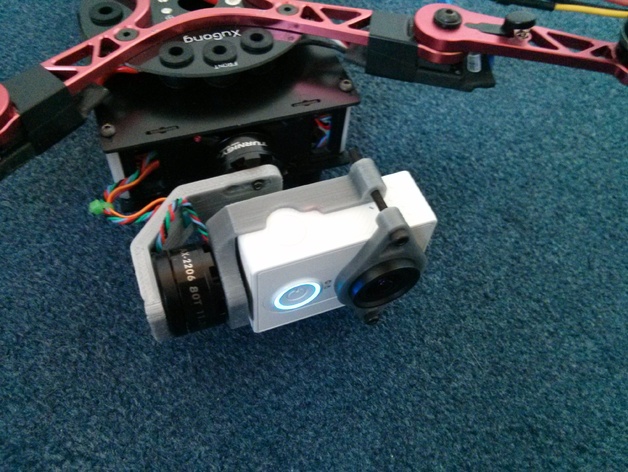
I found some problems with this design. Because the camera lens is offset to one side, the front-left propellers from my vampire would show up in the shot. I also had to design a yaw axis boom as I wanted to re-use the 8-ball gello absorber on my Vampire. This requires the gimbal to be mounted from above, instead of directly on the roll axis.
Note how the lens is offset to one side.
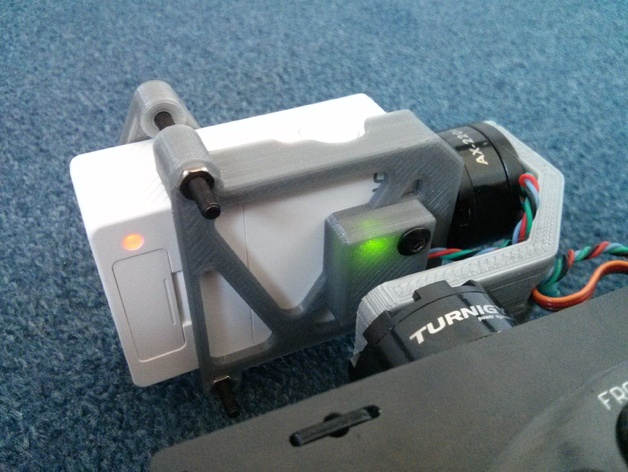
To resolve the offset, I started making my own design with the camera inverted. This meant the lens would be centered perfectly on the roll axis.
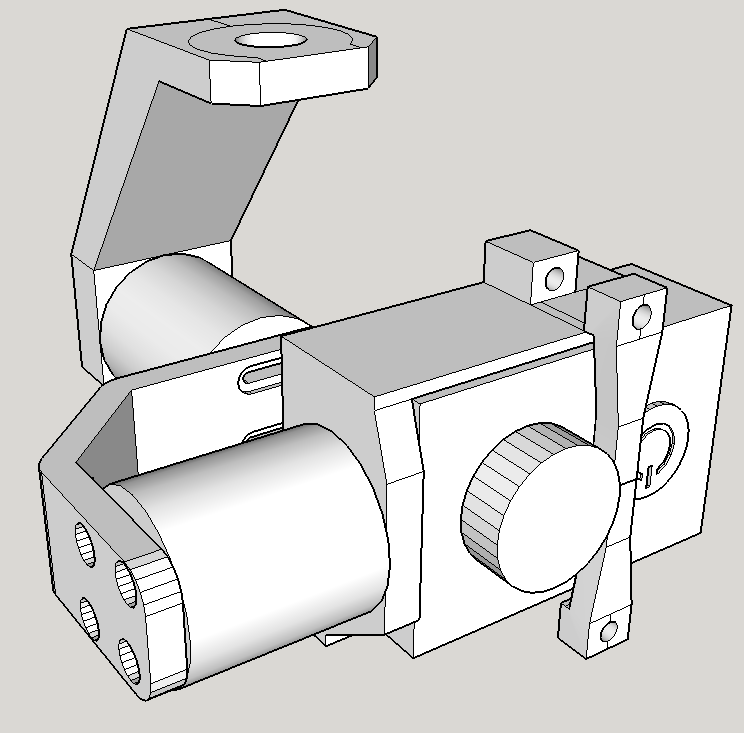
In this design, the IMU sensor sits on the ‘top’ of the camera holder in the above picture. I designed the yaw axis boom to allow the camera to rotate completely in the roll axis, and also lengthened the roll axis boom to allow full rotation on the pitch axis.
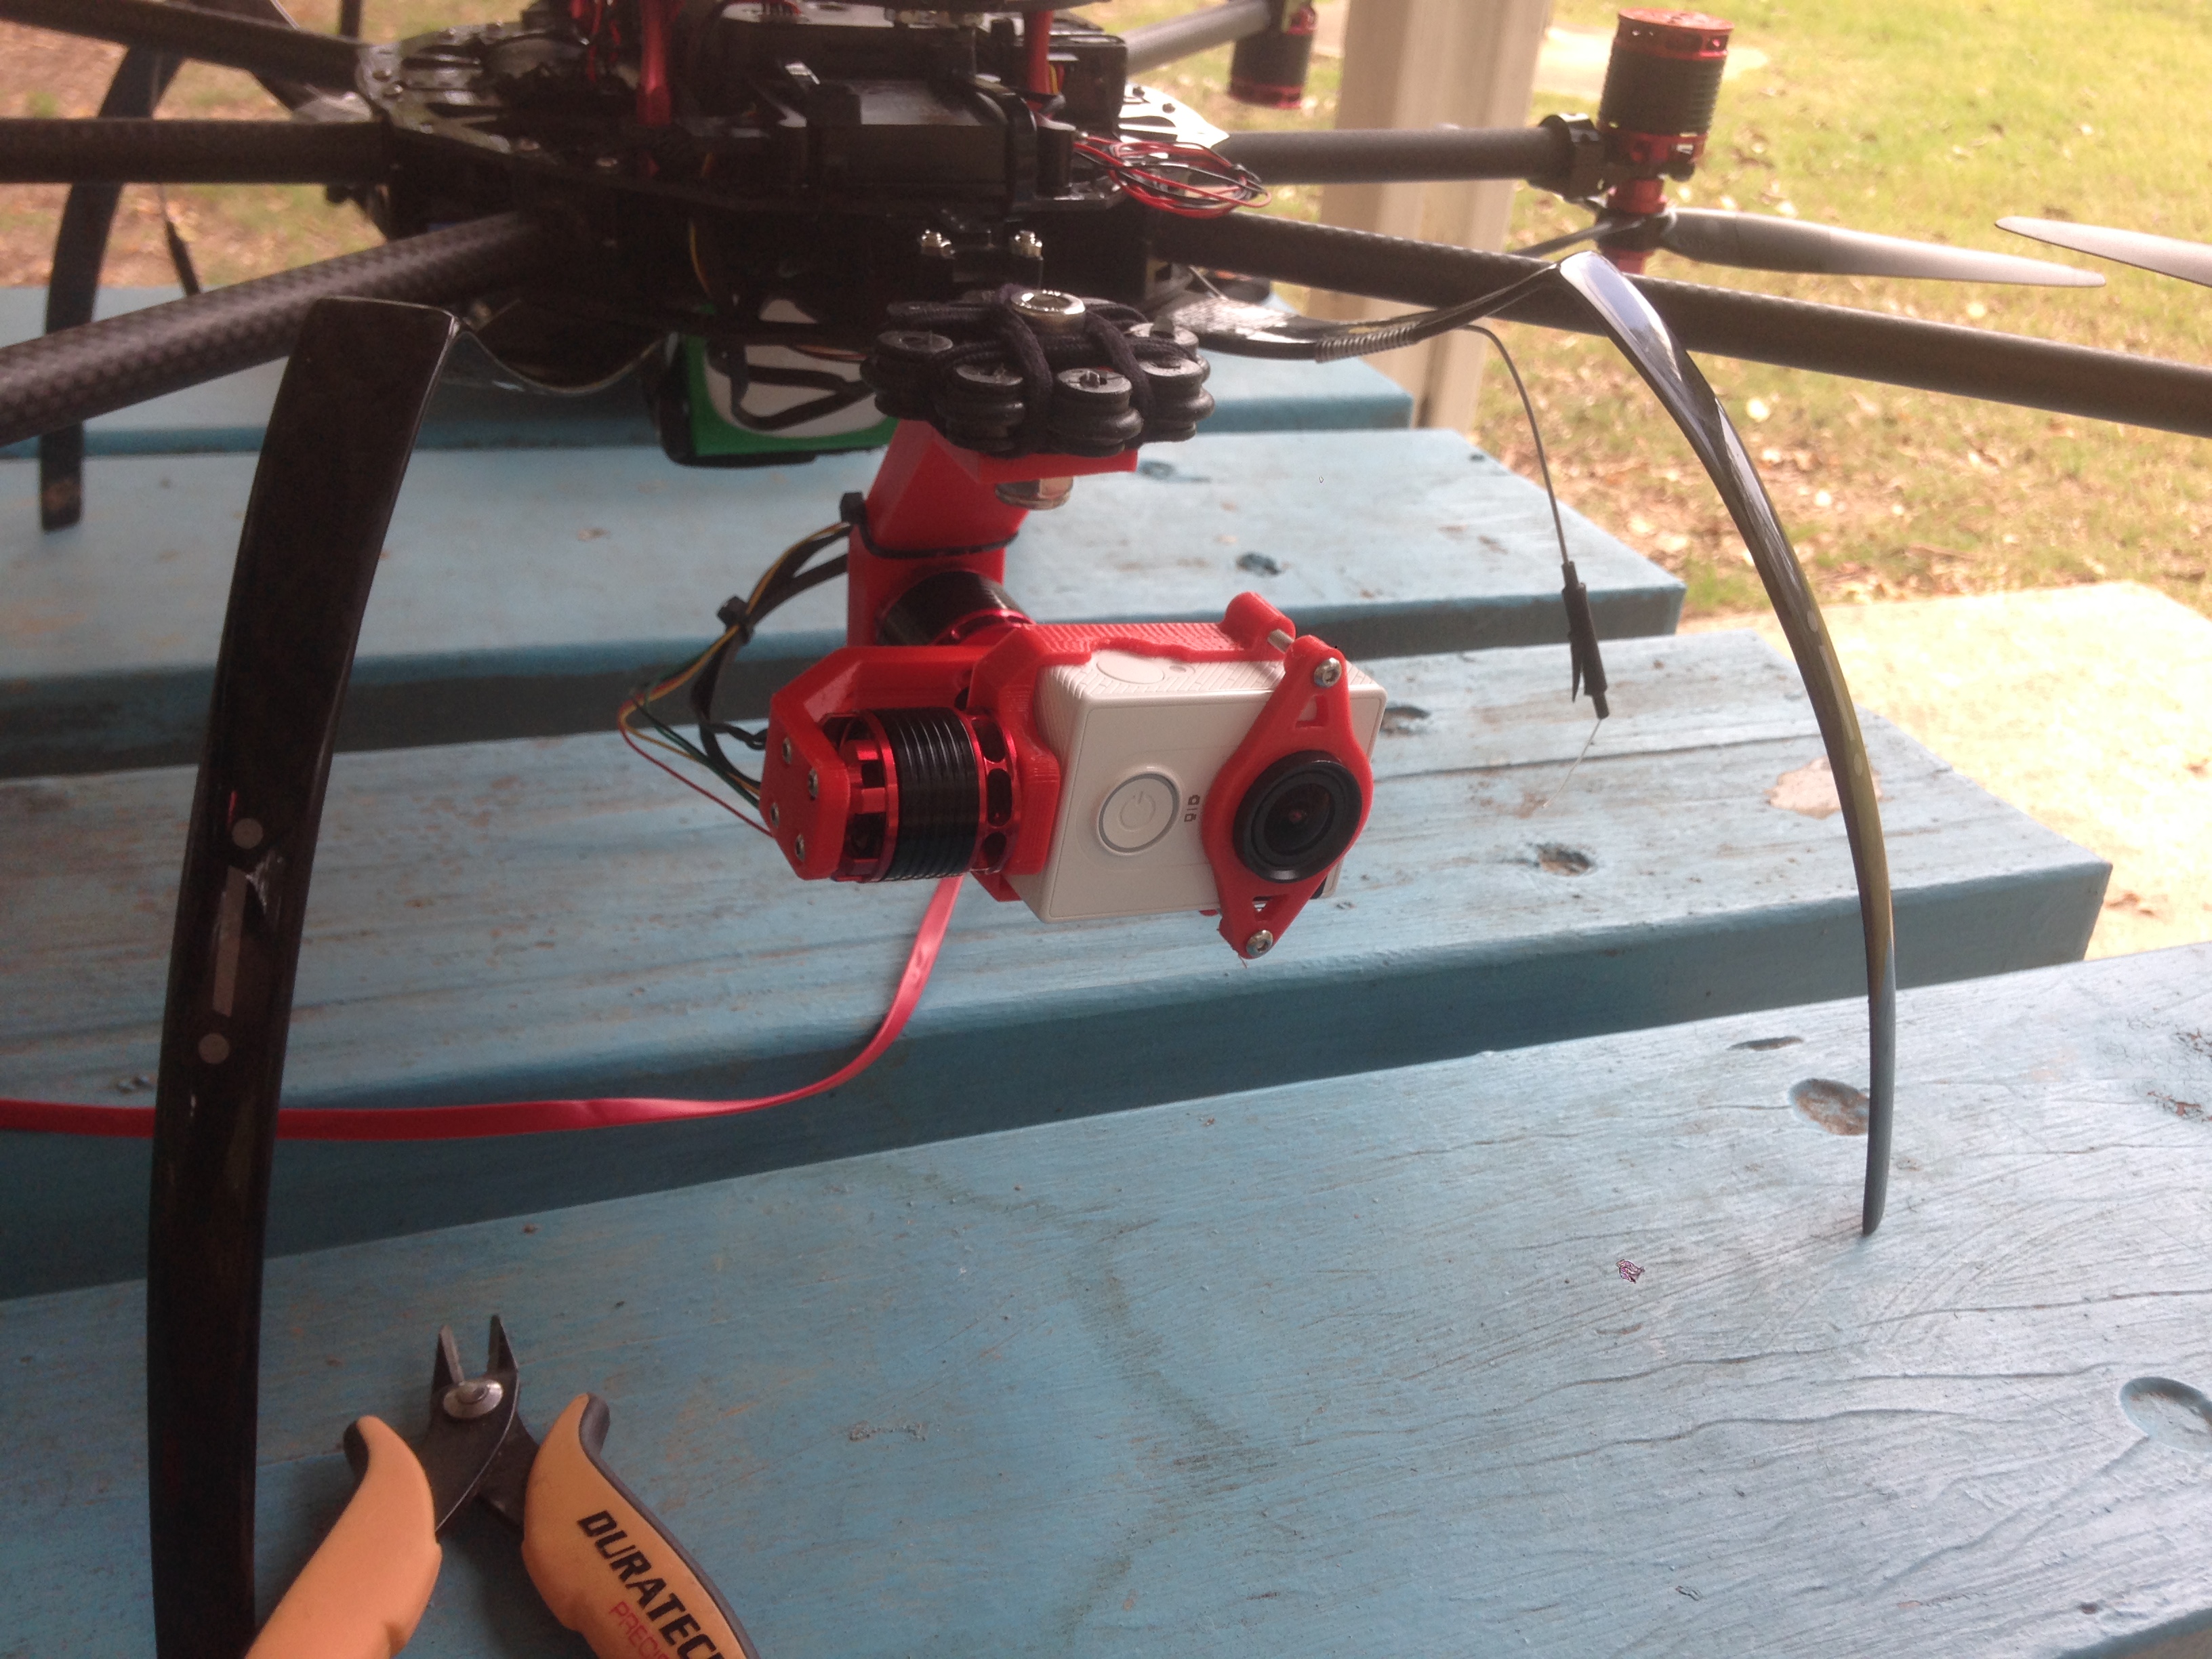
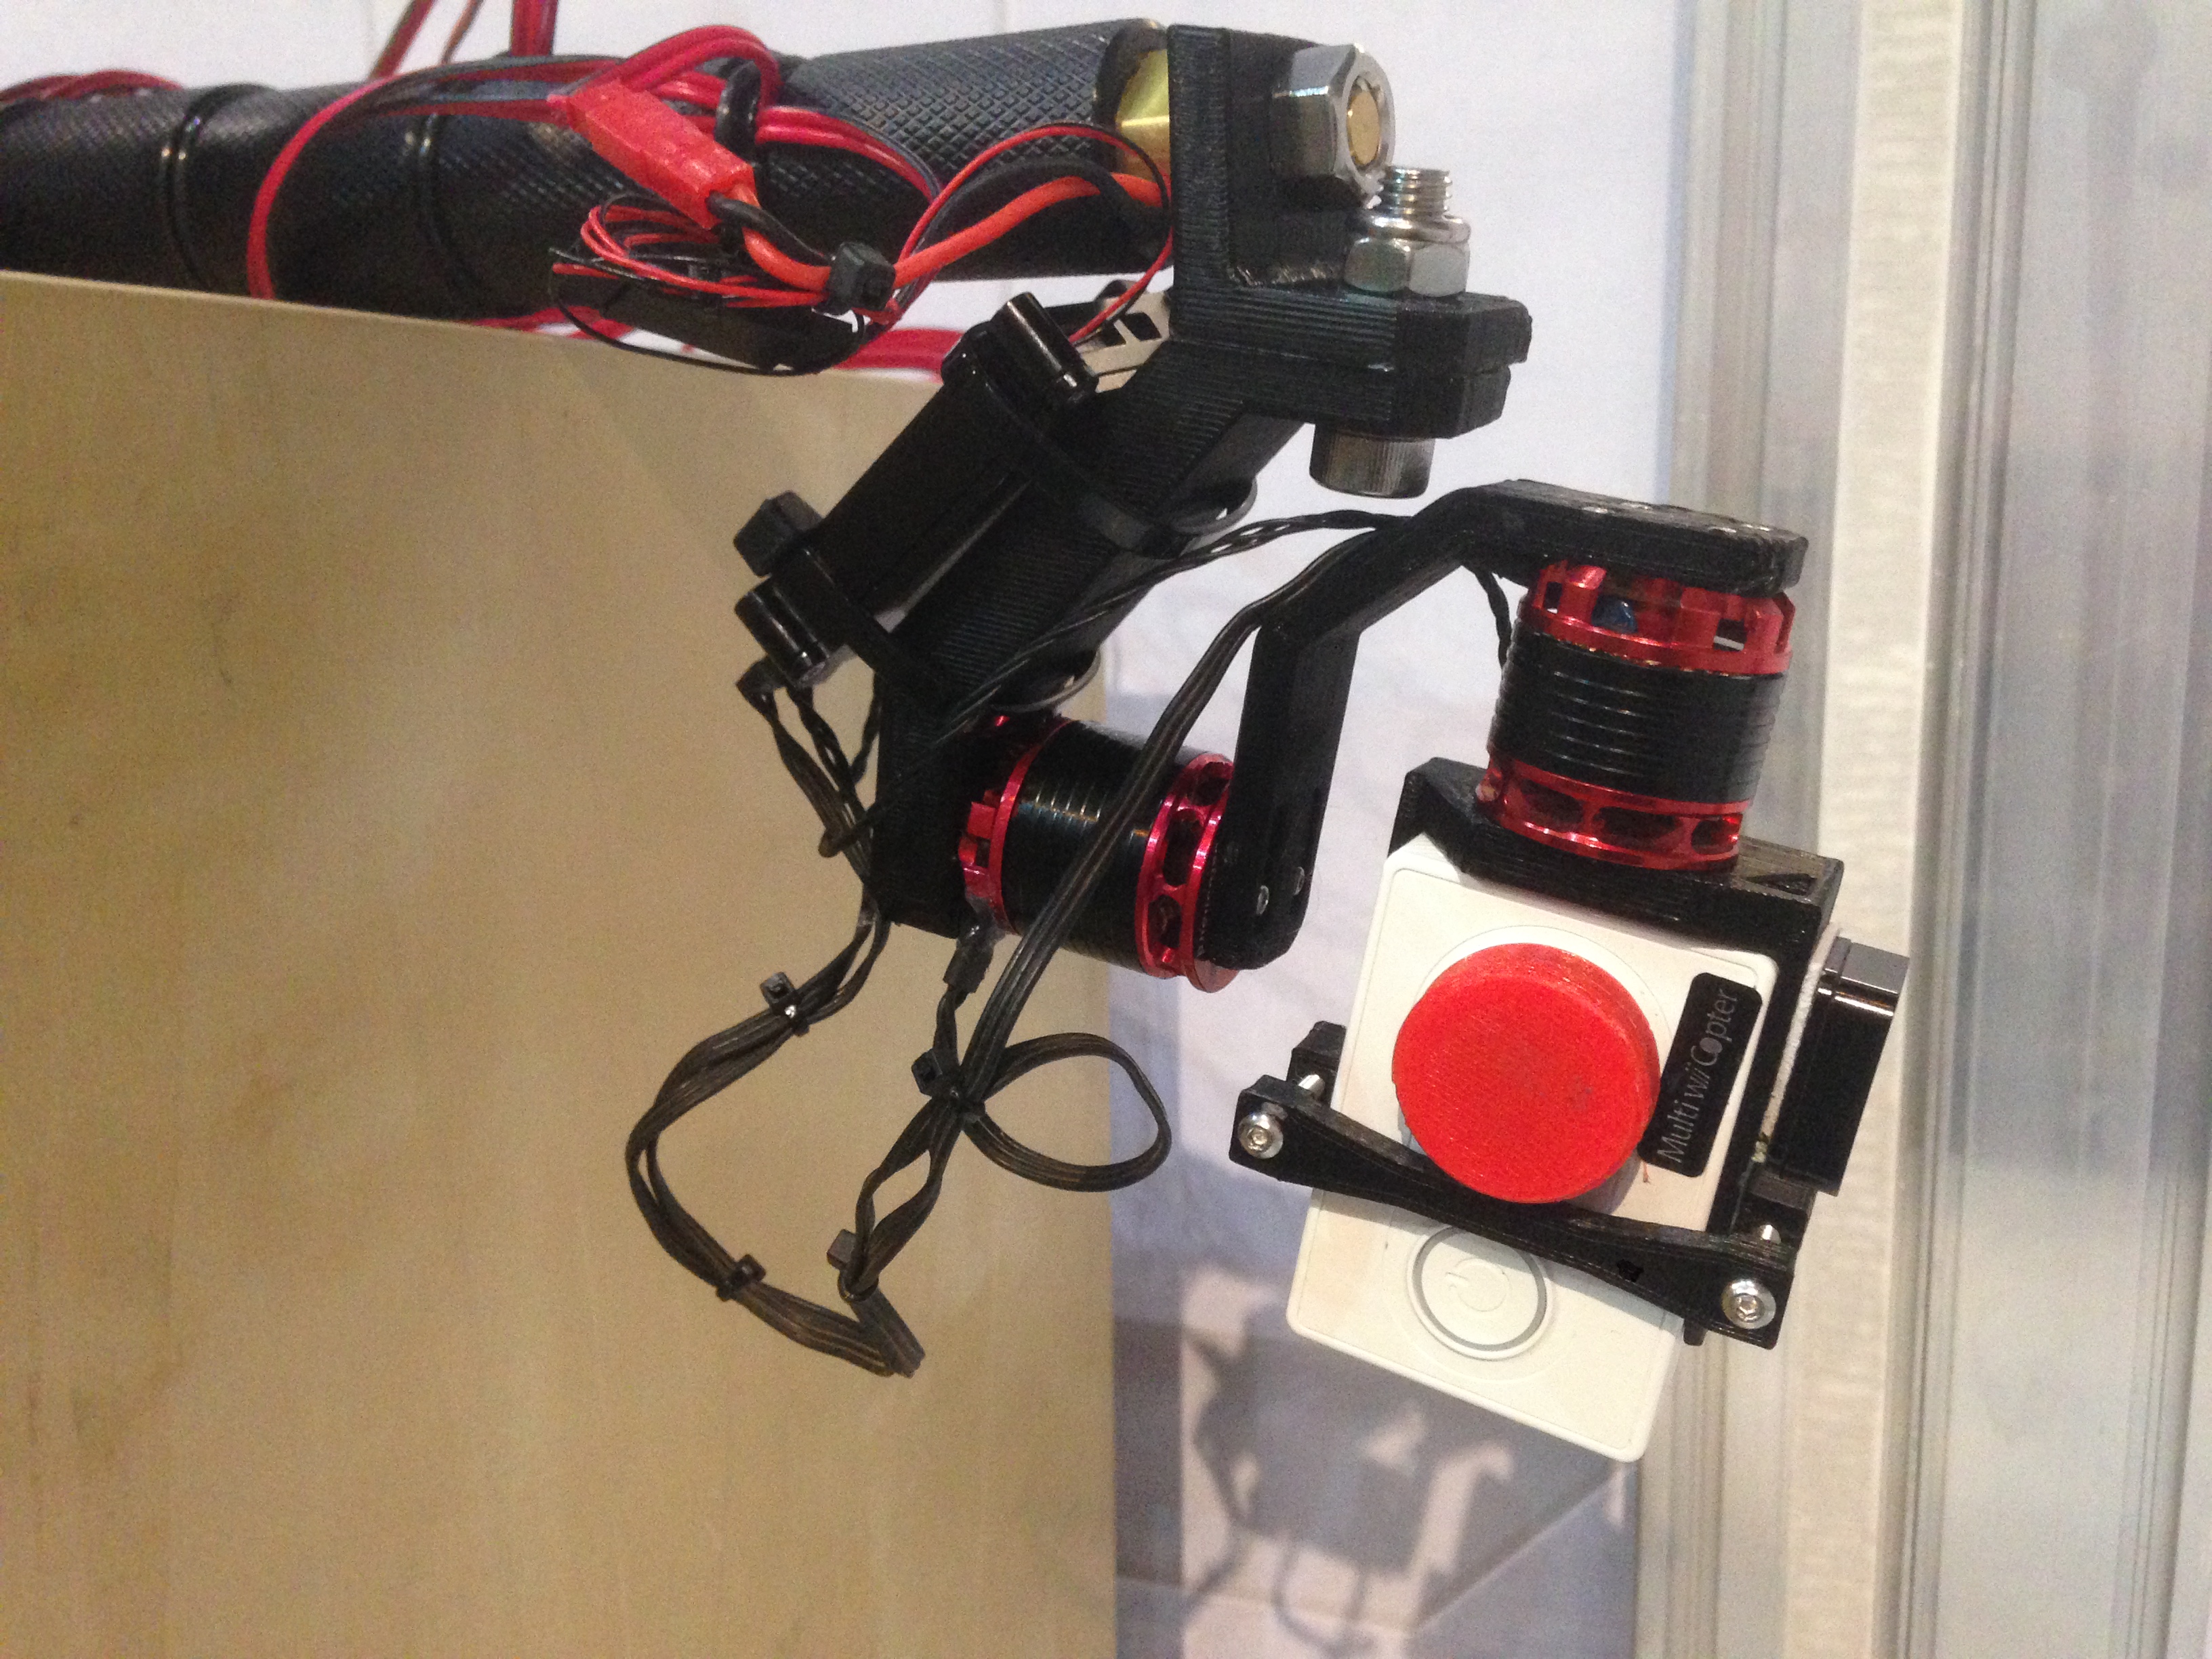
Here’s the completed gimbal fitted to my Vampire.
Note that the camera is now inverted, and the lens is aligned with the roll axis. I’ve also moved the IMU to the top to provide access to the USB and video-out sockets on the rear of the camera.
Now, how to mount this to the Rode Boompole? I designed a small bracket to connect the yaw axis boom to the rode boompole.
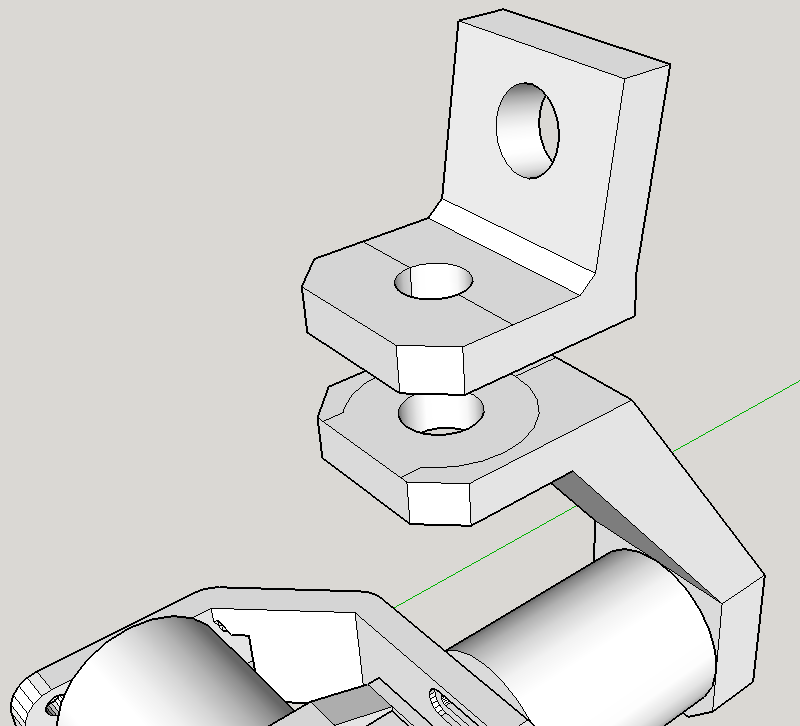
This bracket would allow me to hold the boompole horizontally, and swoop the camera over people’s heads, creating some cool shots! It also meant that I could rotate the camera on the yaw axis, allowing me to take shots from the left, right, and directly ahead.
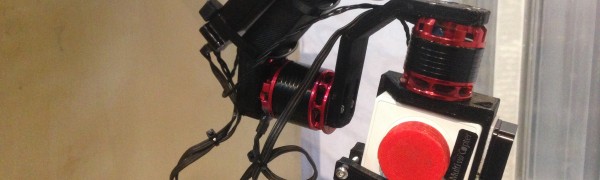
The gimbal assembly mounted to the boompole, along with the 2-axis ALEXMOS controller. I used a nylock nut on the yaw mount to prevent it from coming loose accidentally.
Next was to sort out power and control for the gimbal. The gimbal controller and motors run happily on 9-16v so I can hook it straight up to a 3S lipo battery. However, I wanted to have control of the pitch (tilt) axis of the camera, so I can perform pans with the camera.
The gimbal controller will take a standard PWM input, usually from an RC receiver. To avoid having to carry around a whole transmitter as well, I planned to use a small RC tester as my ’tilt controller’ – the RC tester needs 5v to operate. This meant I would need a uBEC to step down the voltage.
I decided to design a small ‘control box’ which would house all these components.
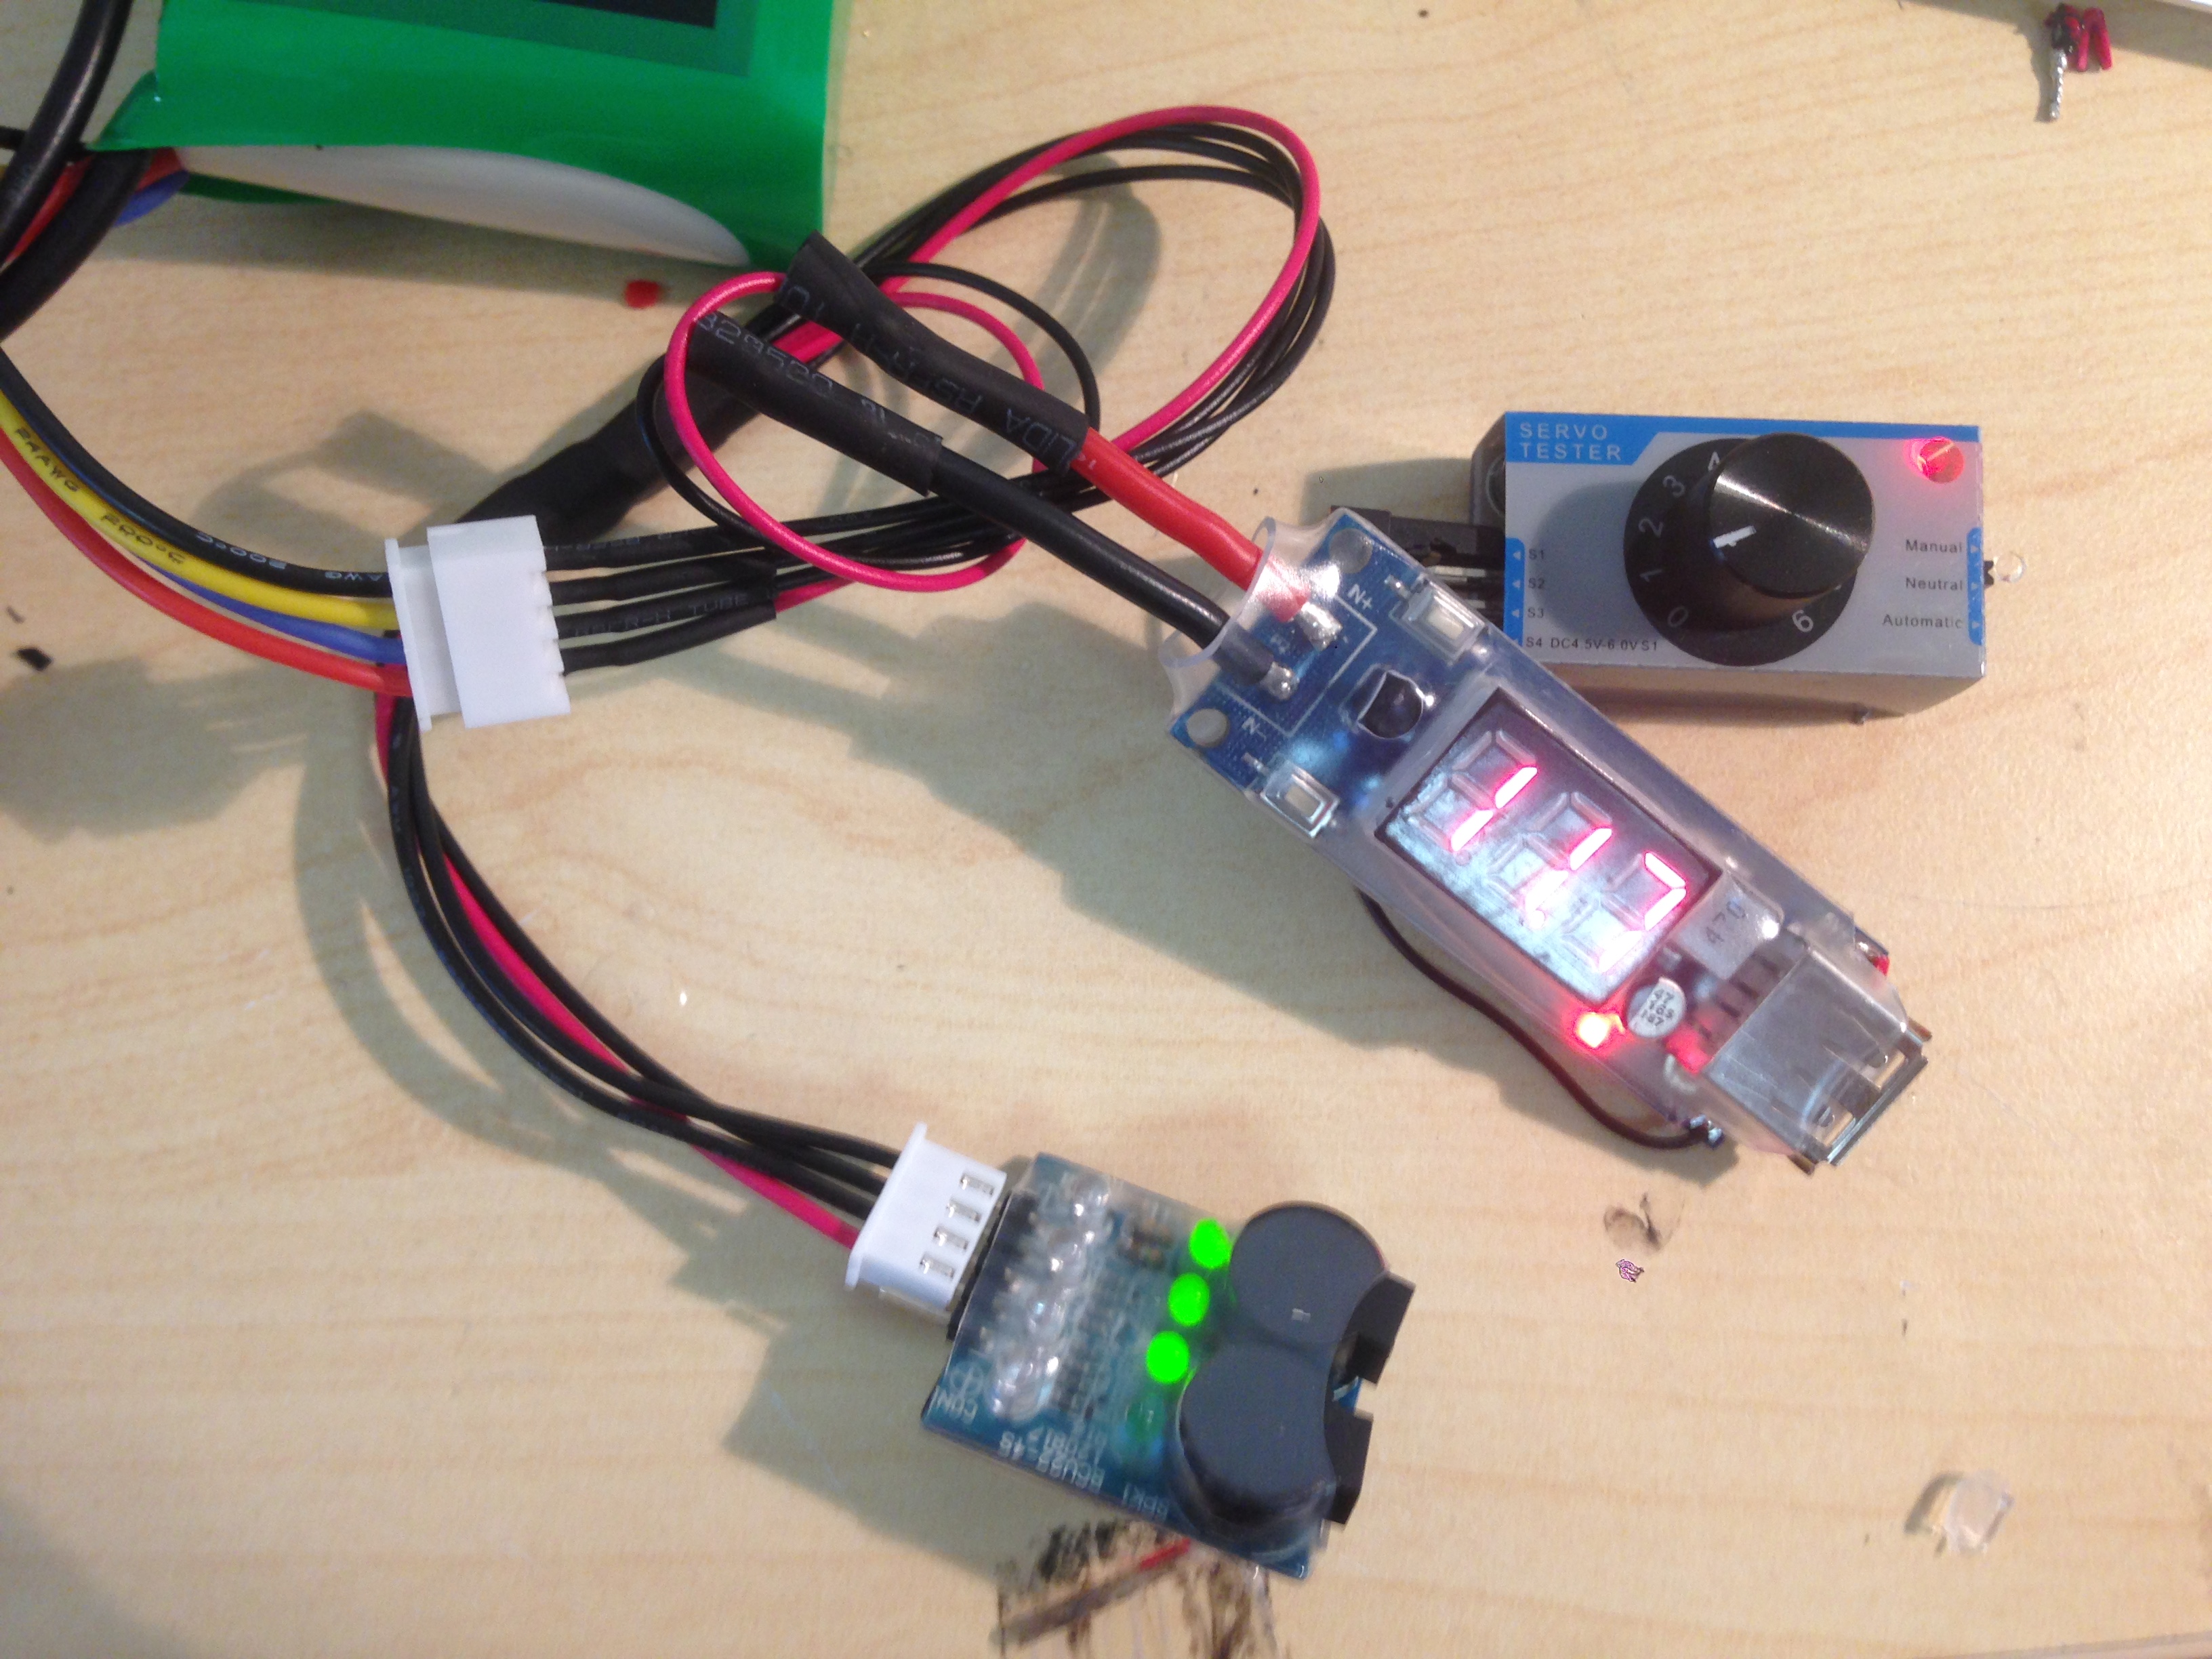
I soldered up a wiring harness for the servo tester, a UBEC 5v step down, voltage display and USB charger, and a low voltage beeper for alerting me if the battery gets low.
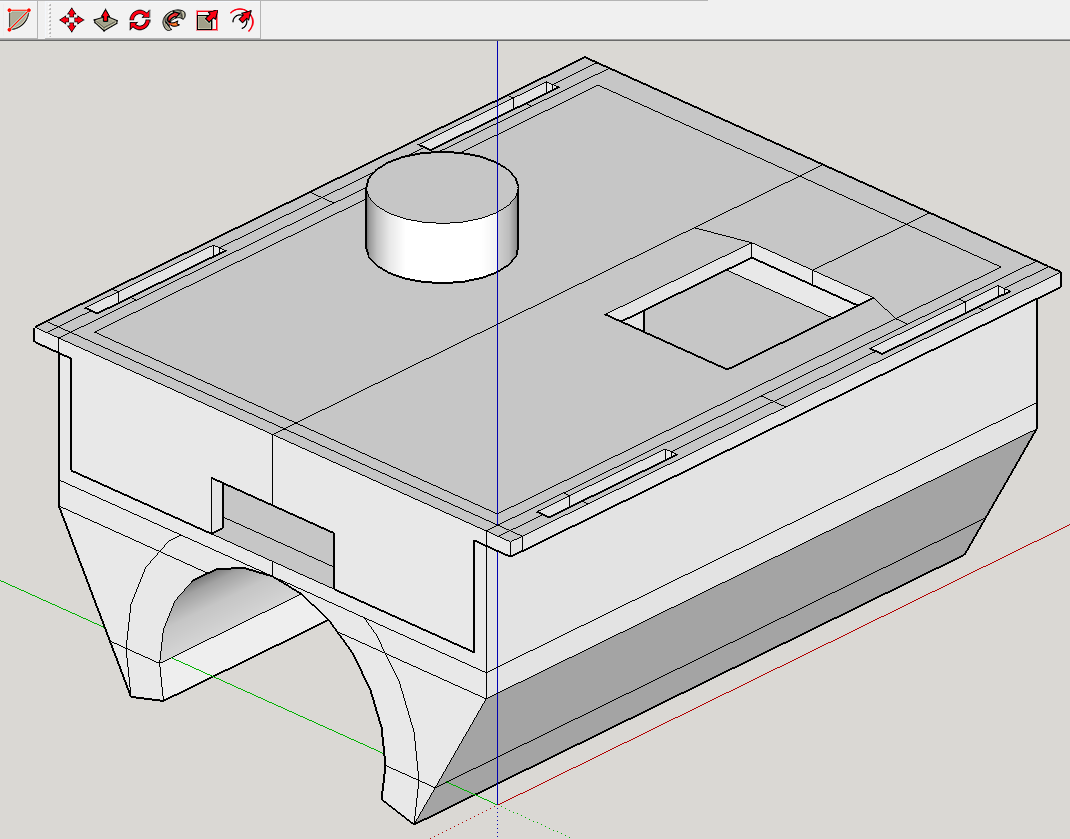
Control box made from two parts – designed to ‘snap’ onto the Rode Boompole and be held in place with zipties. Holes for accessing the servo knob and seeing the battery voltage.
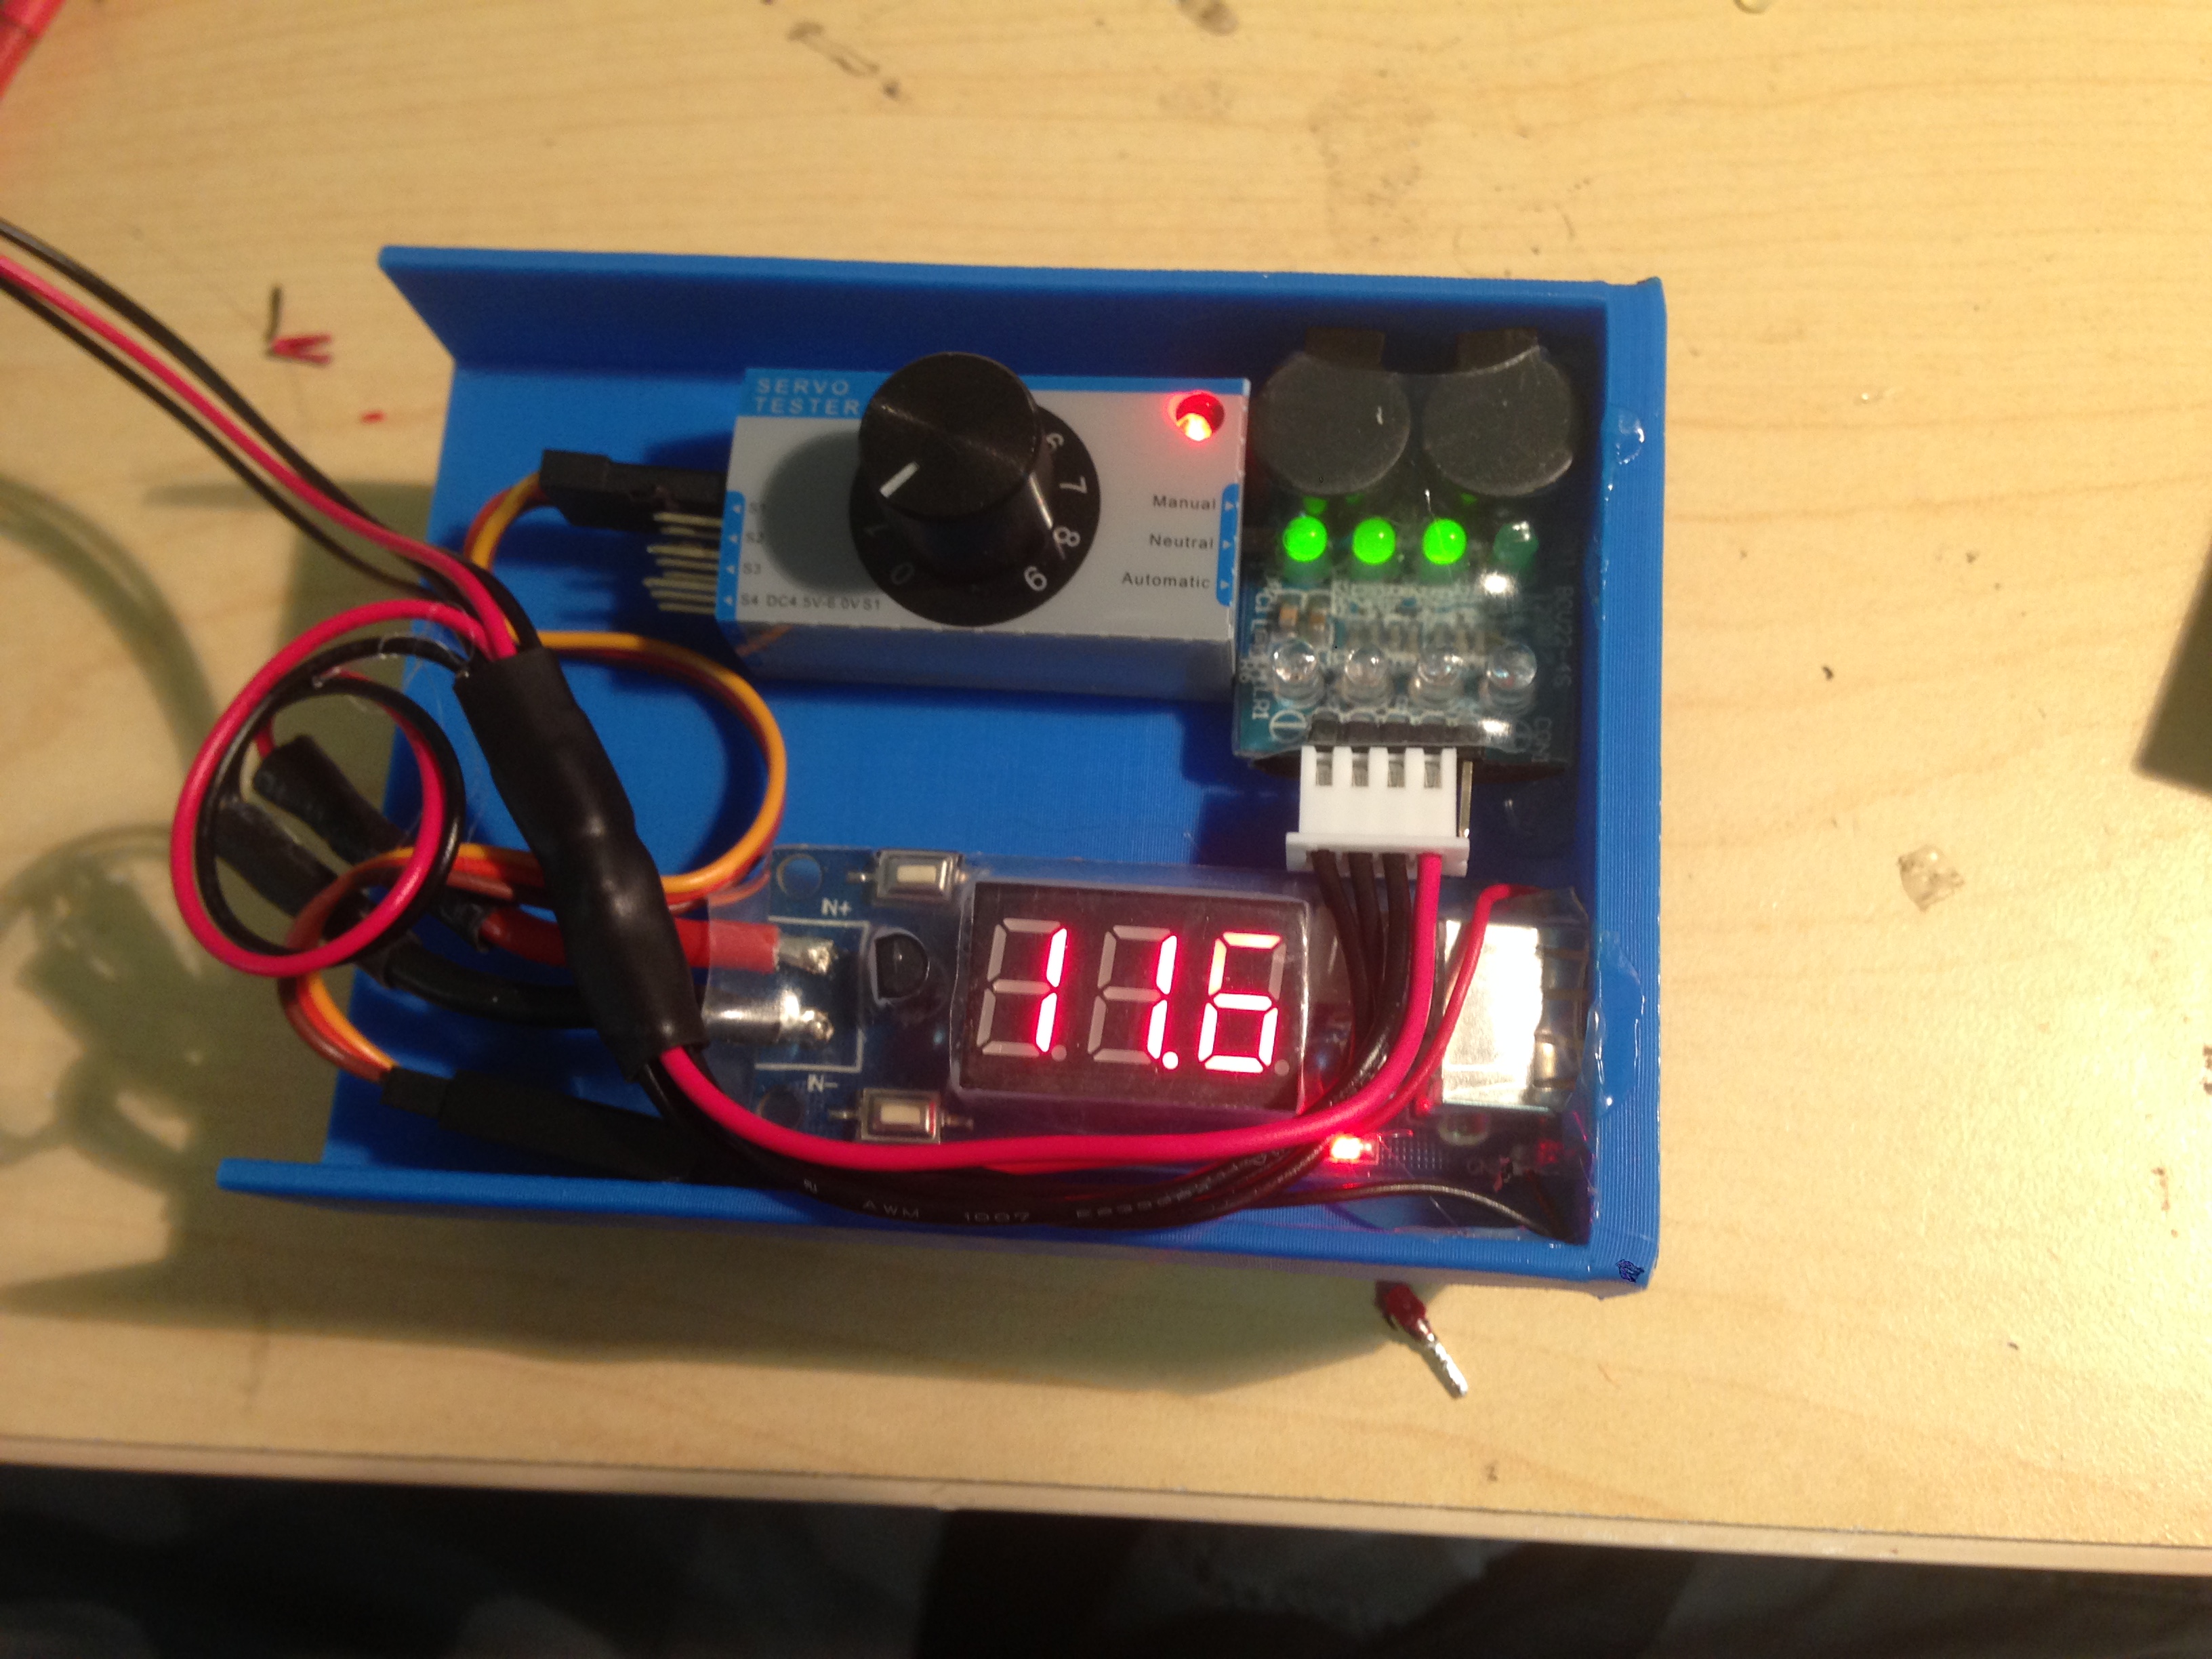
Components held in place with a little hot glue 🙂
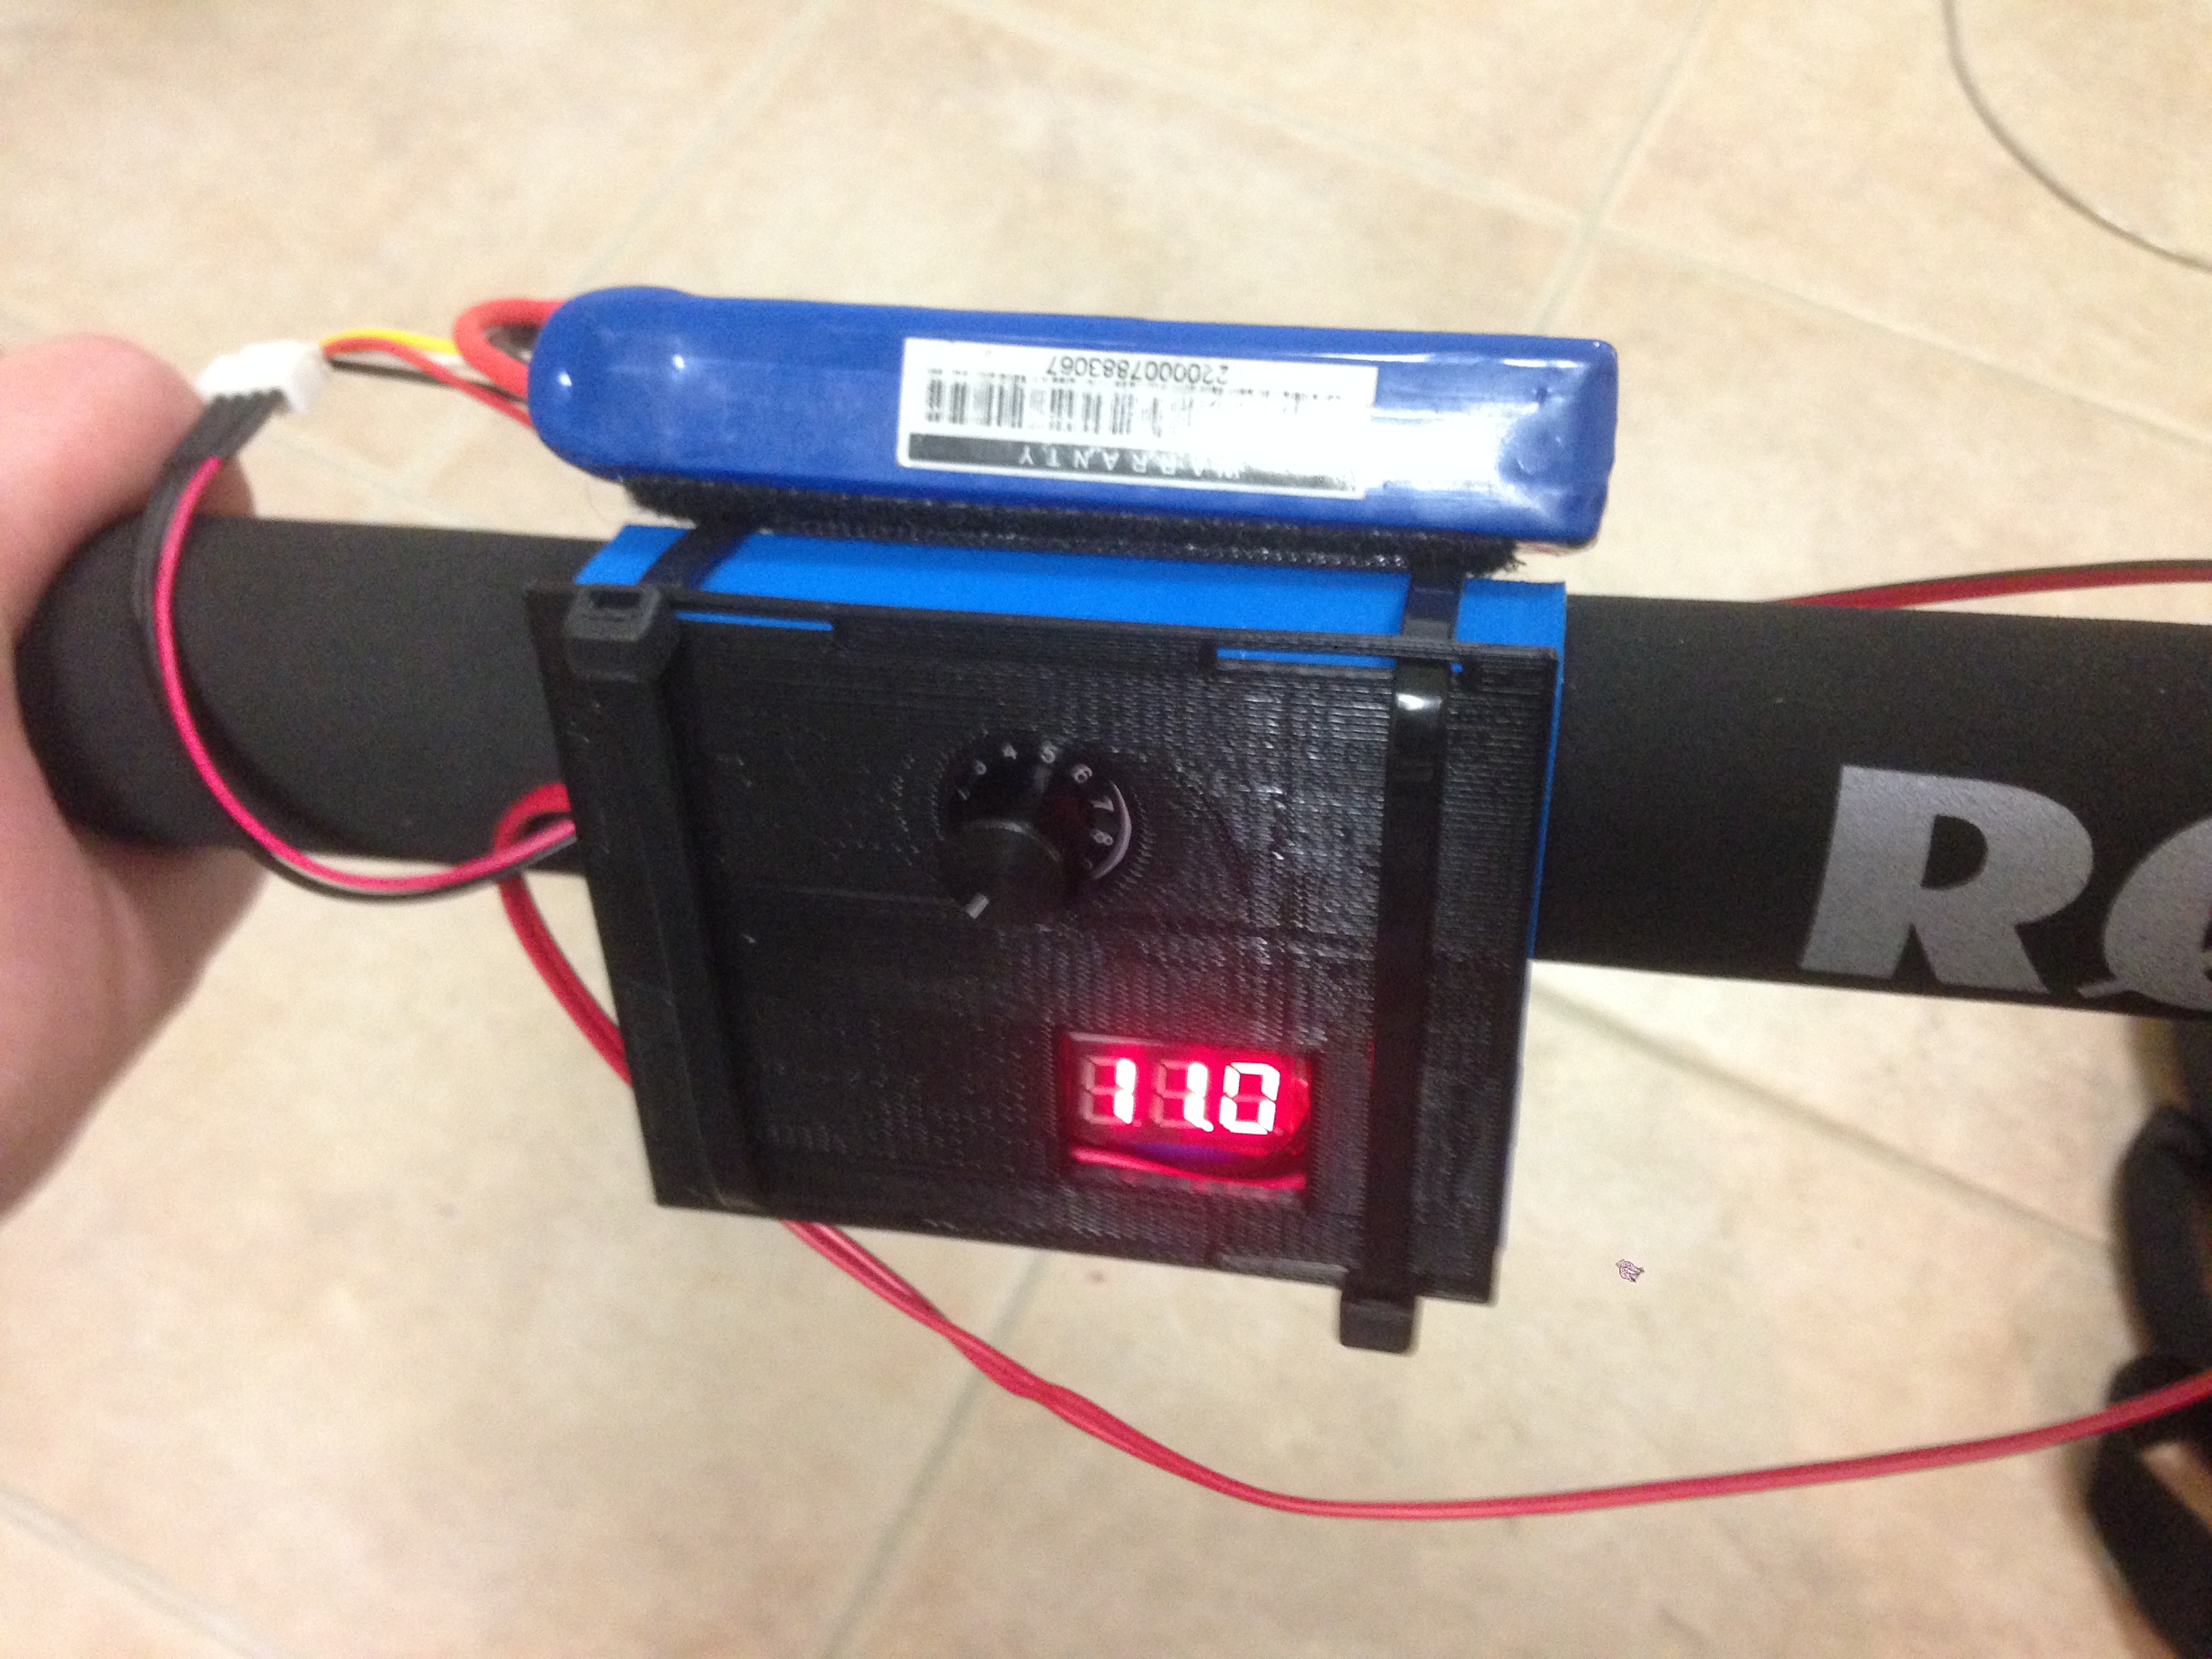
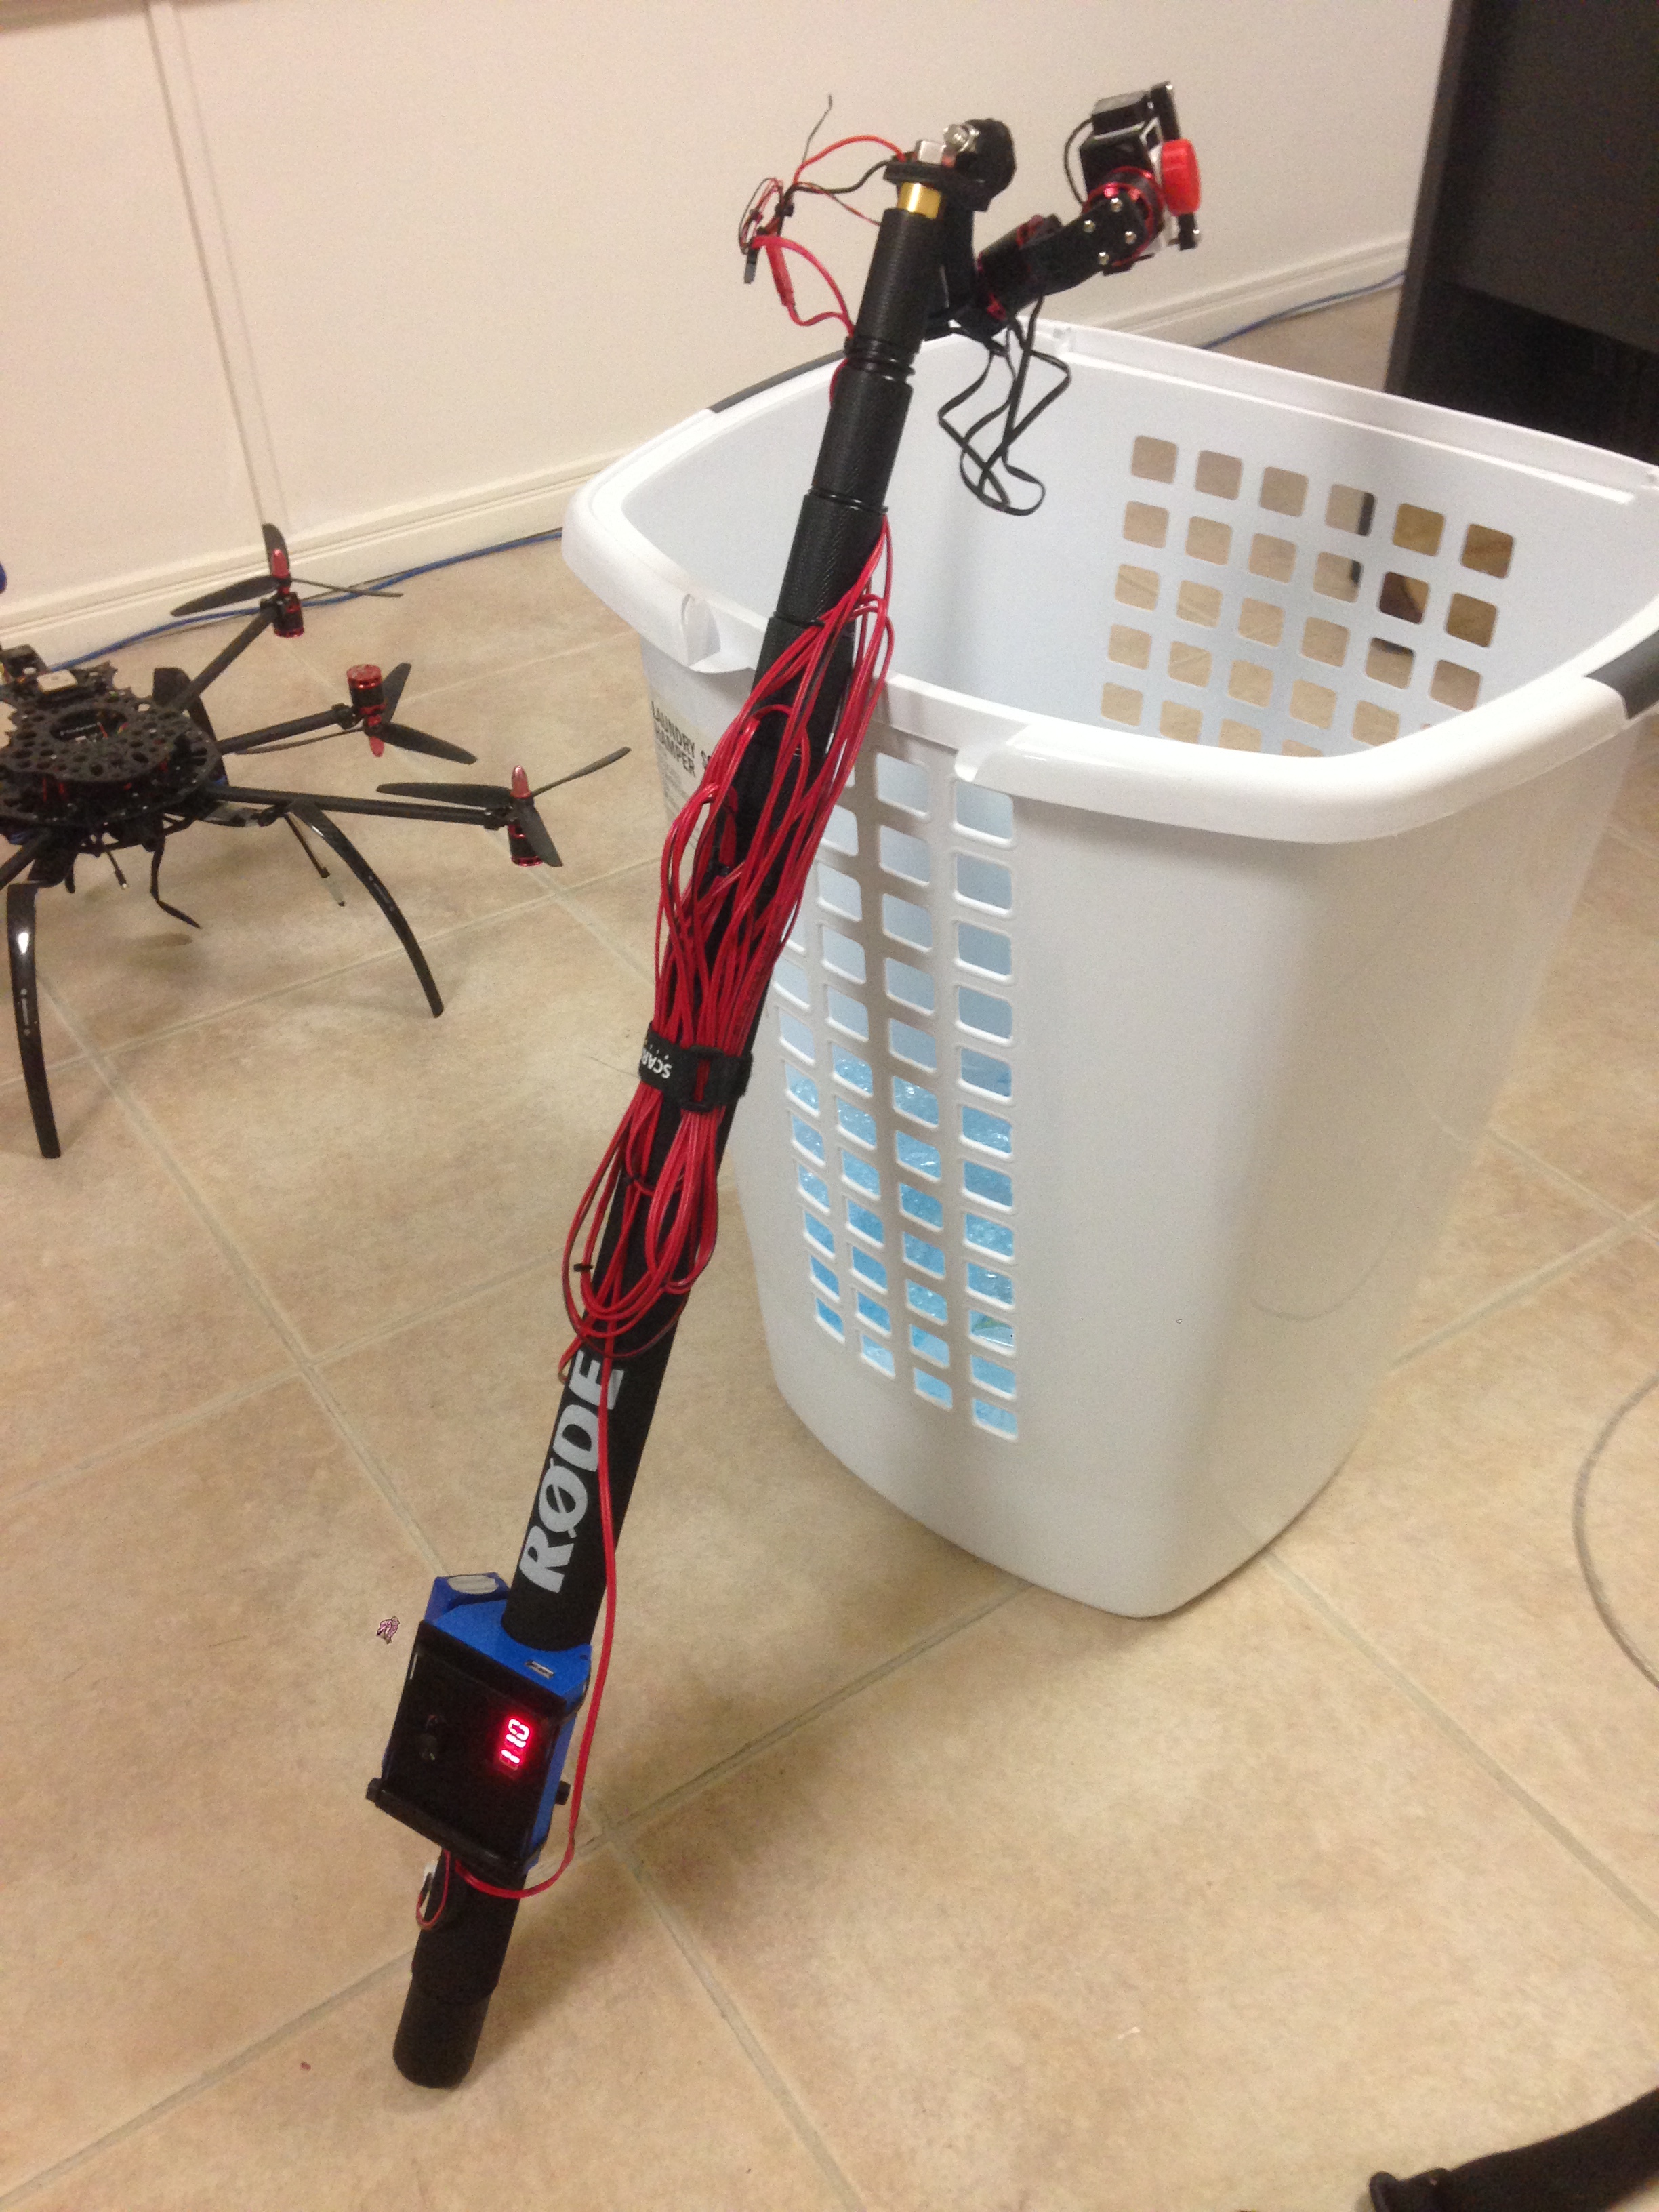
Control box fitted, battery held in place with a strip of velcro. USB port in the side for charging the Xiaomi camera, or other stuff like iPhone etc. Turning the knob will tilt the camera up or down.
Finished product! I forgot to zip tie the gimbal cables before I took this photo 🙂
I wasn’t able to spend much time doing videography as I was pretty busy with IT stuff, however I did manage to get some awesome shots. I am super pleased with how the gimbal worked. The resulting sky-footage really gives a great perspective on the event which I think is unique.
The below video was shot with my Canon 70d and the portable camera crane gimbal –
Thanks to Vimme Media & Events for giving me the opportunity to work at PAX!