After the moderate success I had with my first mini hex prototype, I thought I would start fresh and apply what I had learned to a new design. Technically, this post covers revisions 5-6 of my design. My main goals were as follows:
- Improve strength and durability
- Make parts easily duplicated and replaced – EG no more different sized arms
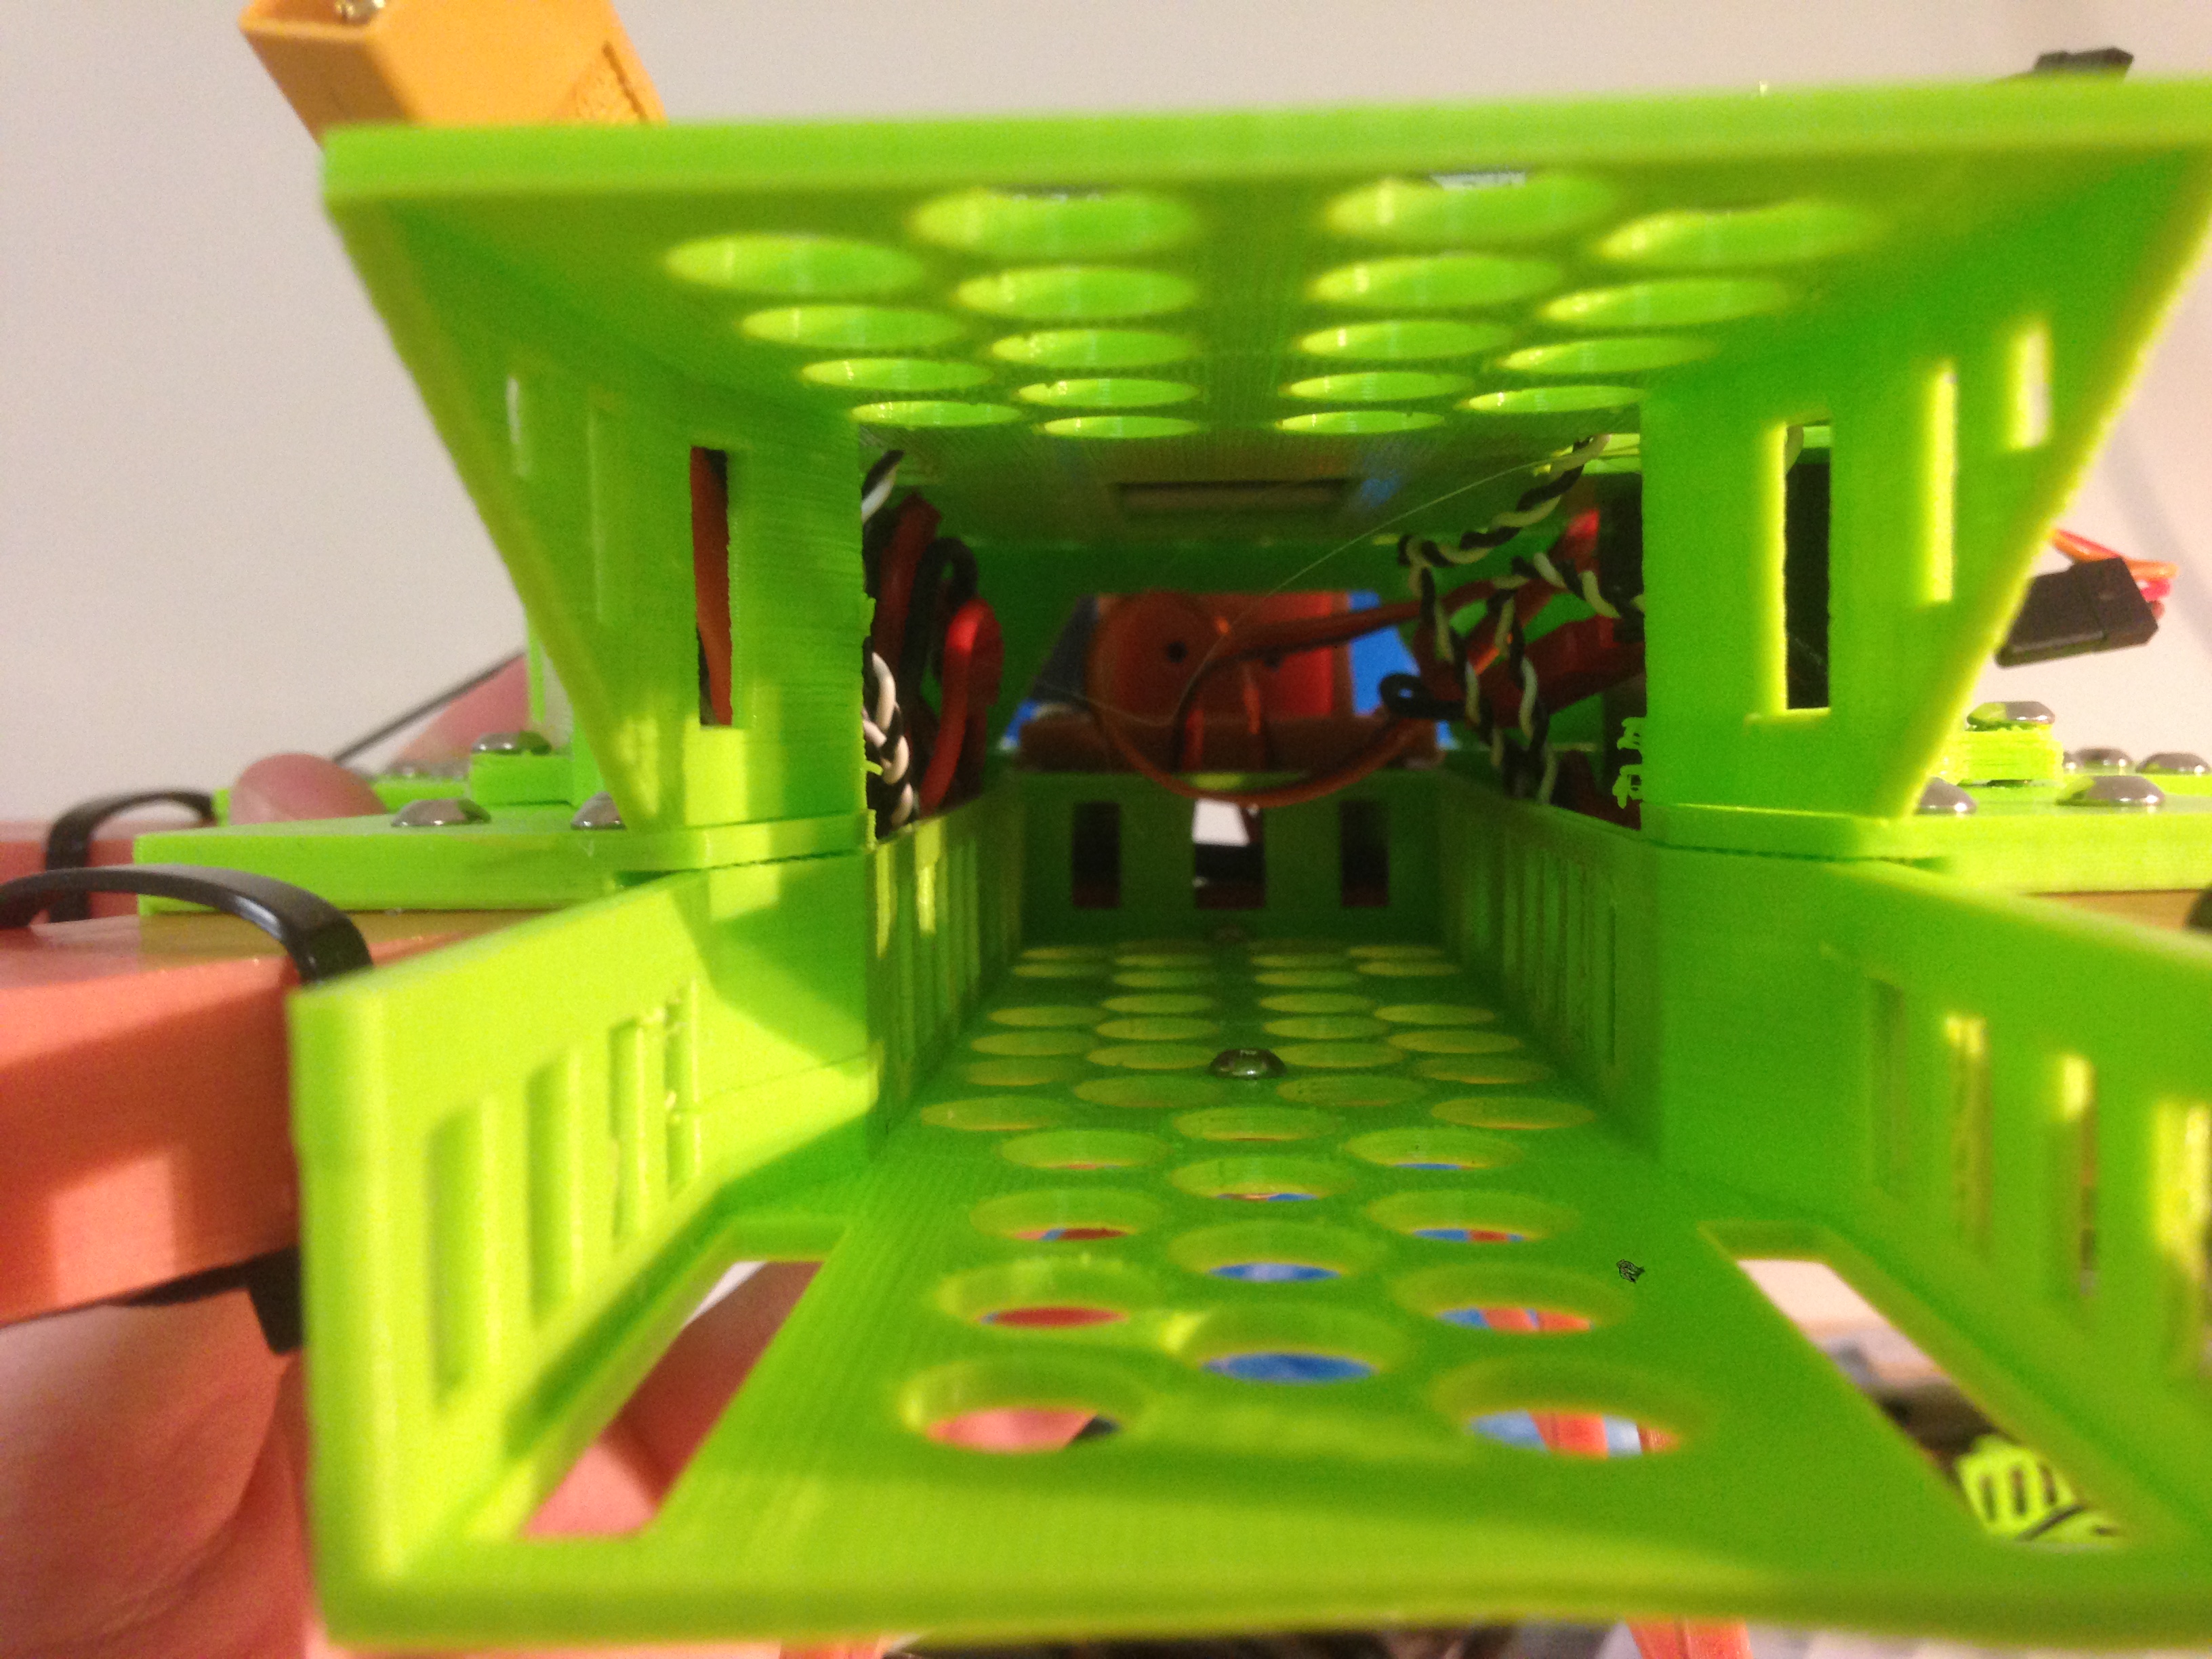
- Enclose sensitive components inside the frame to protect from dust etc
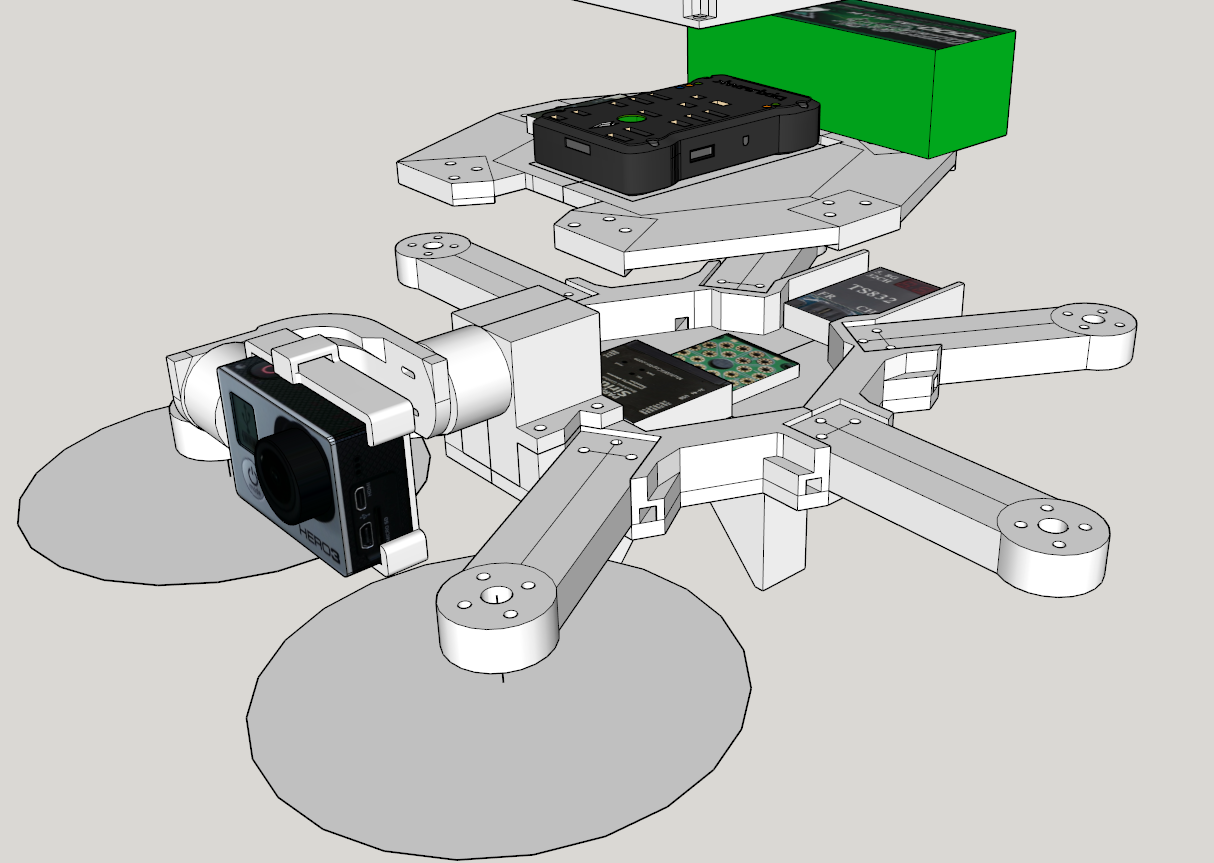
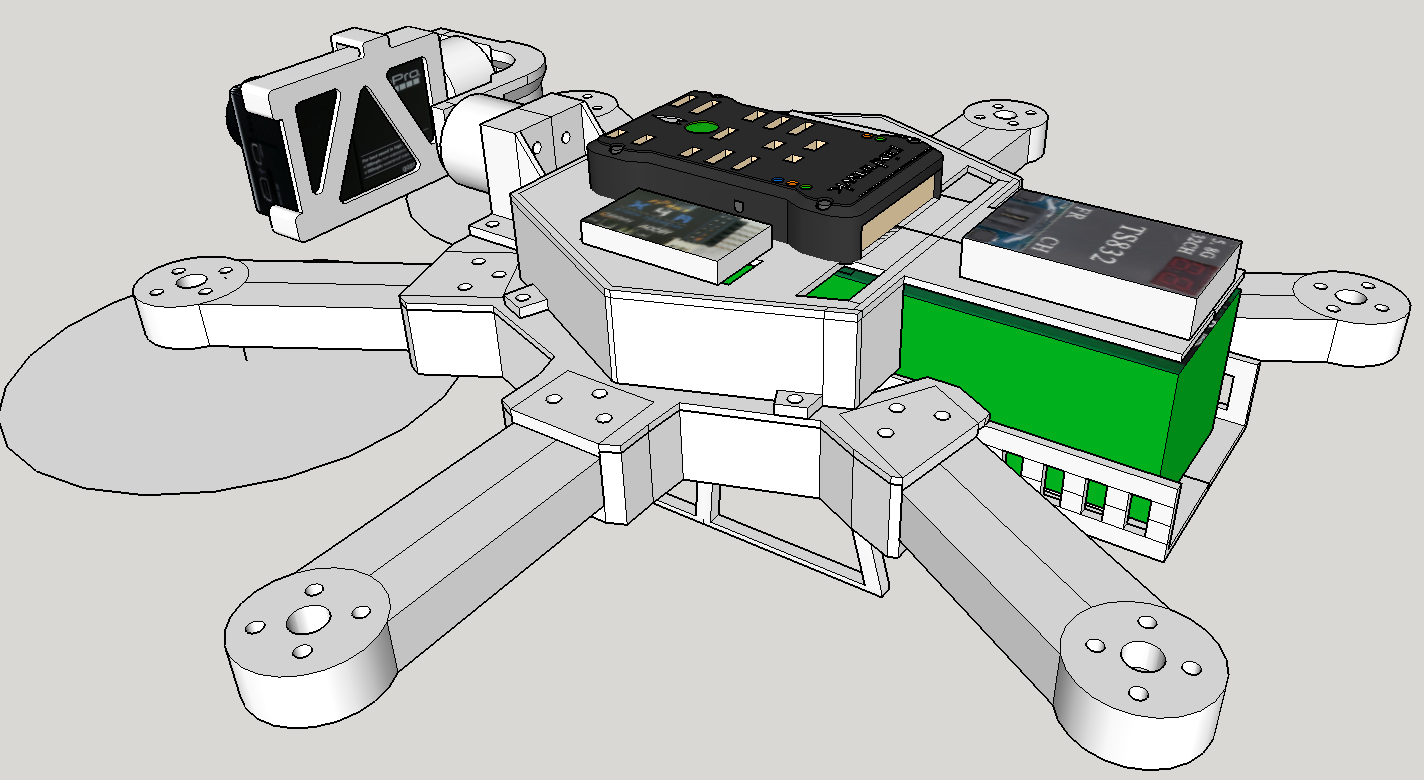
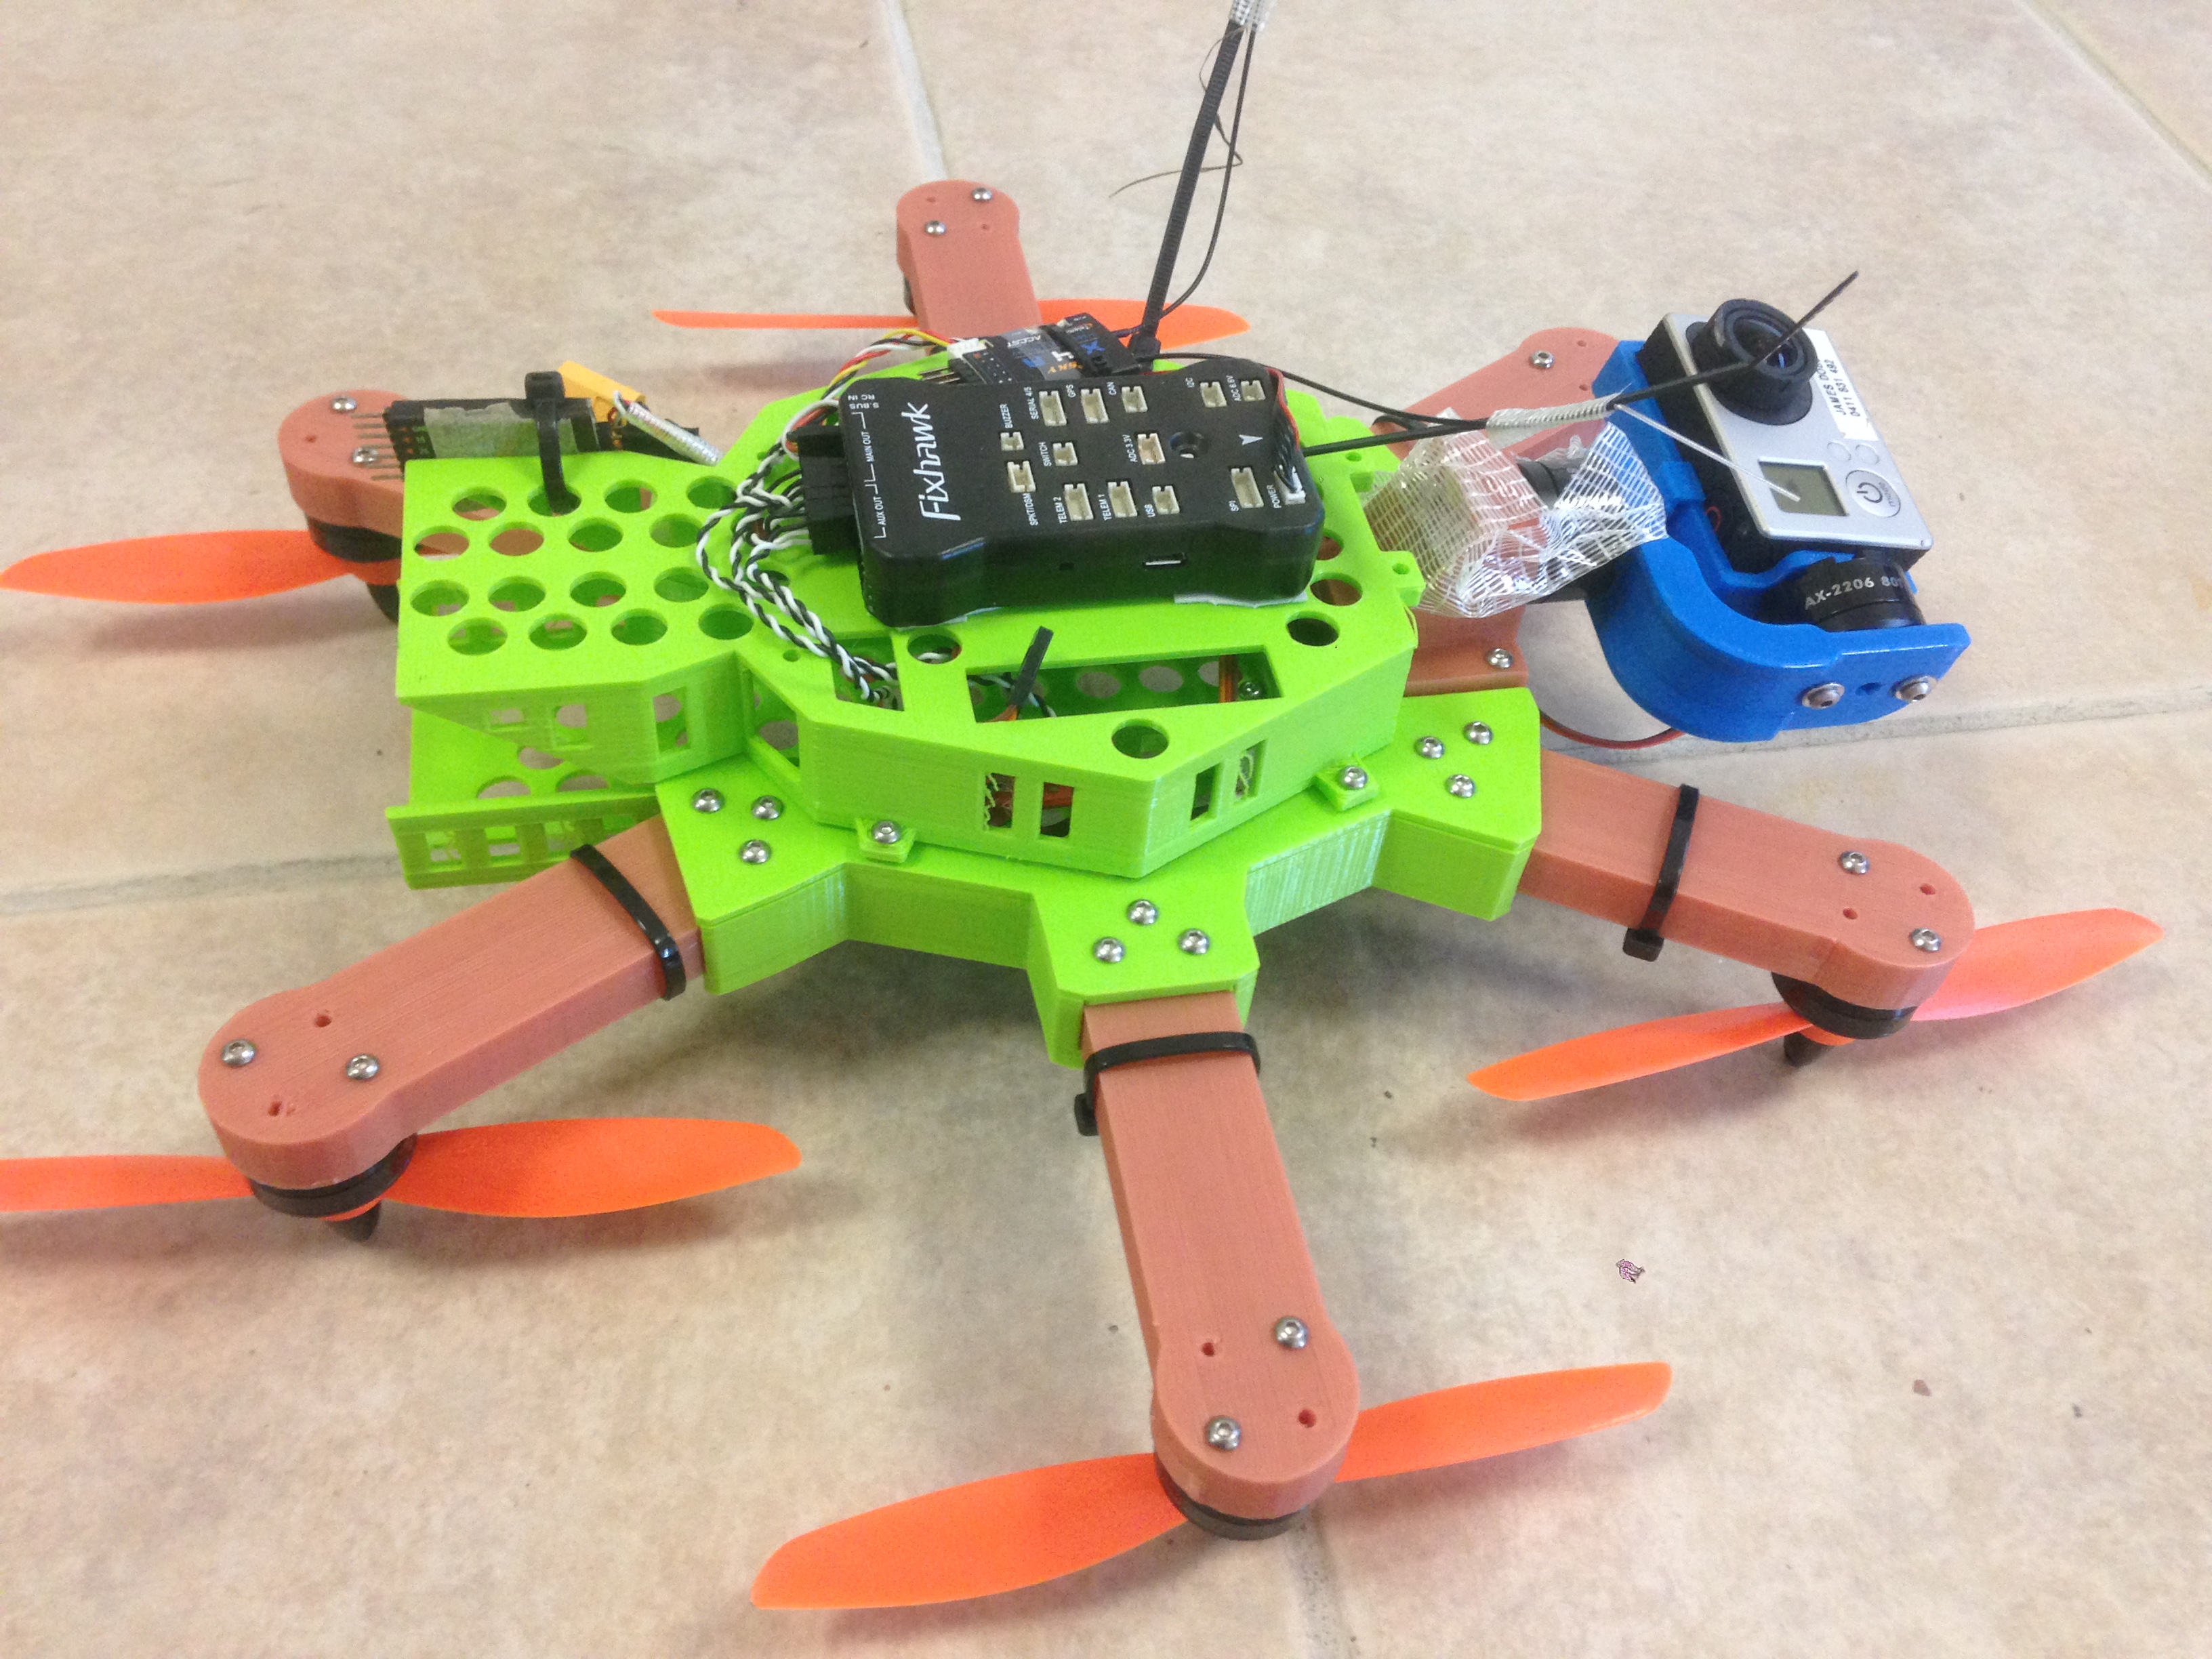
Initial design is based on the APM hexicopter symmetrical motor layout. I am re-using the gimbal from Prototype 1
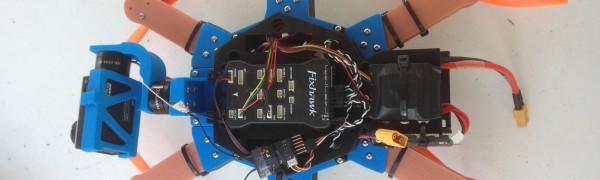
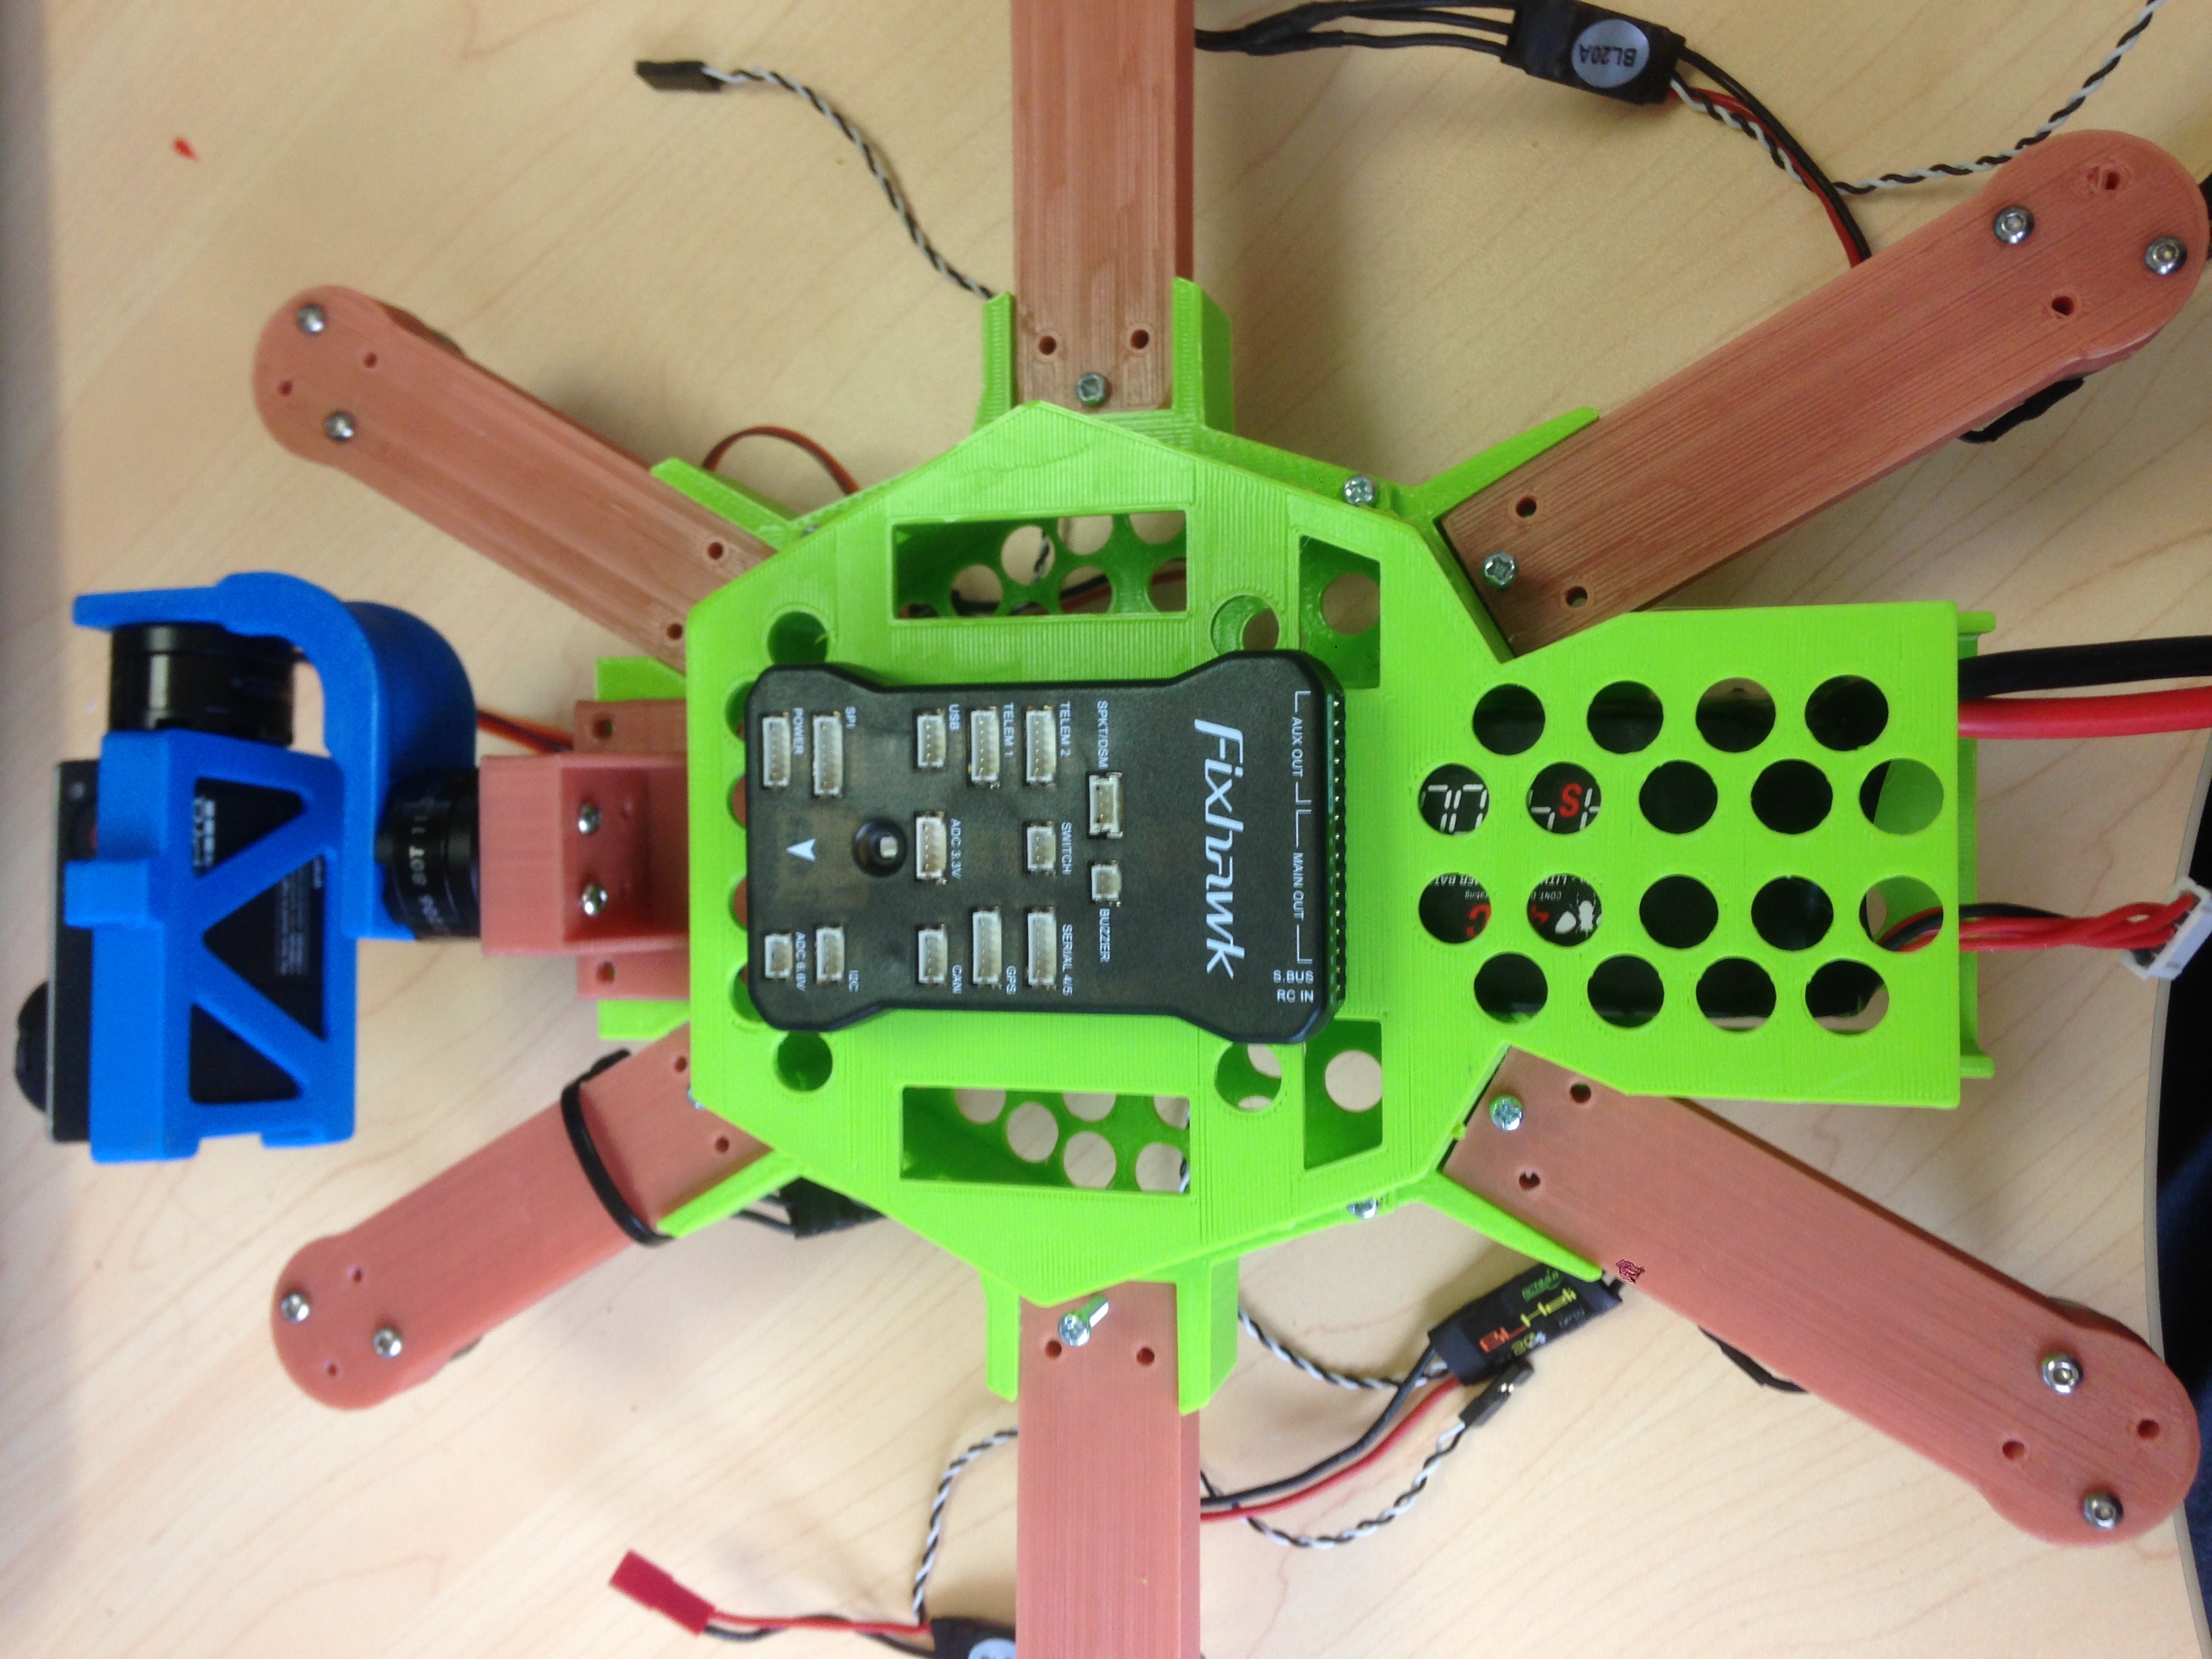
Testing where to put components. I wanted to have easy access to the APM, so a simple cover on top might do the trick.
I was hoping to place the battery on a rear ‘shelf’ – I expected this would balance against the gimbal and gopro.
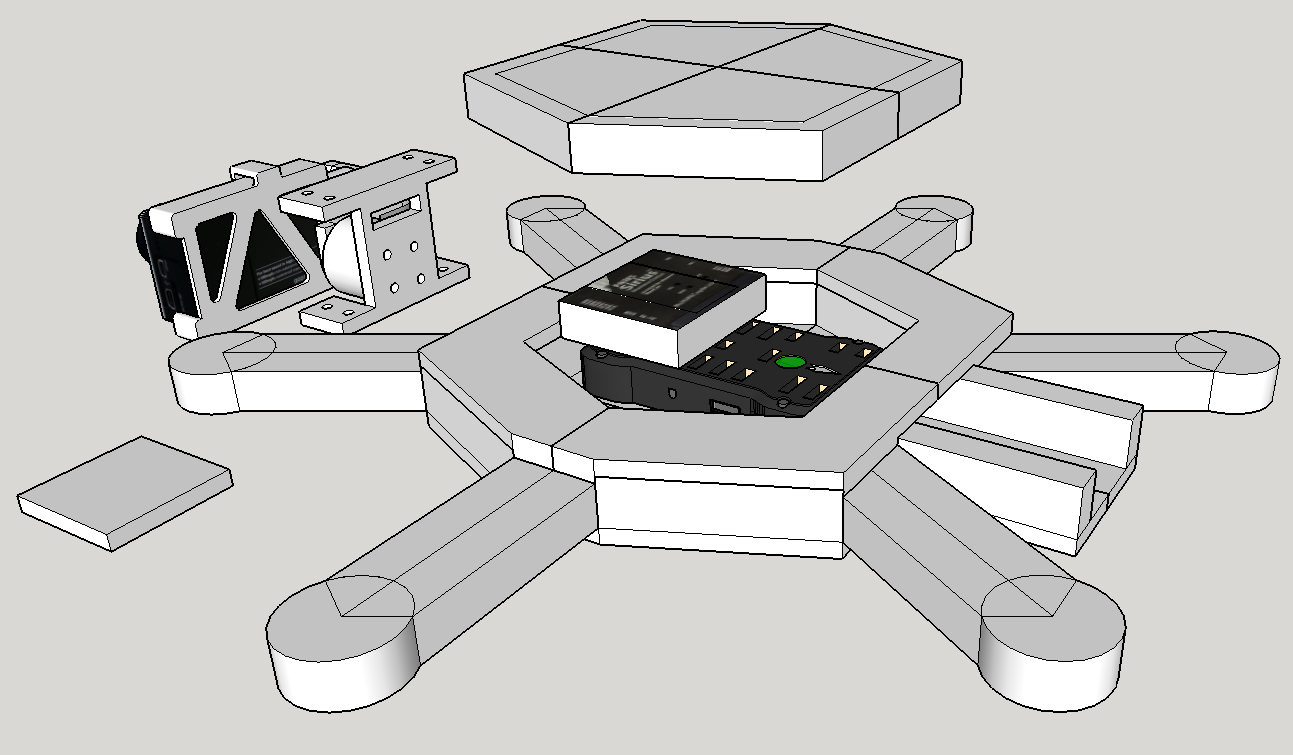
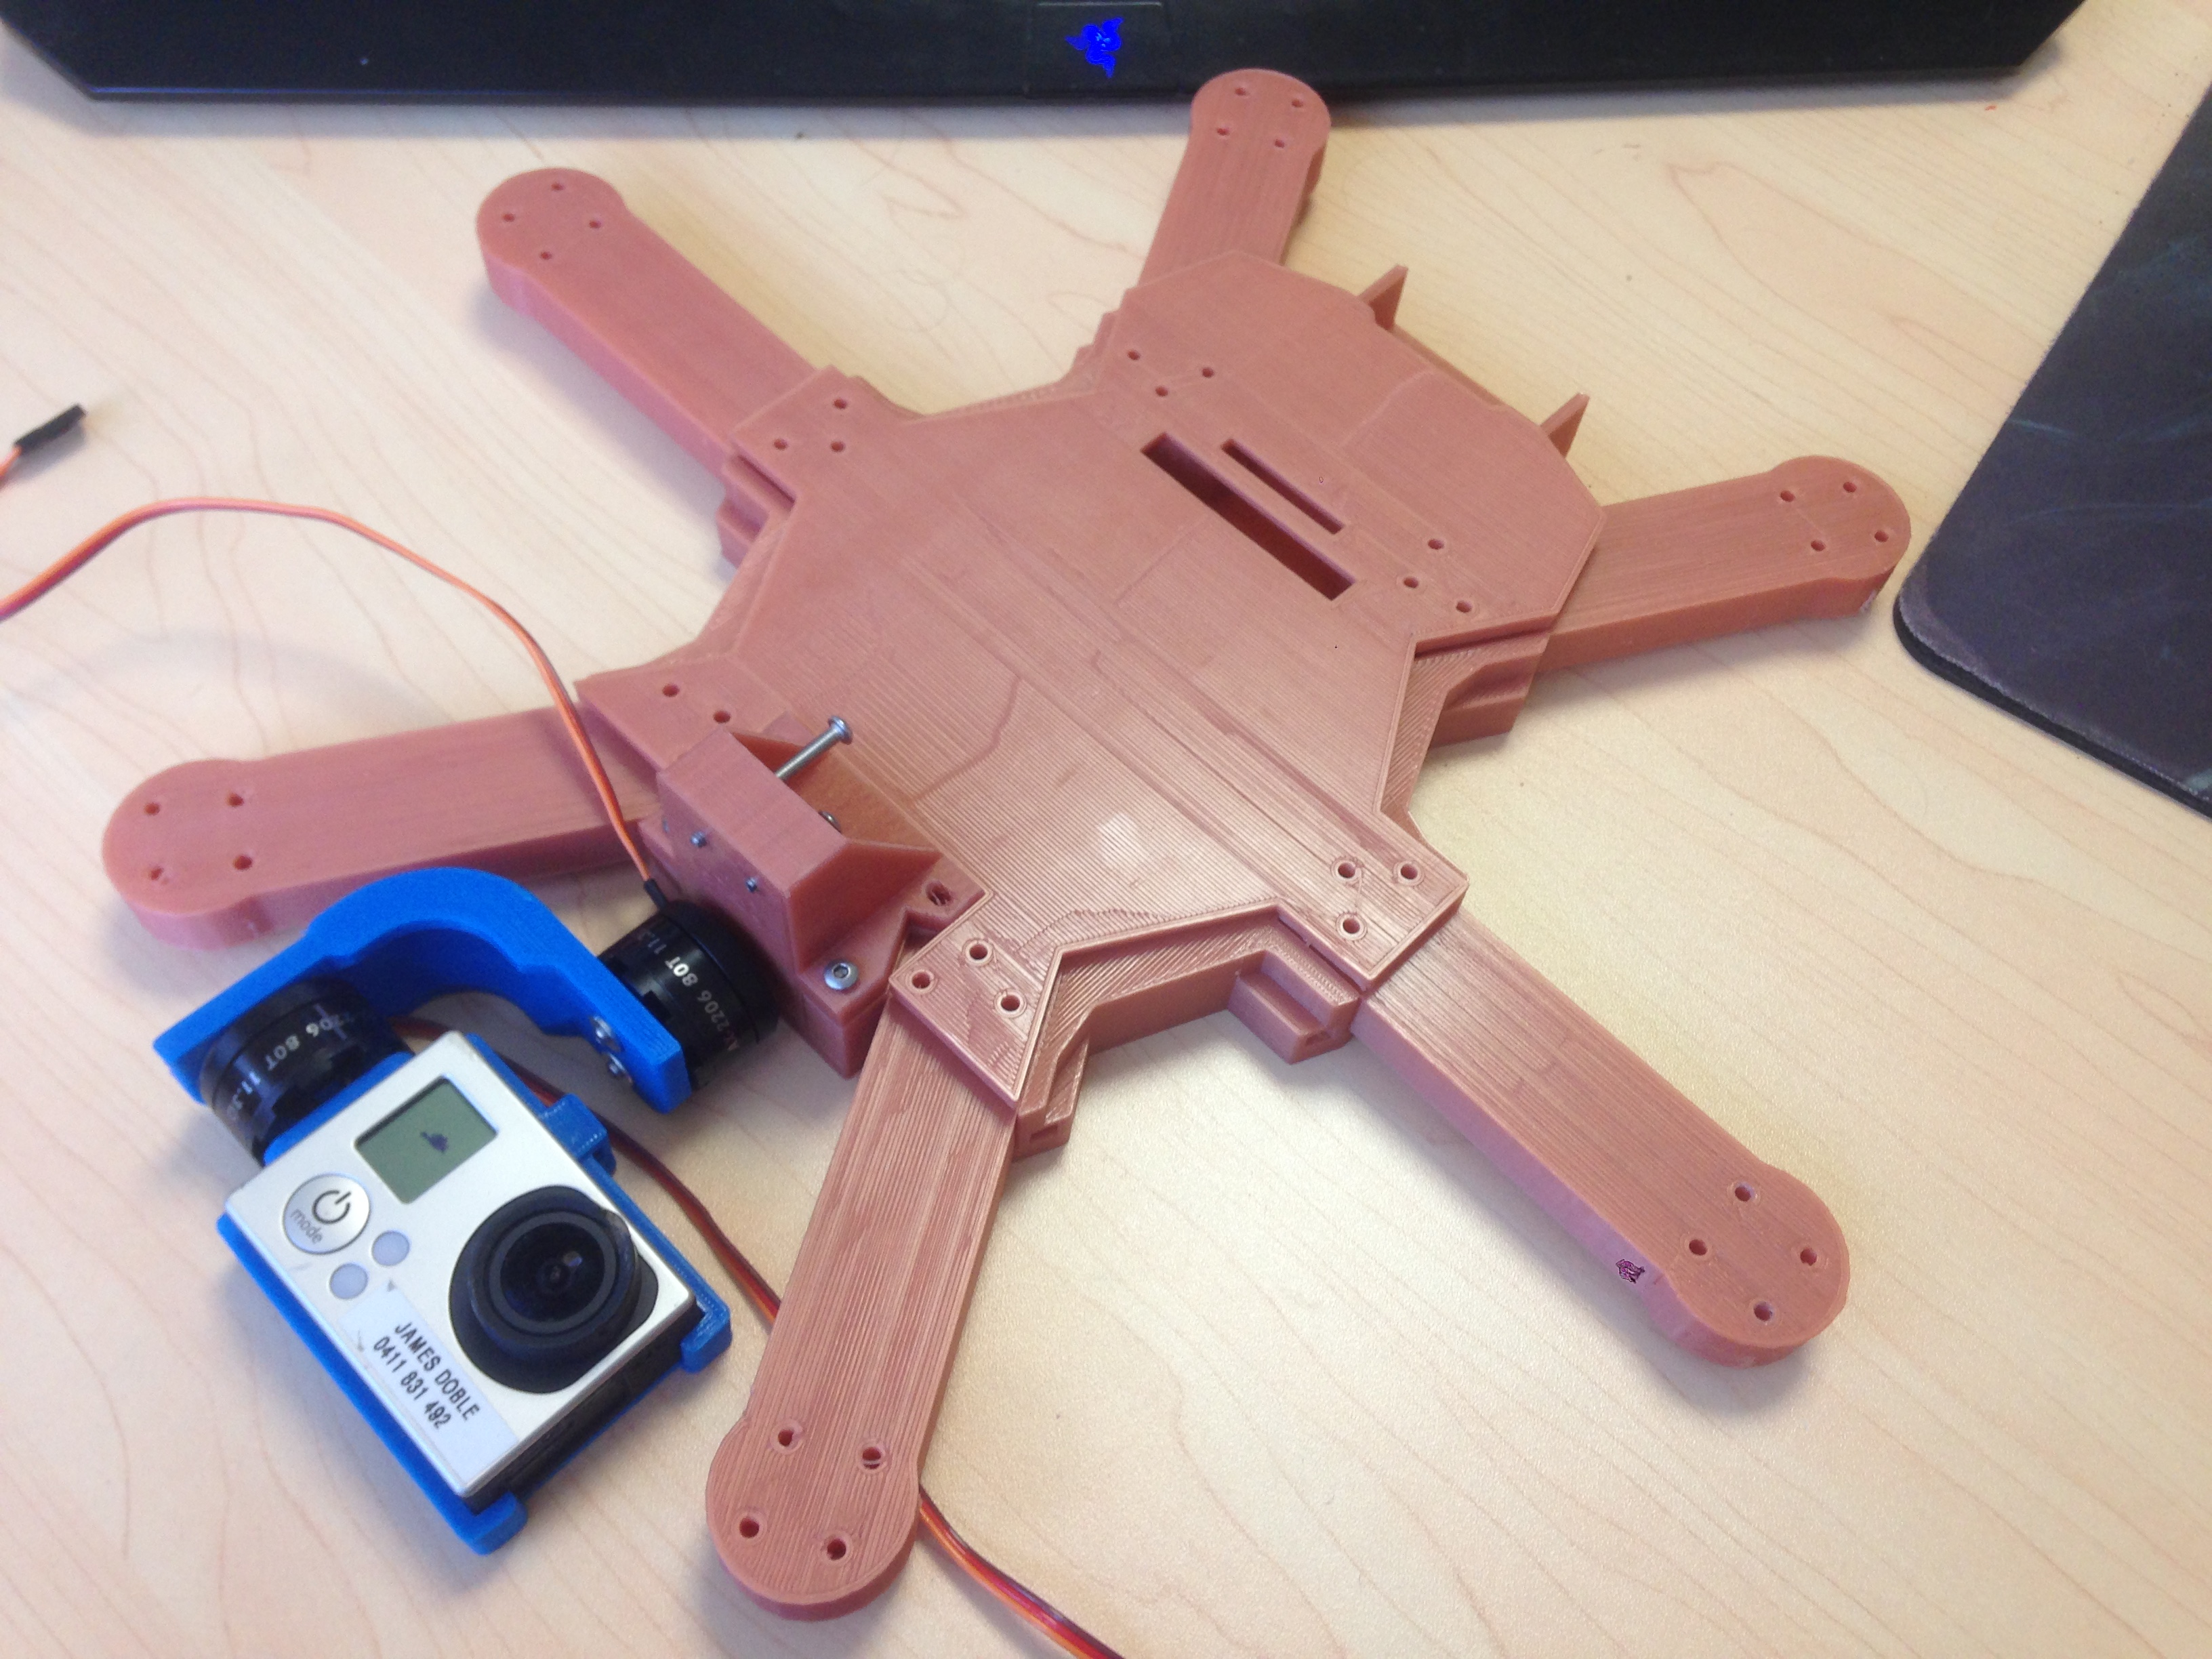
First test print, seeing how everything slots together.
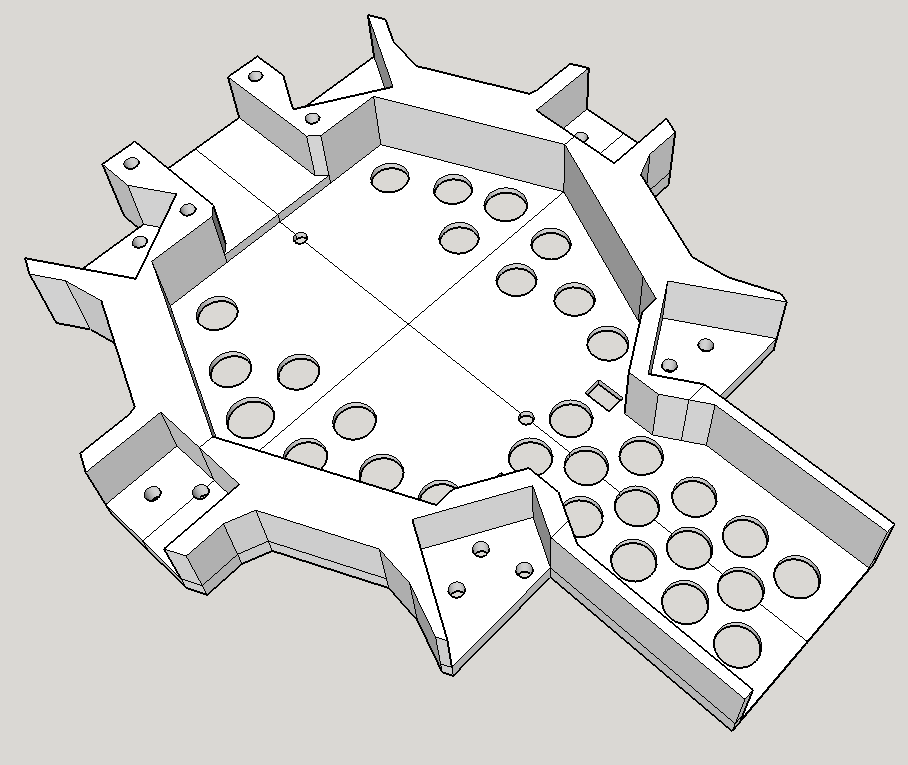
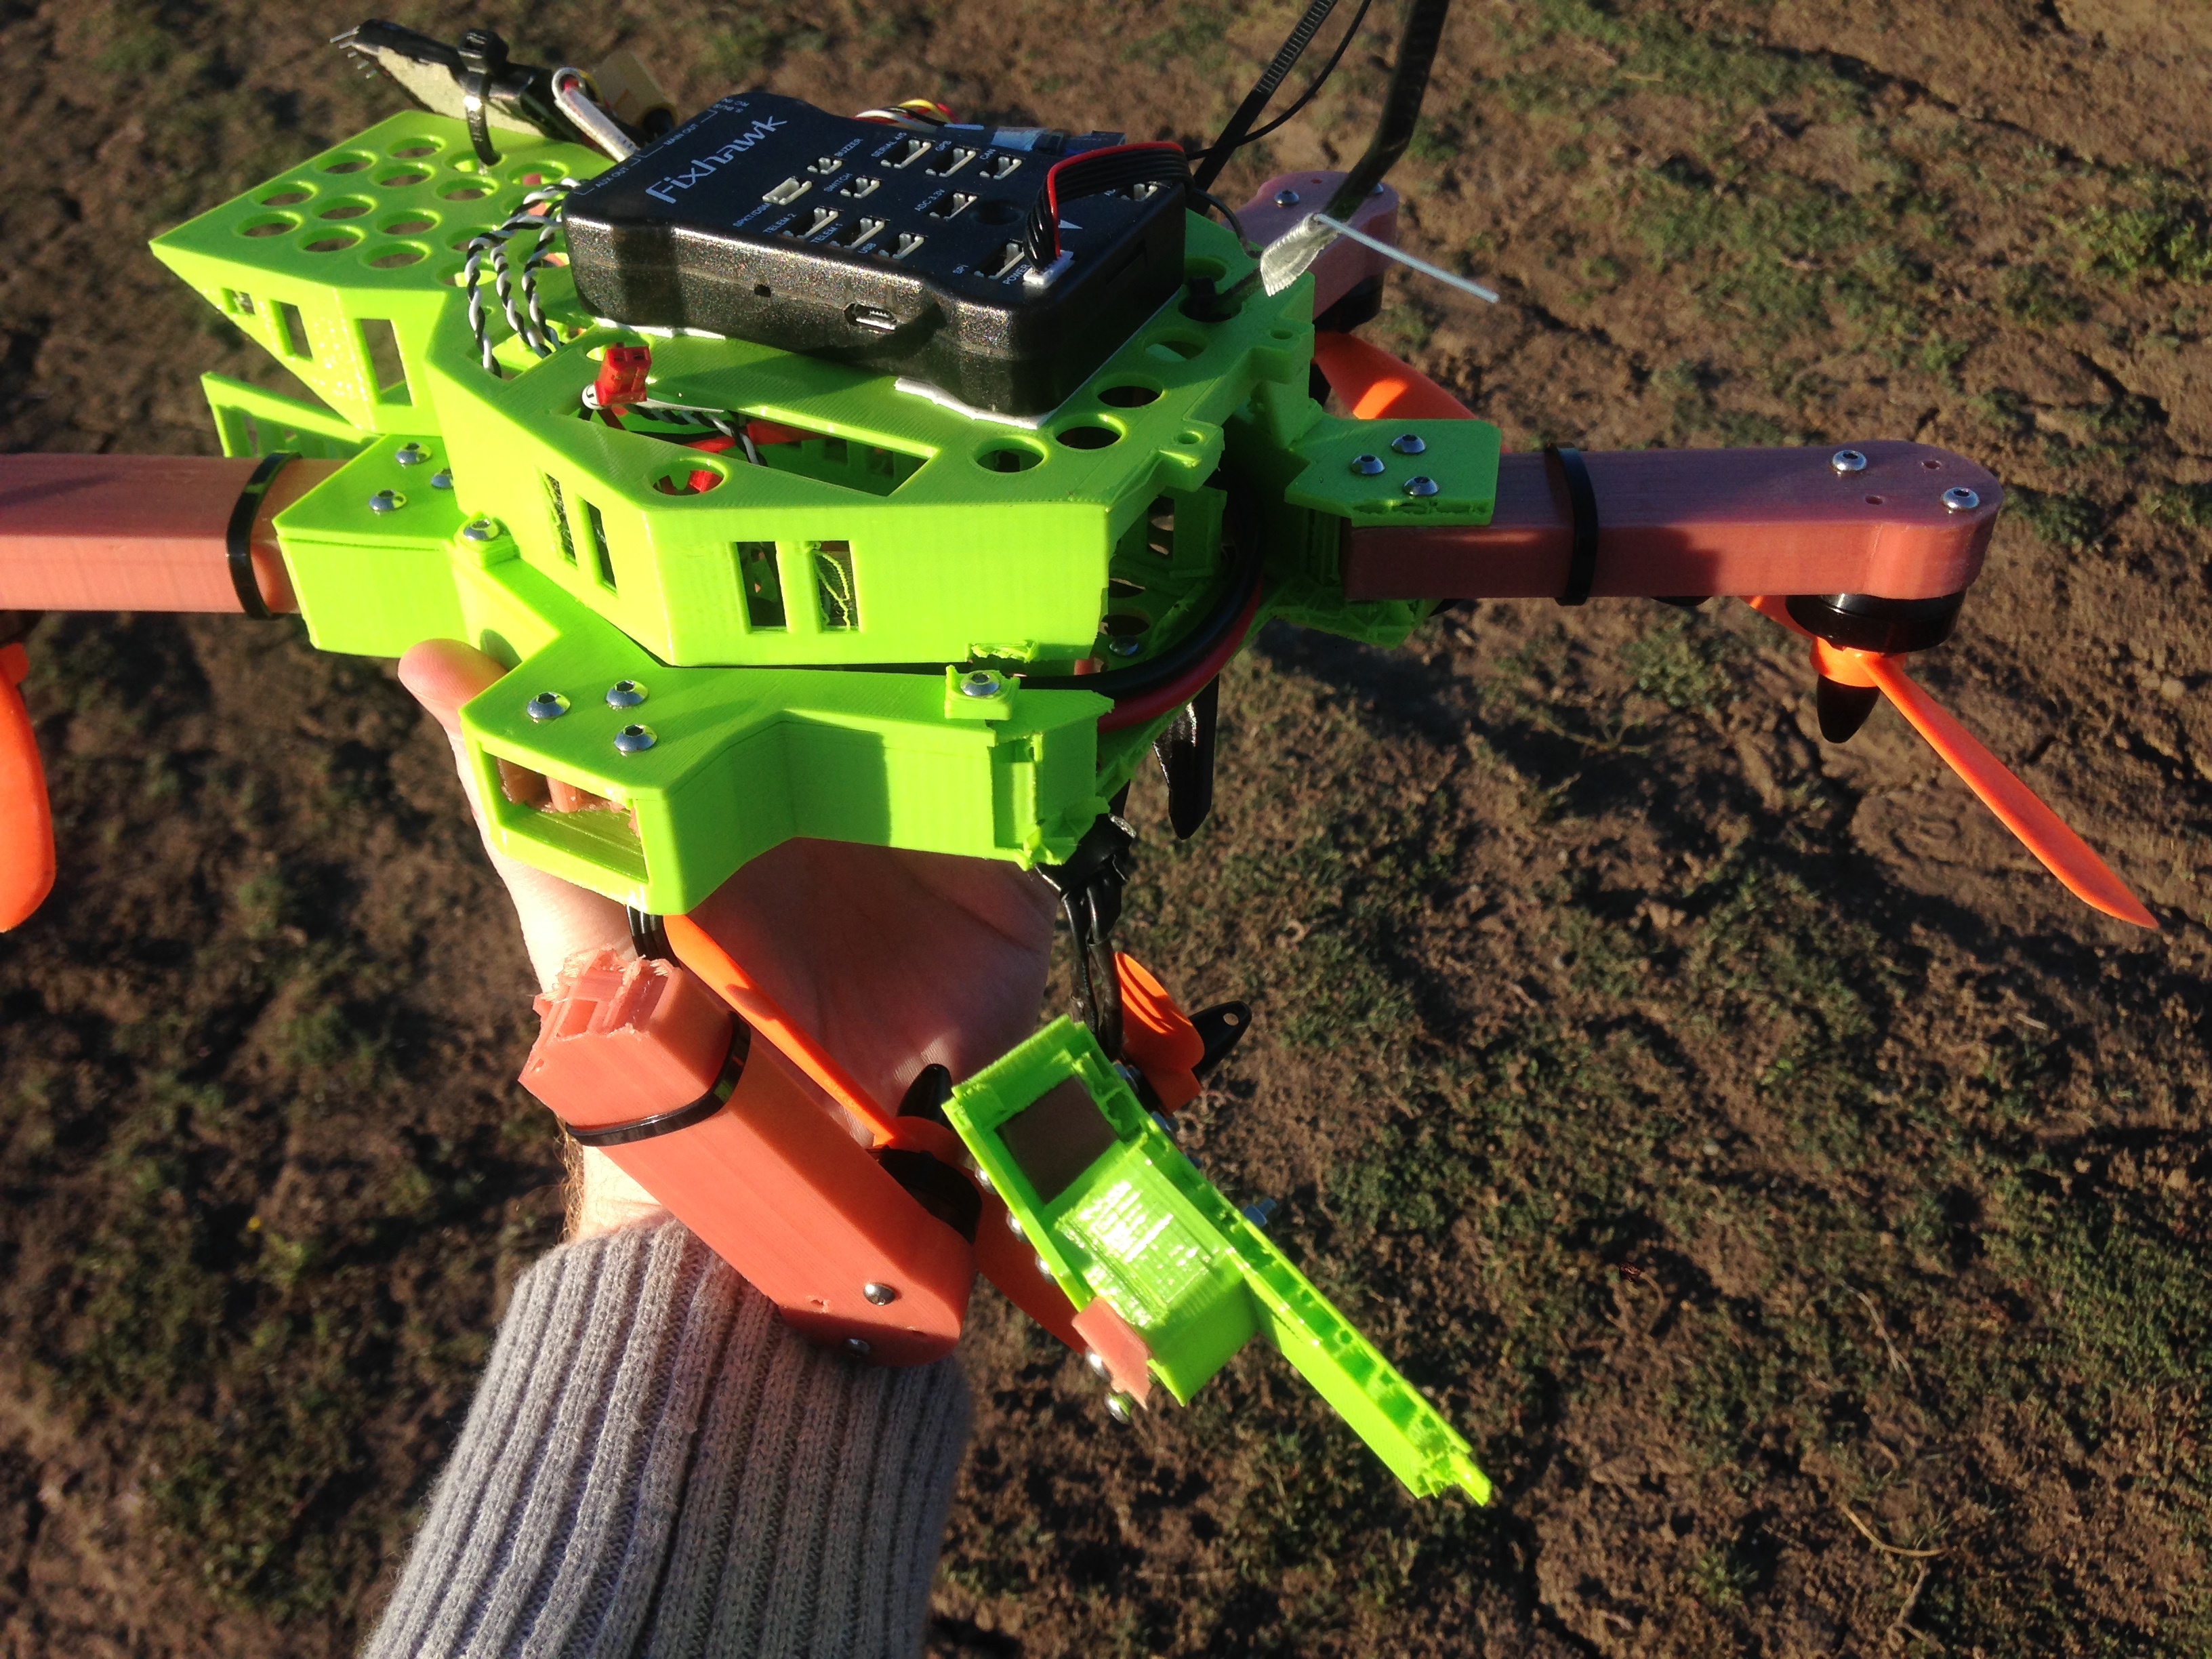
Tweaking the frame to reduce weight, and provide room for cable routing
Test fitting the motors and ESCs. Yes they are supposed to be on the underside of the frame 🙂
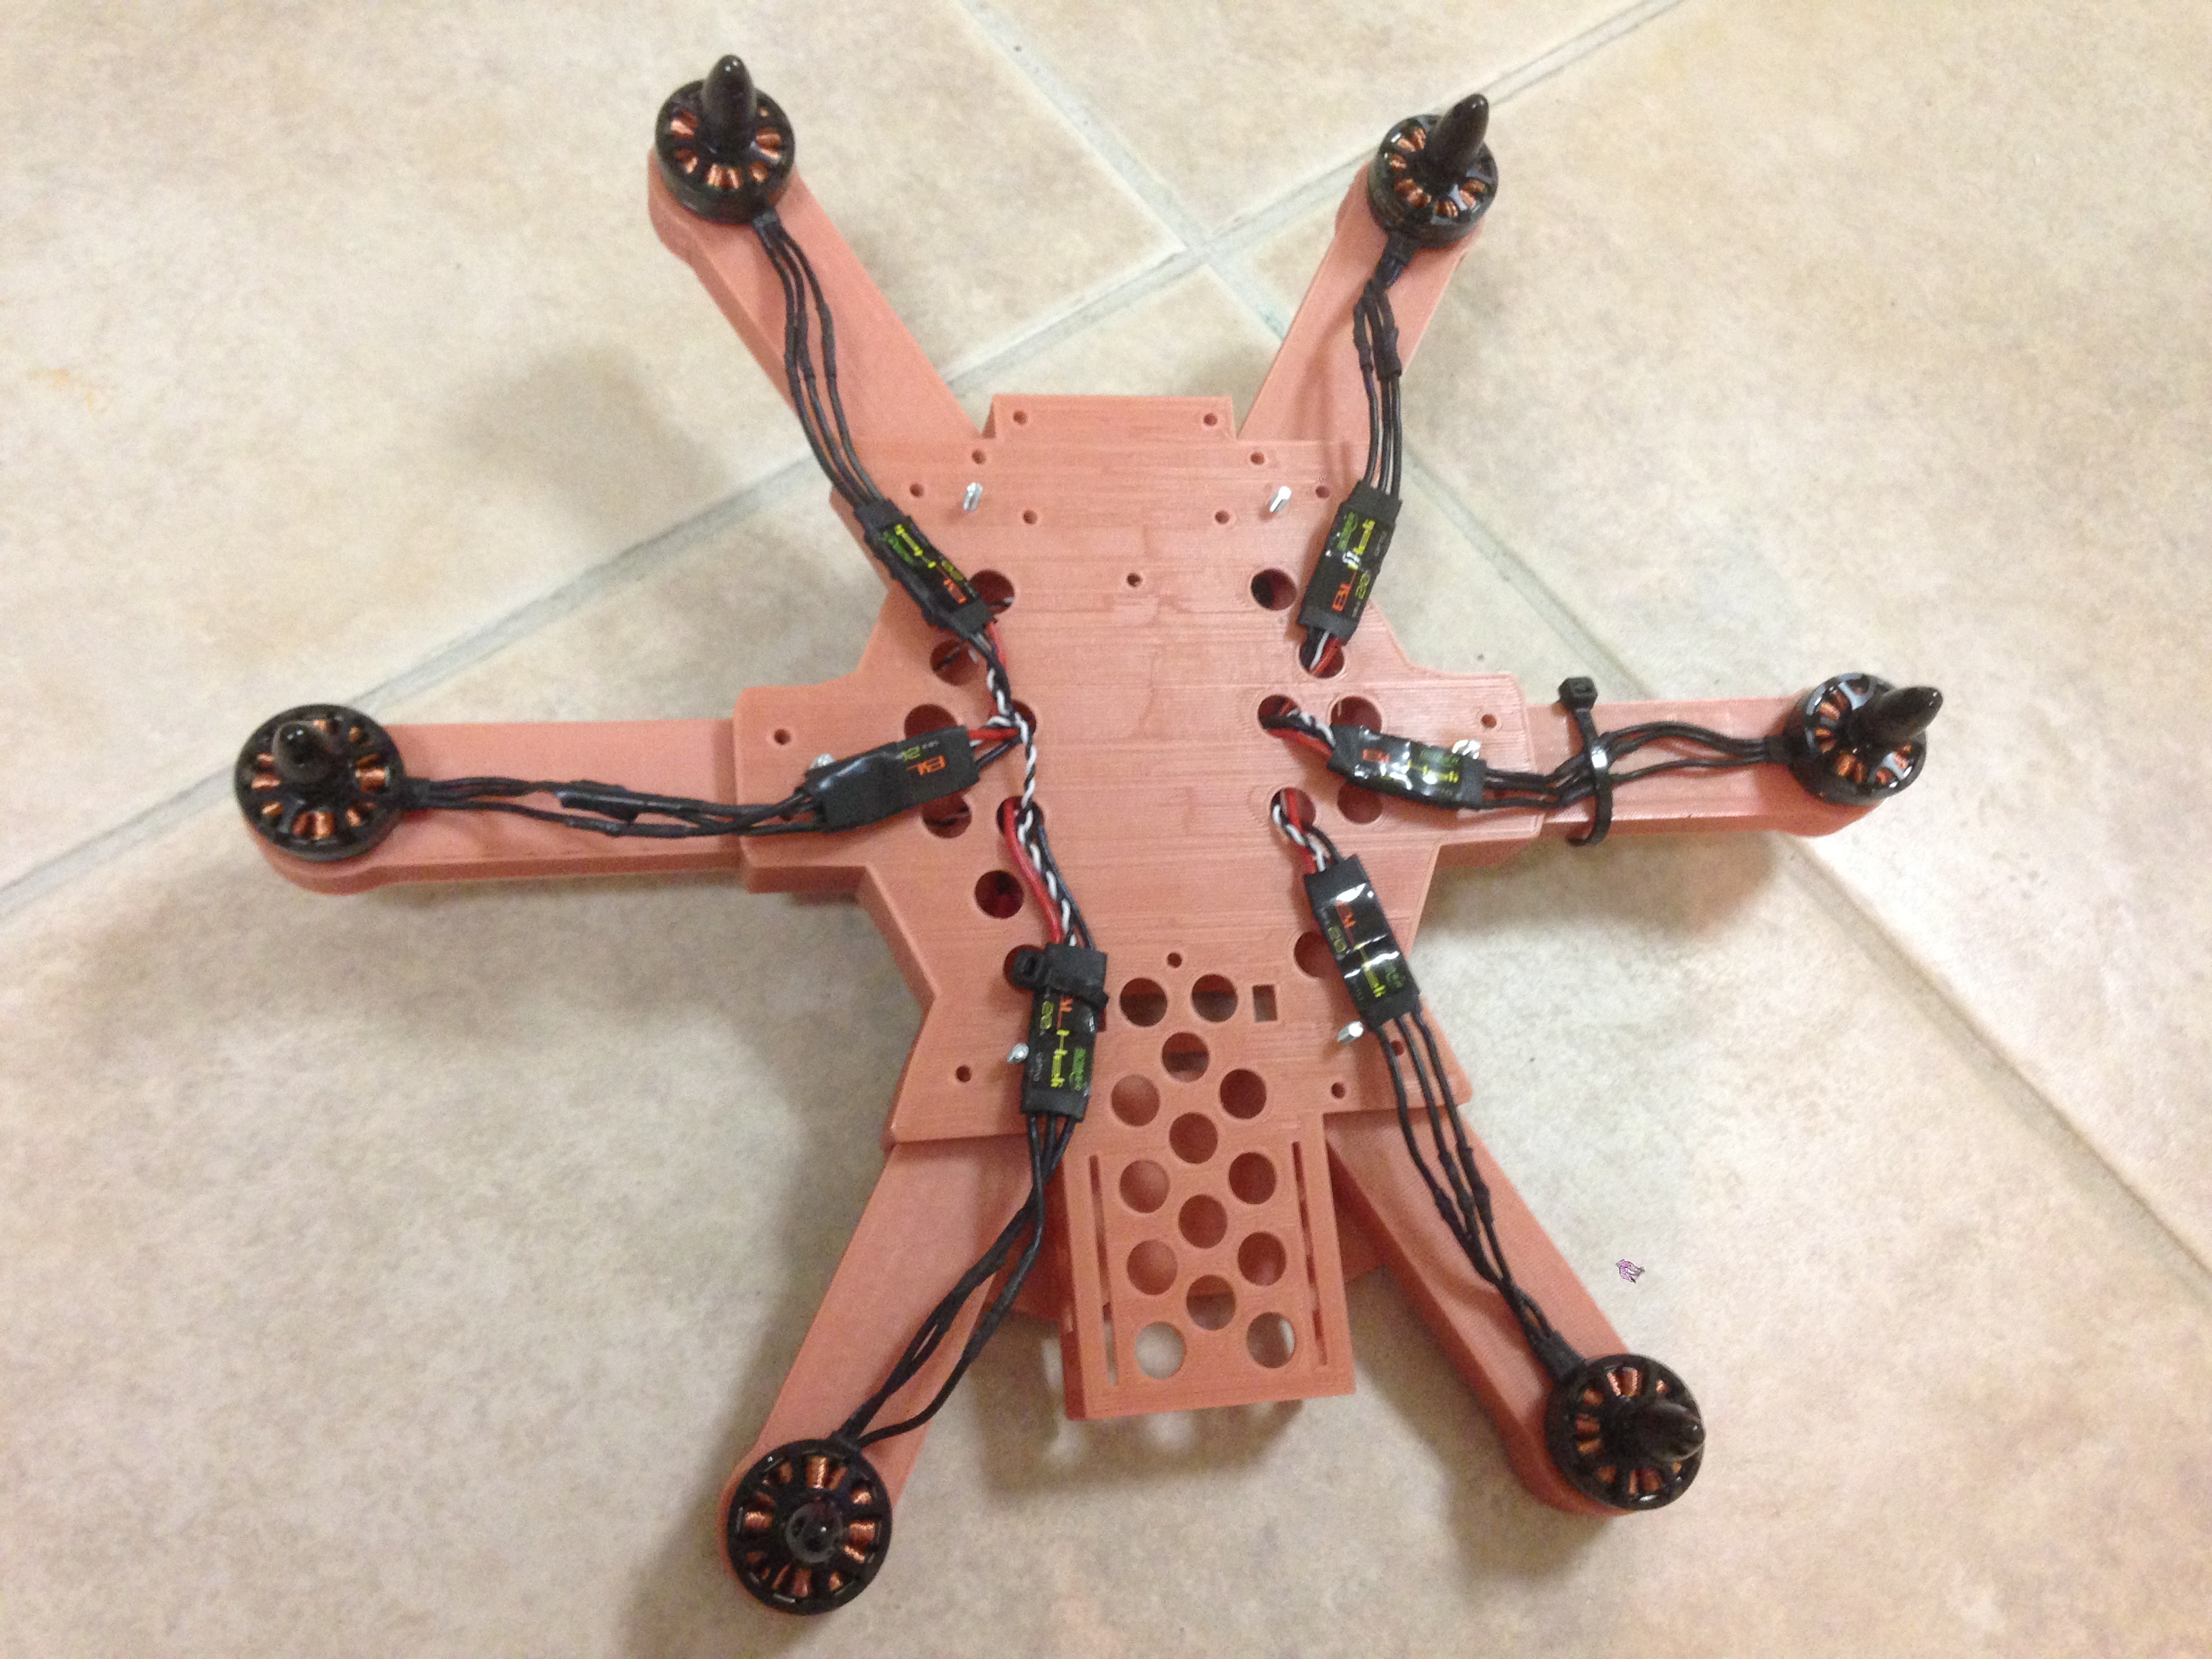
I decided to invert the motors as I believe this will increase efficiency slightly, and will also mean that in forward flight, the gimbal will not get the props in it’s shot. The only downside is that the gimbal can’t look straight down – a feature which I rarely ever use.
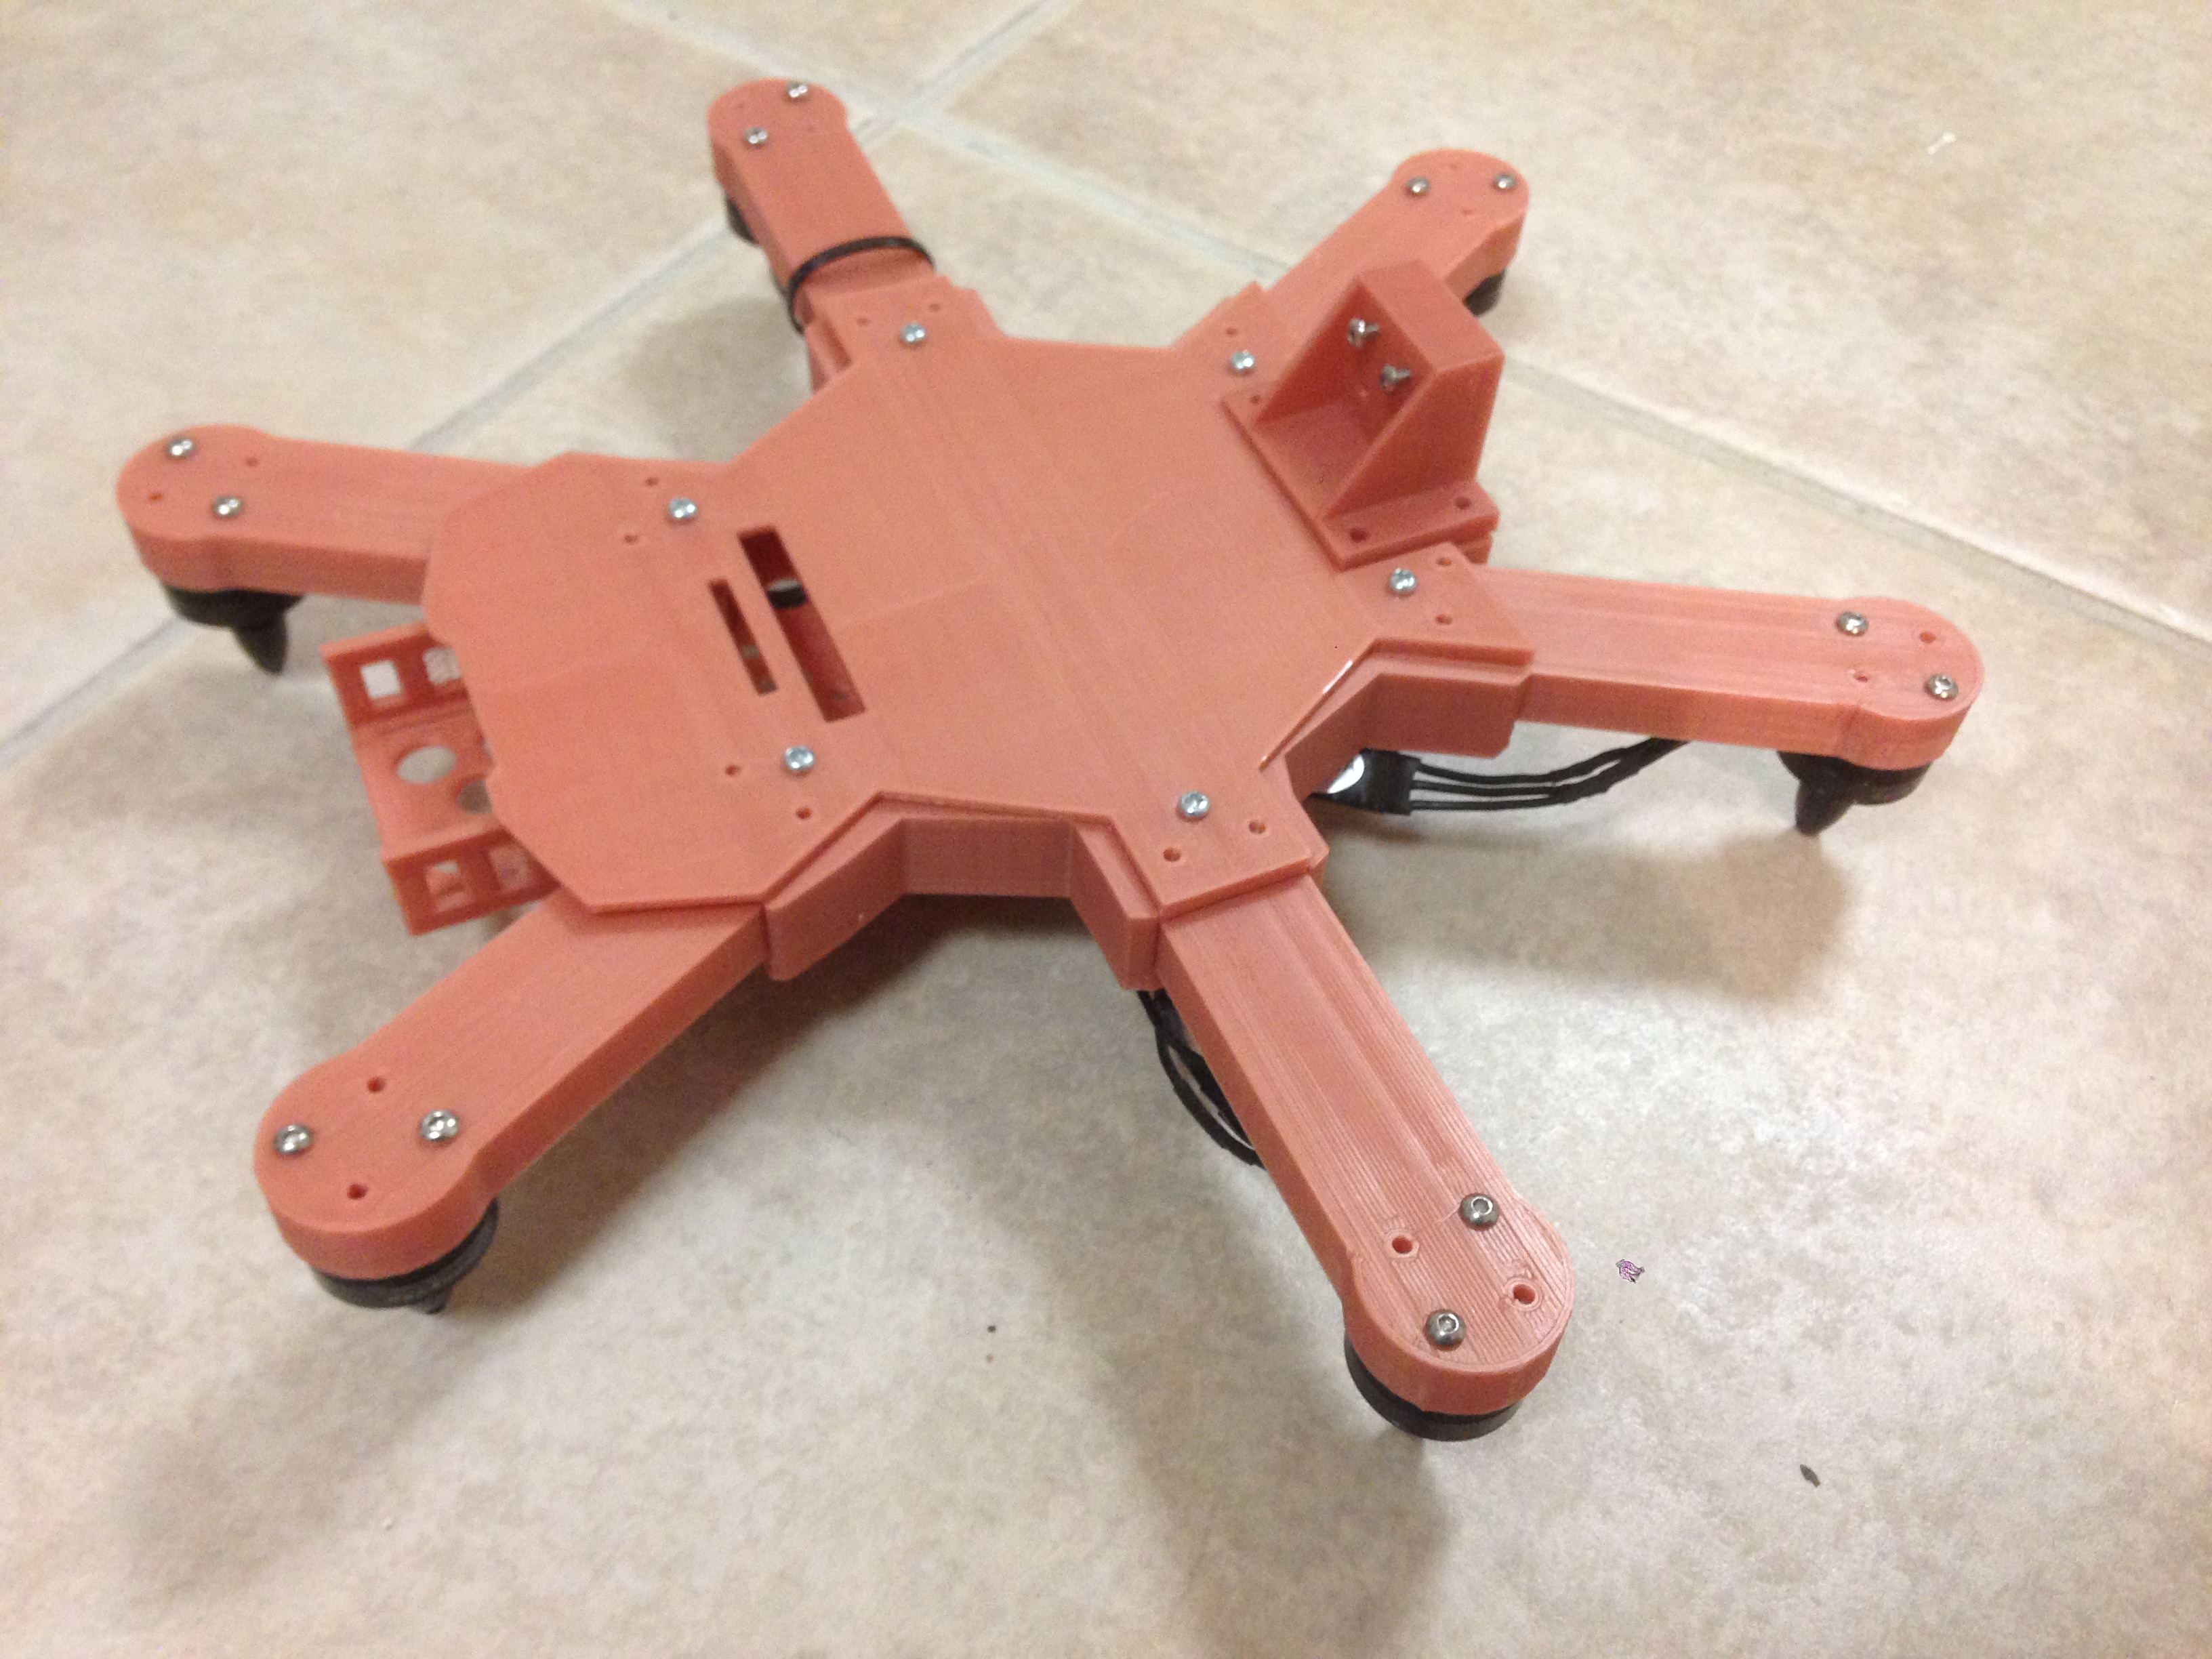
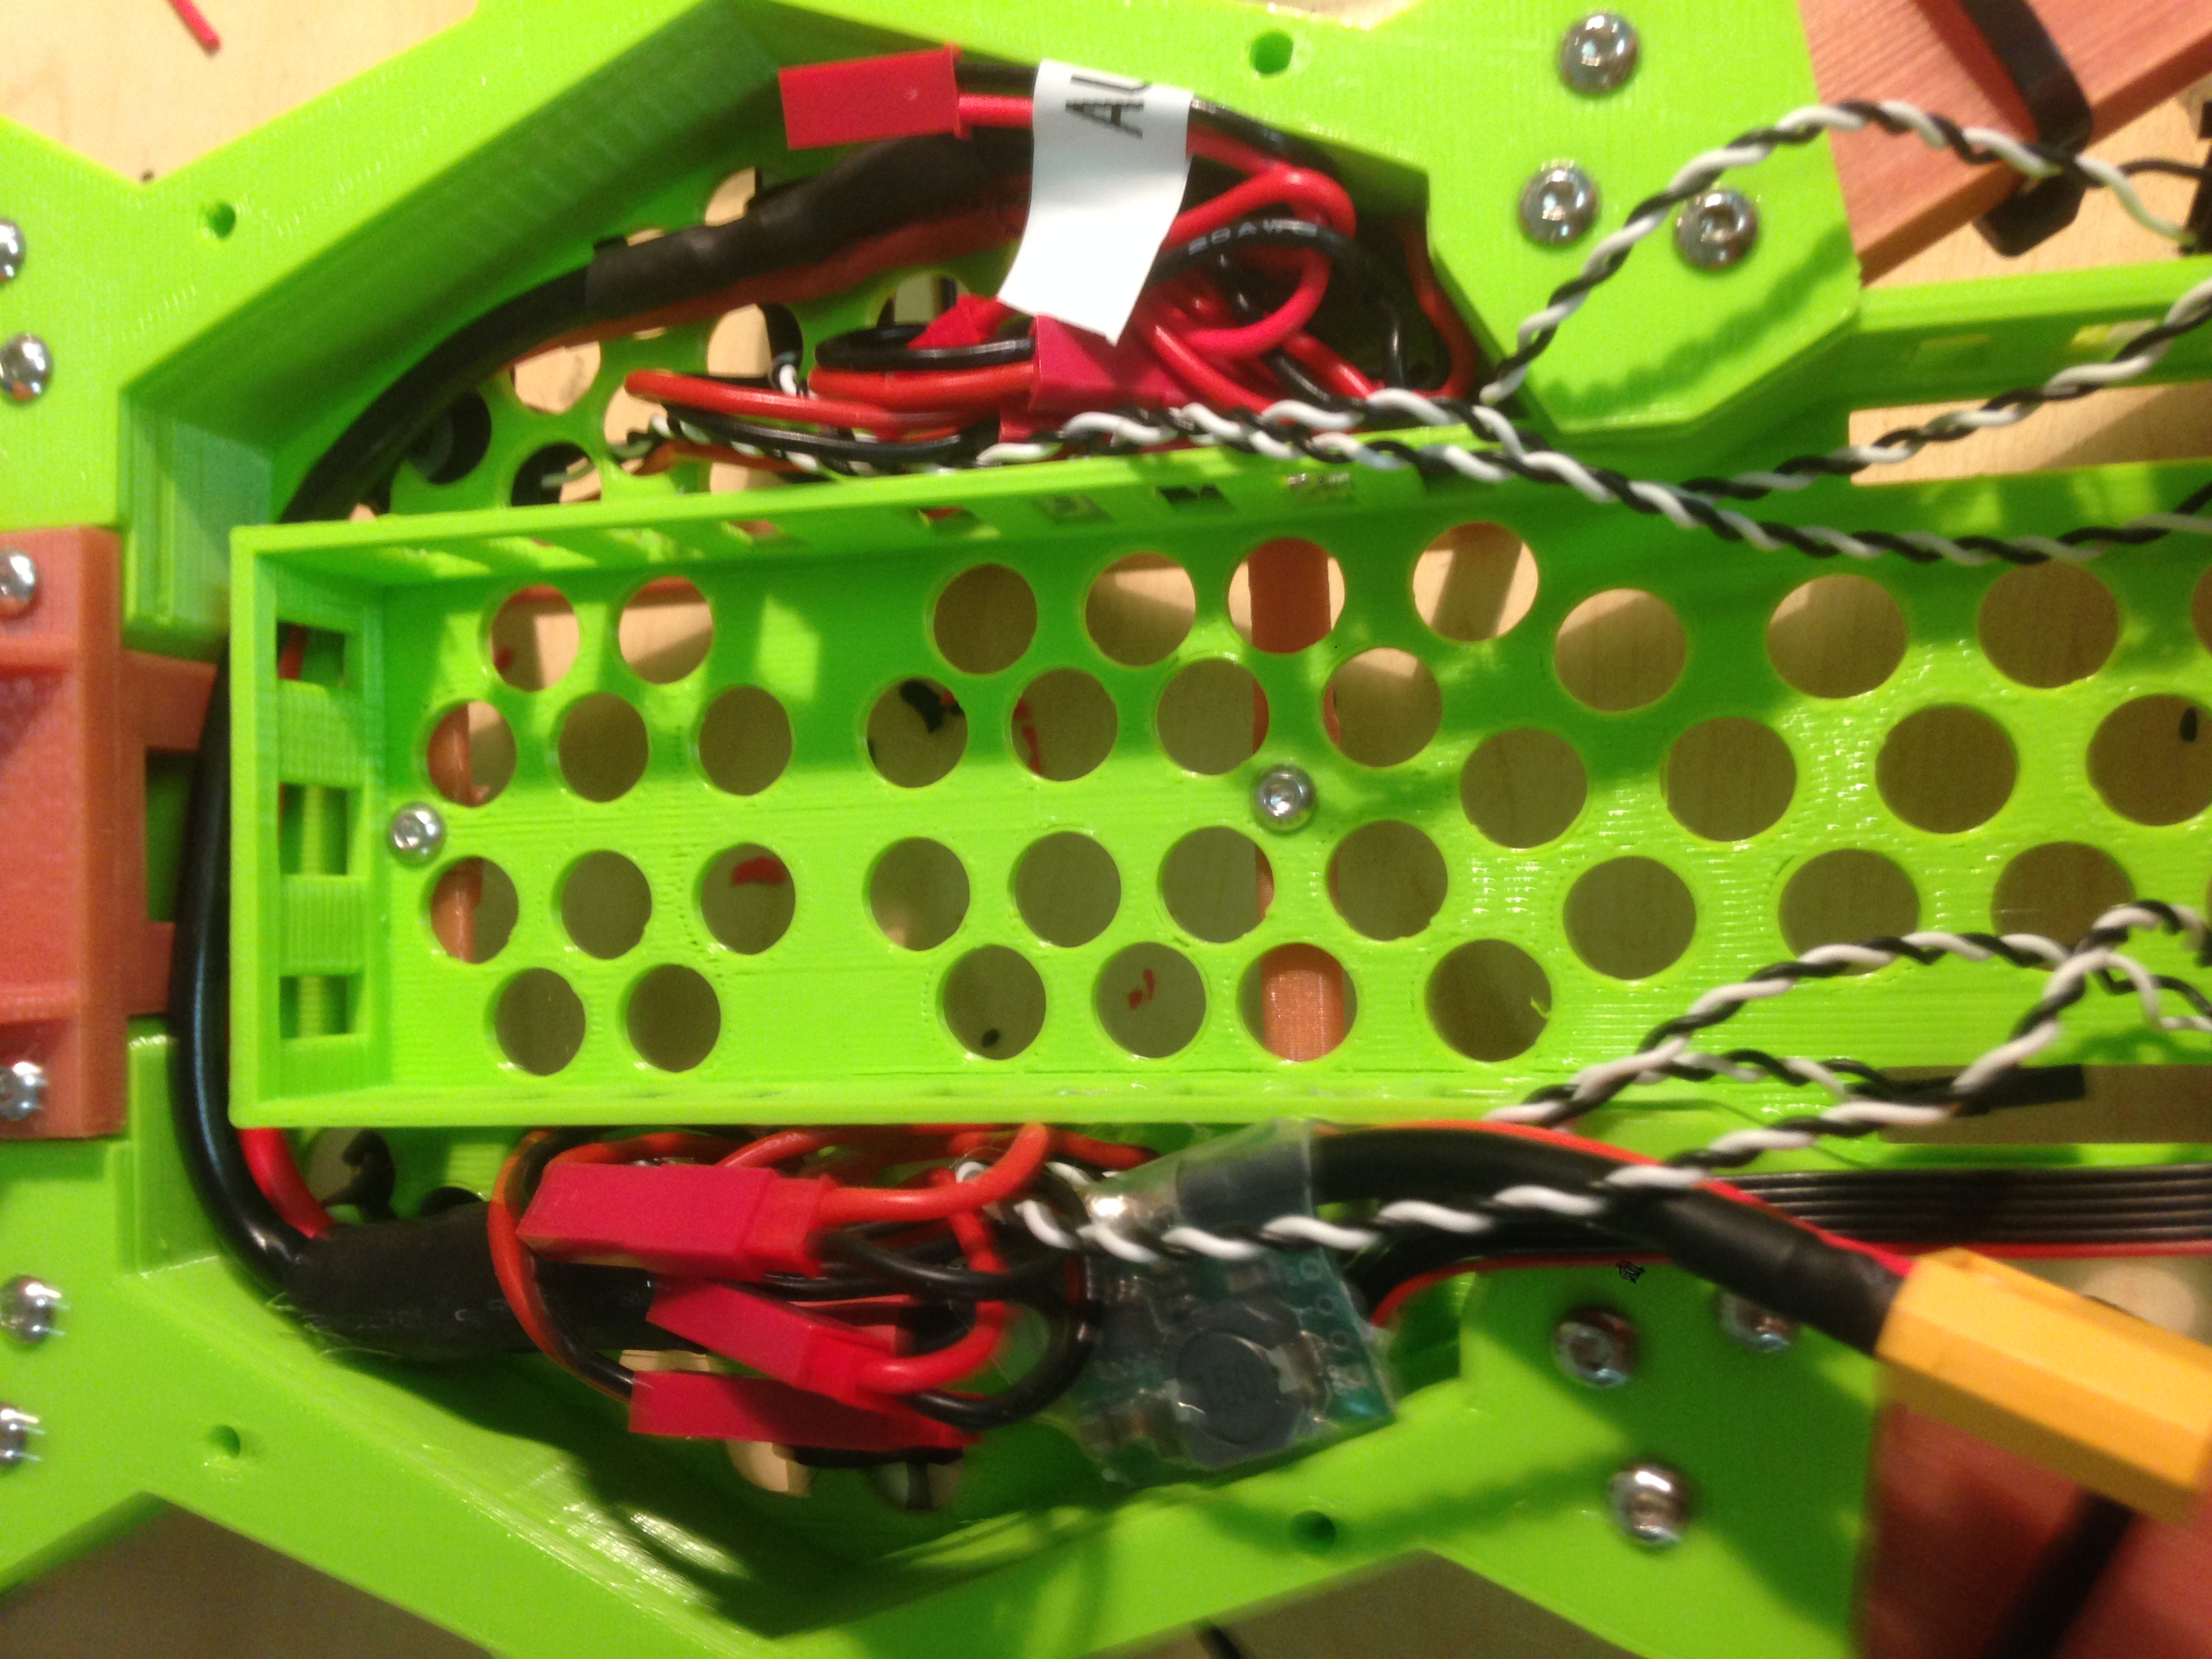
I found that the battery was far too heavy to place on the rear shelf – the airframe was extremely unbalanced in this configuration, so I began to redesign the frame to allow the battery to be mounted in the middle.
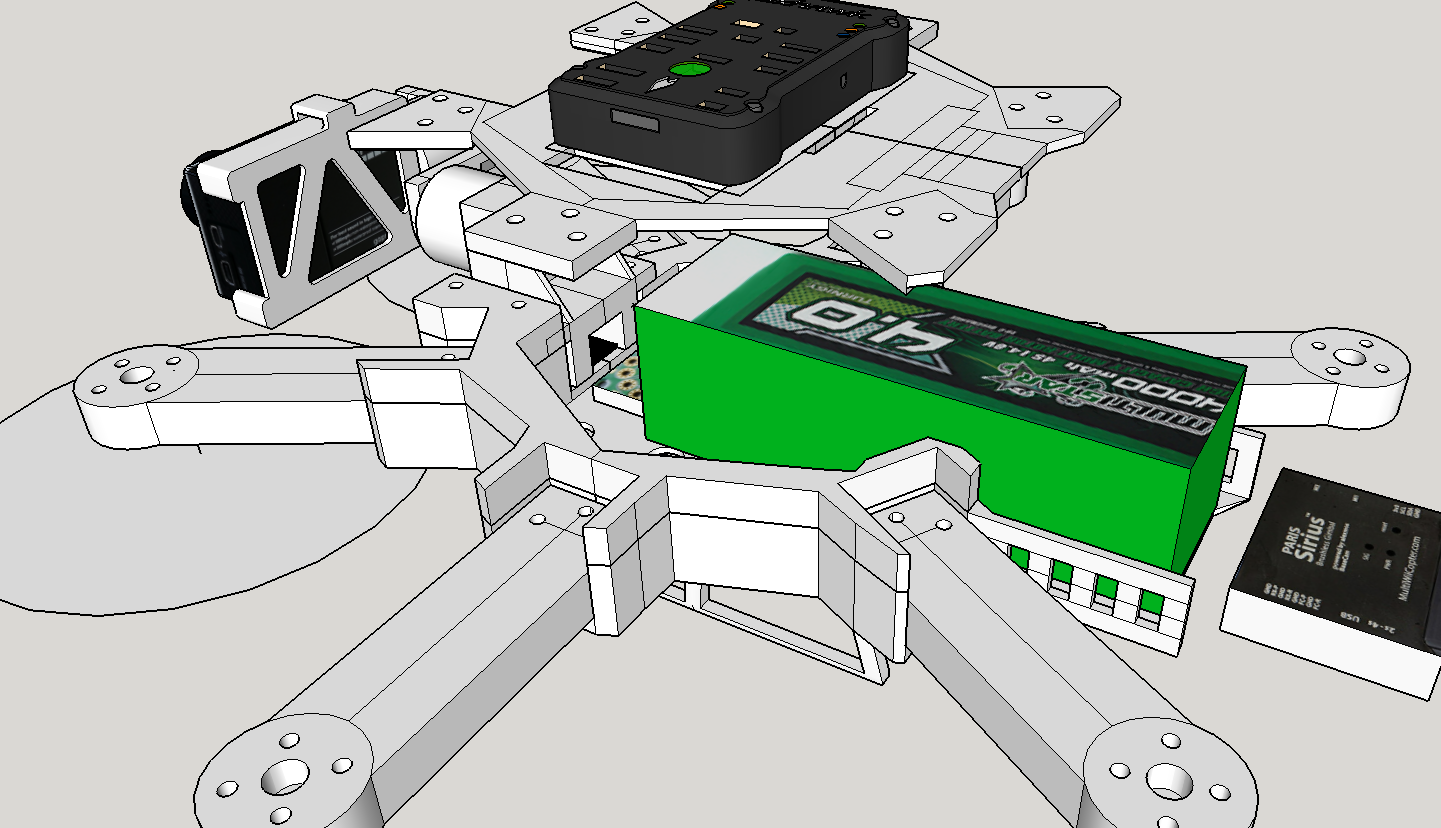
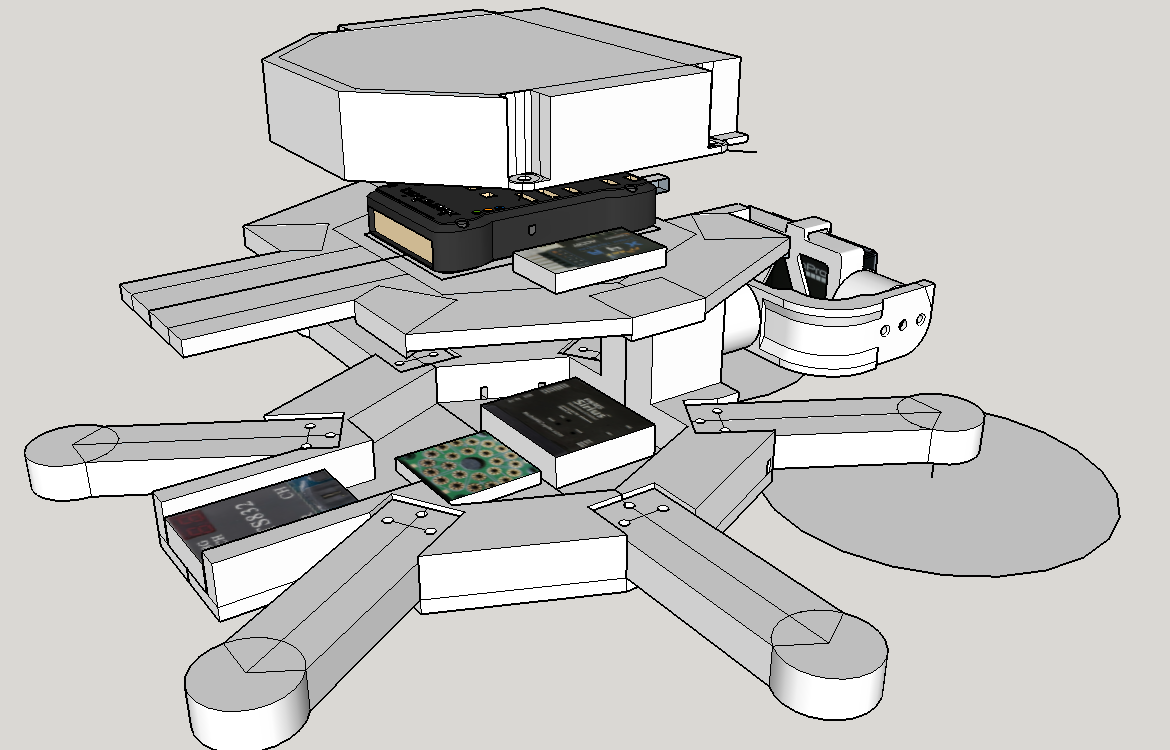
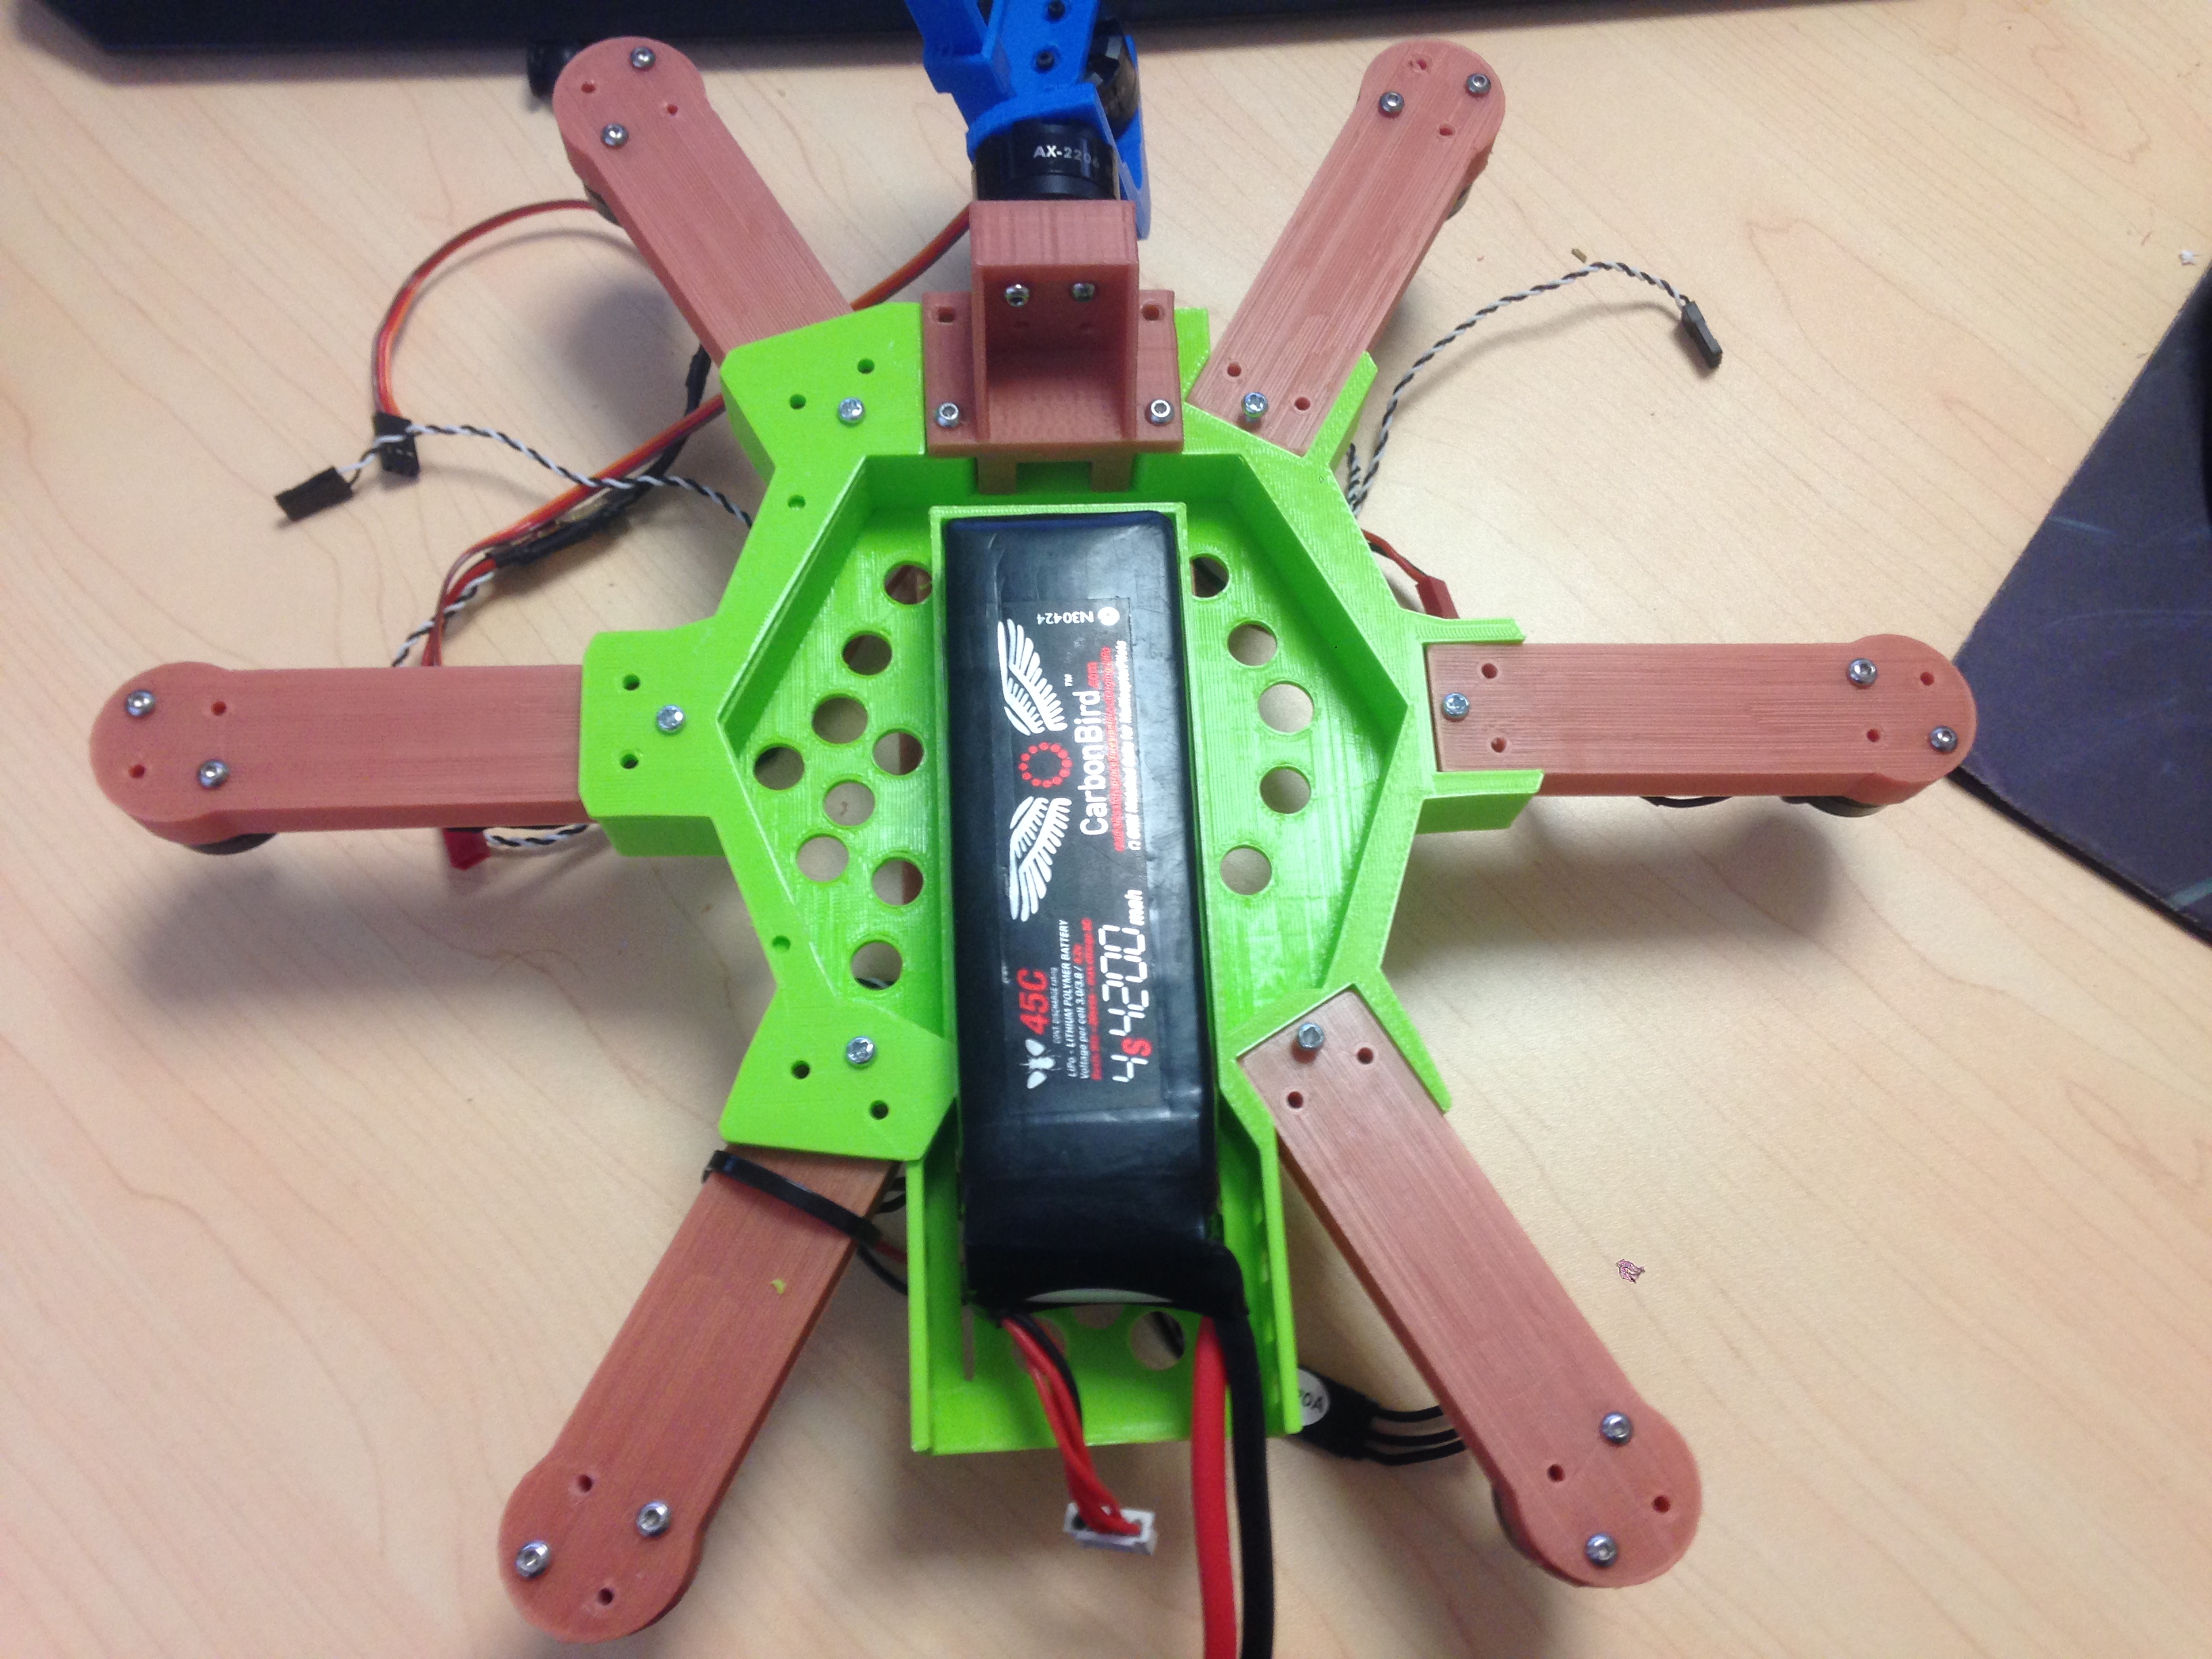
Testing fitment. Moving the battery inside meant I had to abandon using a power distribution board. I’ll make a power harness instead.
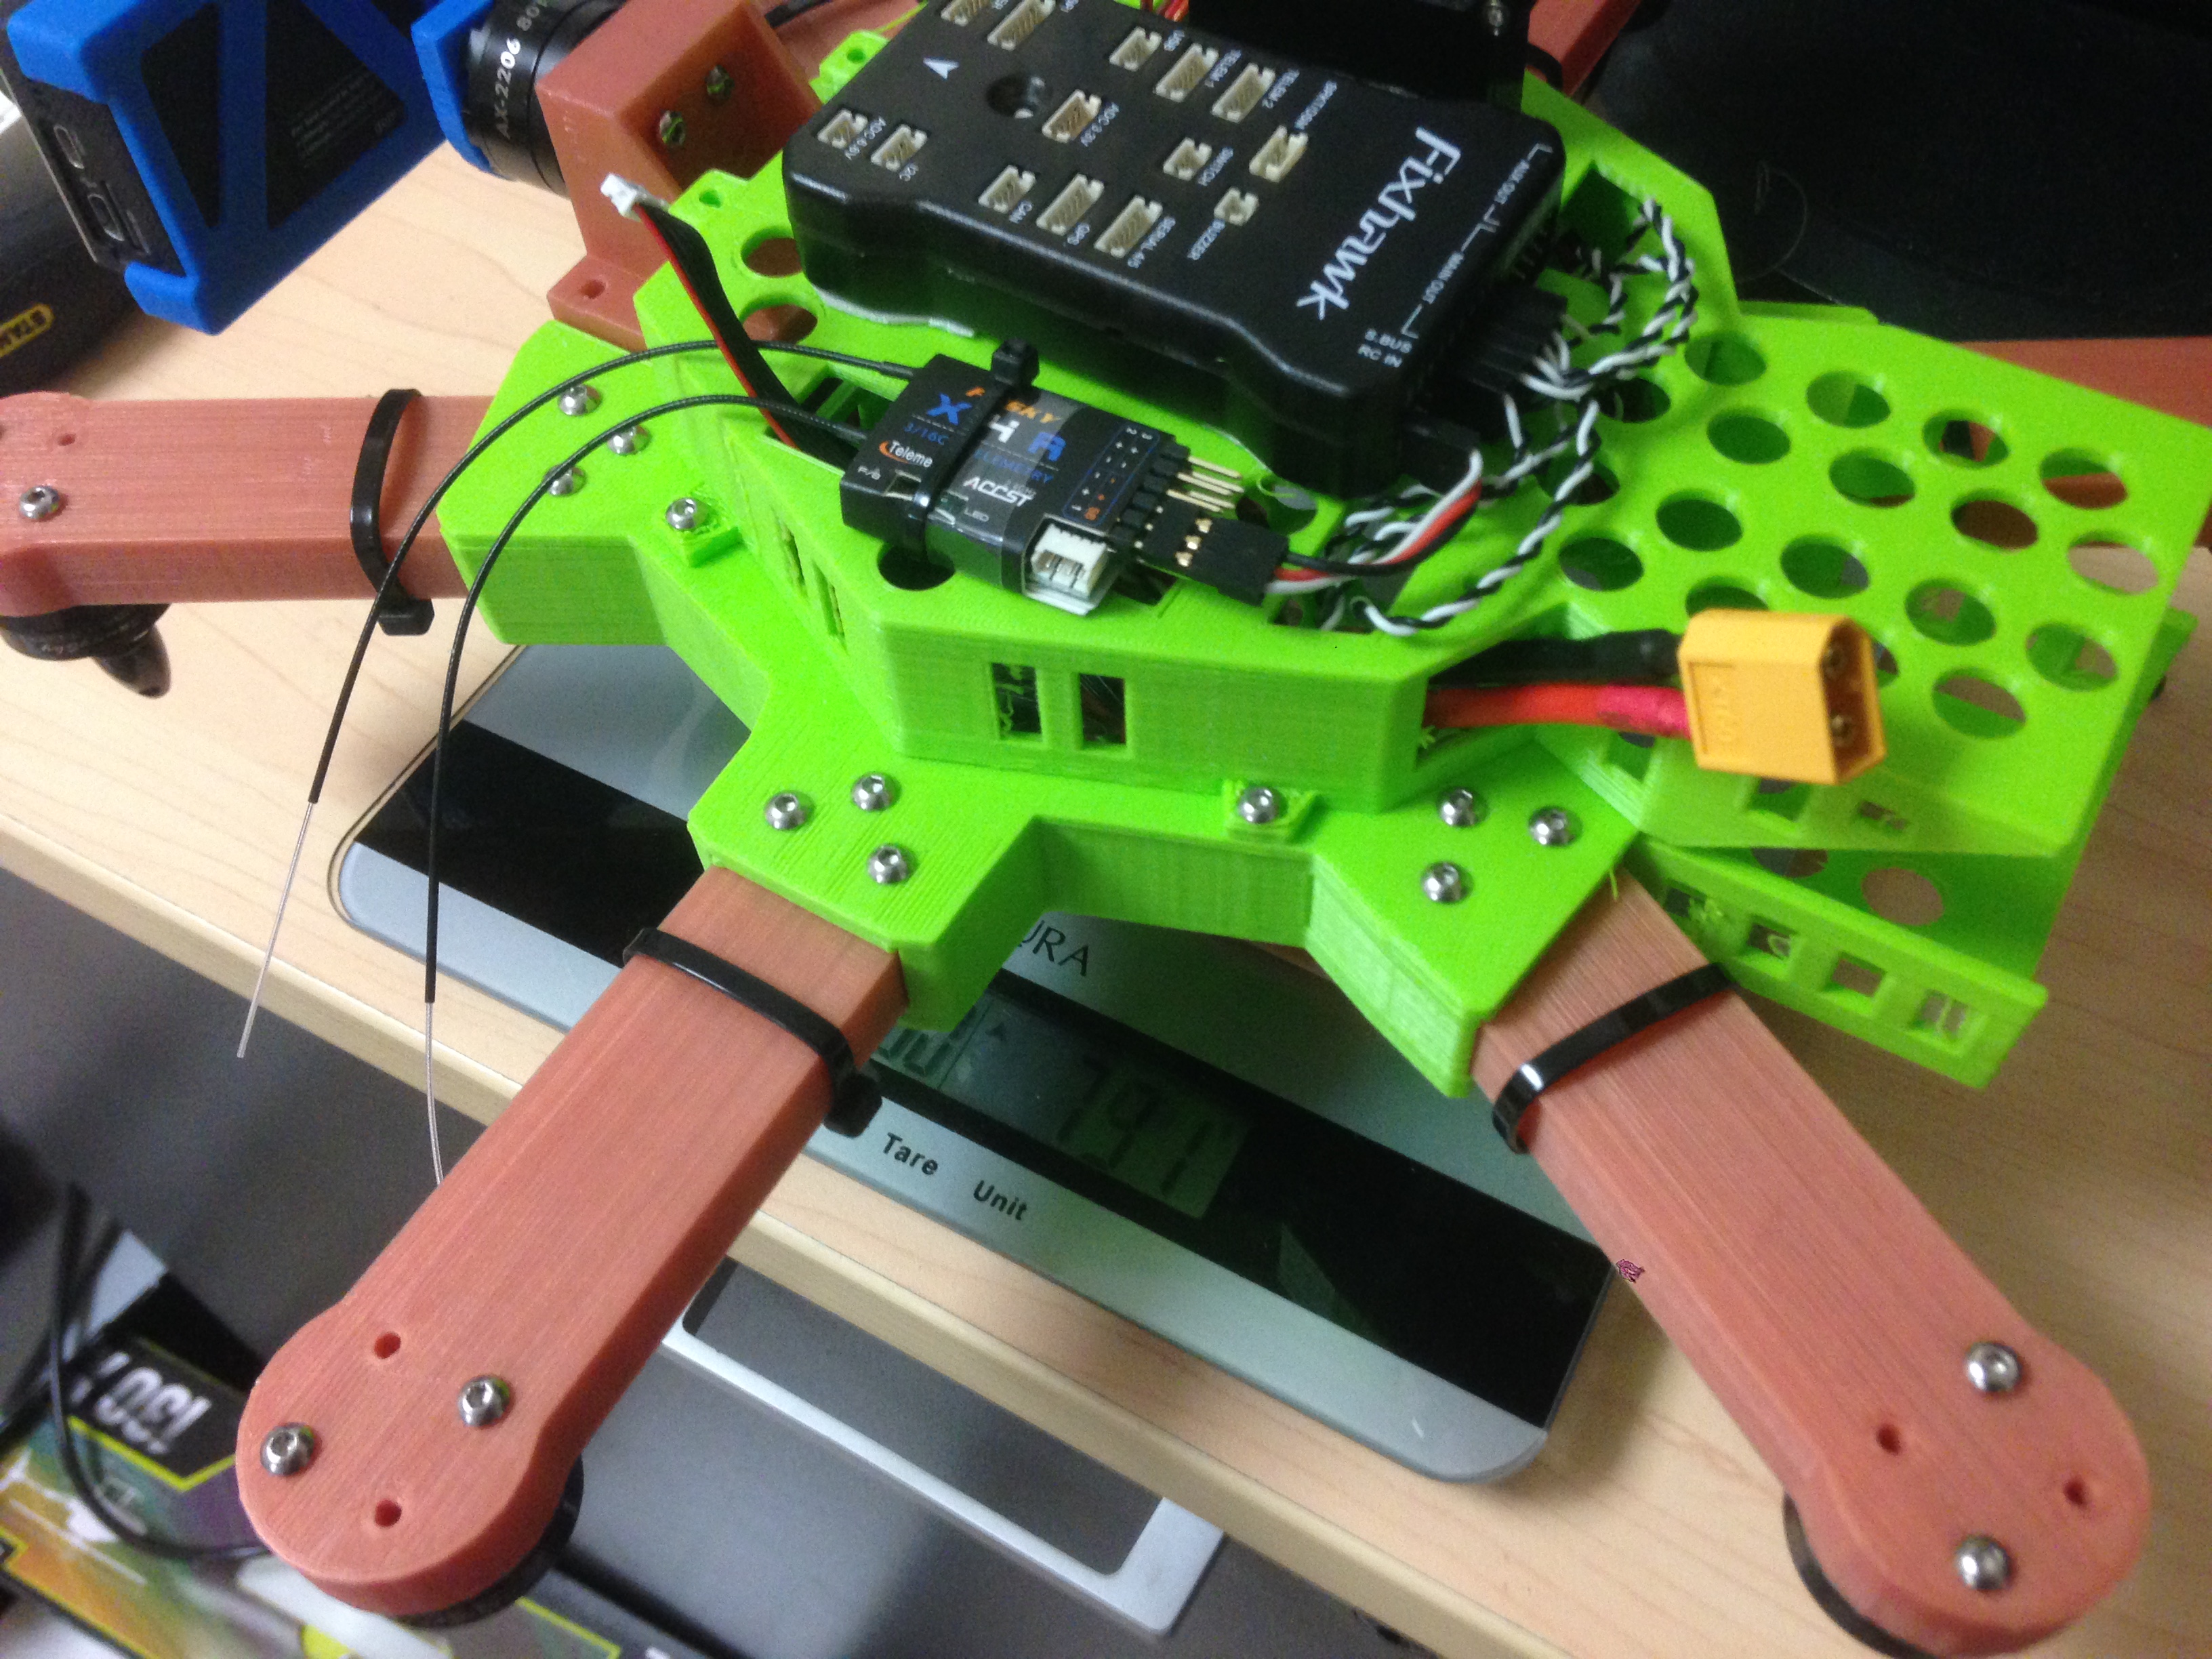
I really need to buy a mini-pixhawk board … the full size pixhawk takes up so much room!
Soldered up a power distribution harness for the power module, ESCSs and other components. Eventually I would remove the JST connectors and just hardwire it to reduce weight, but for now I wanted to be able to easily disconnect and change things around.
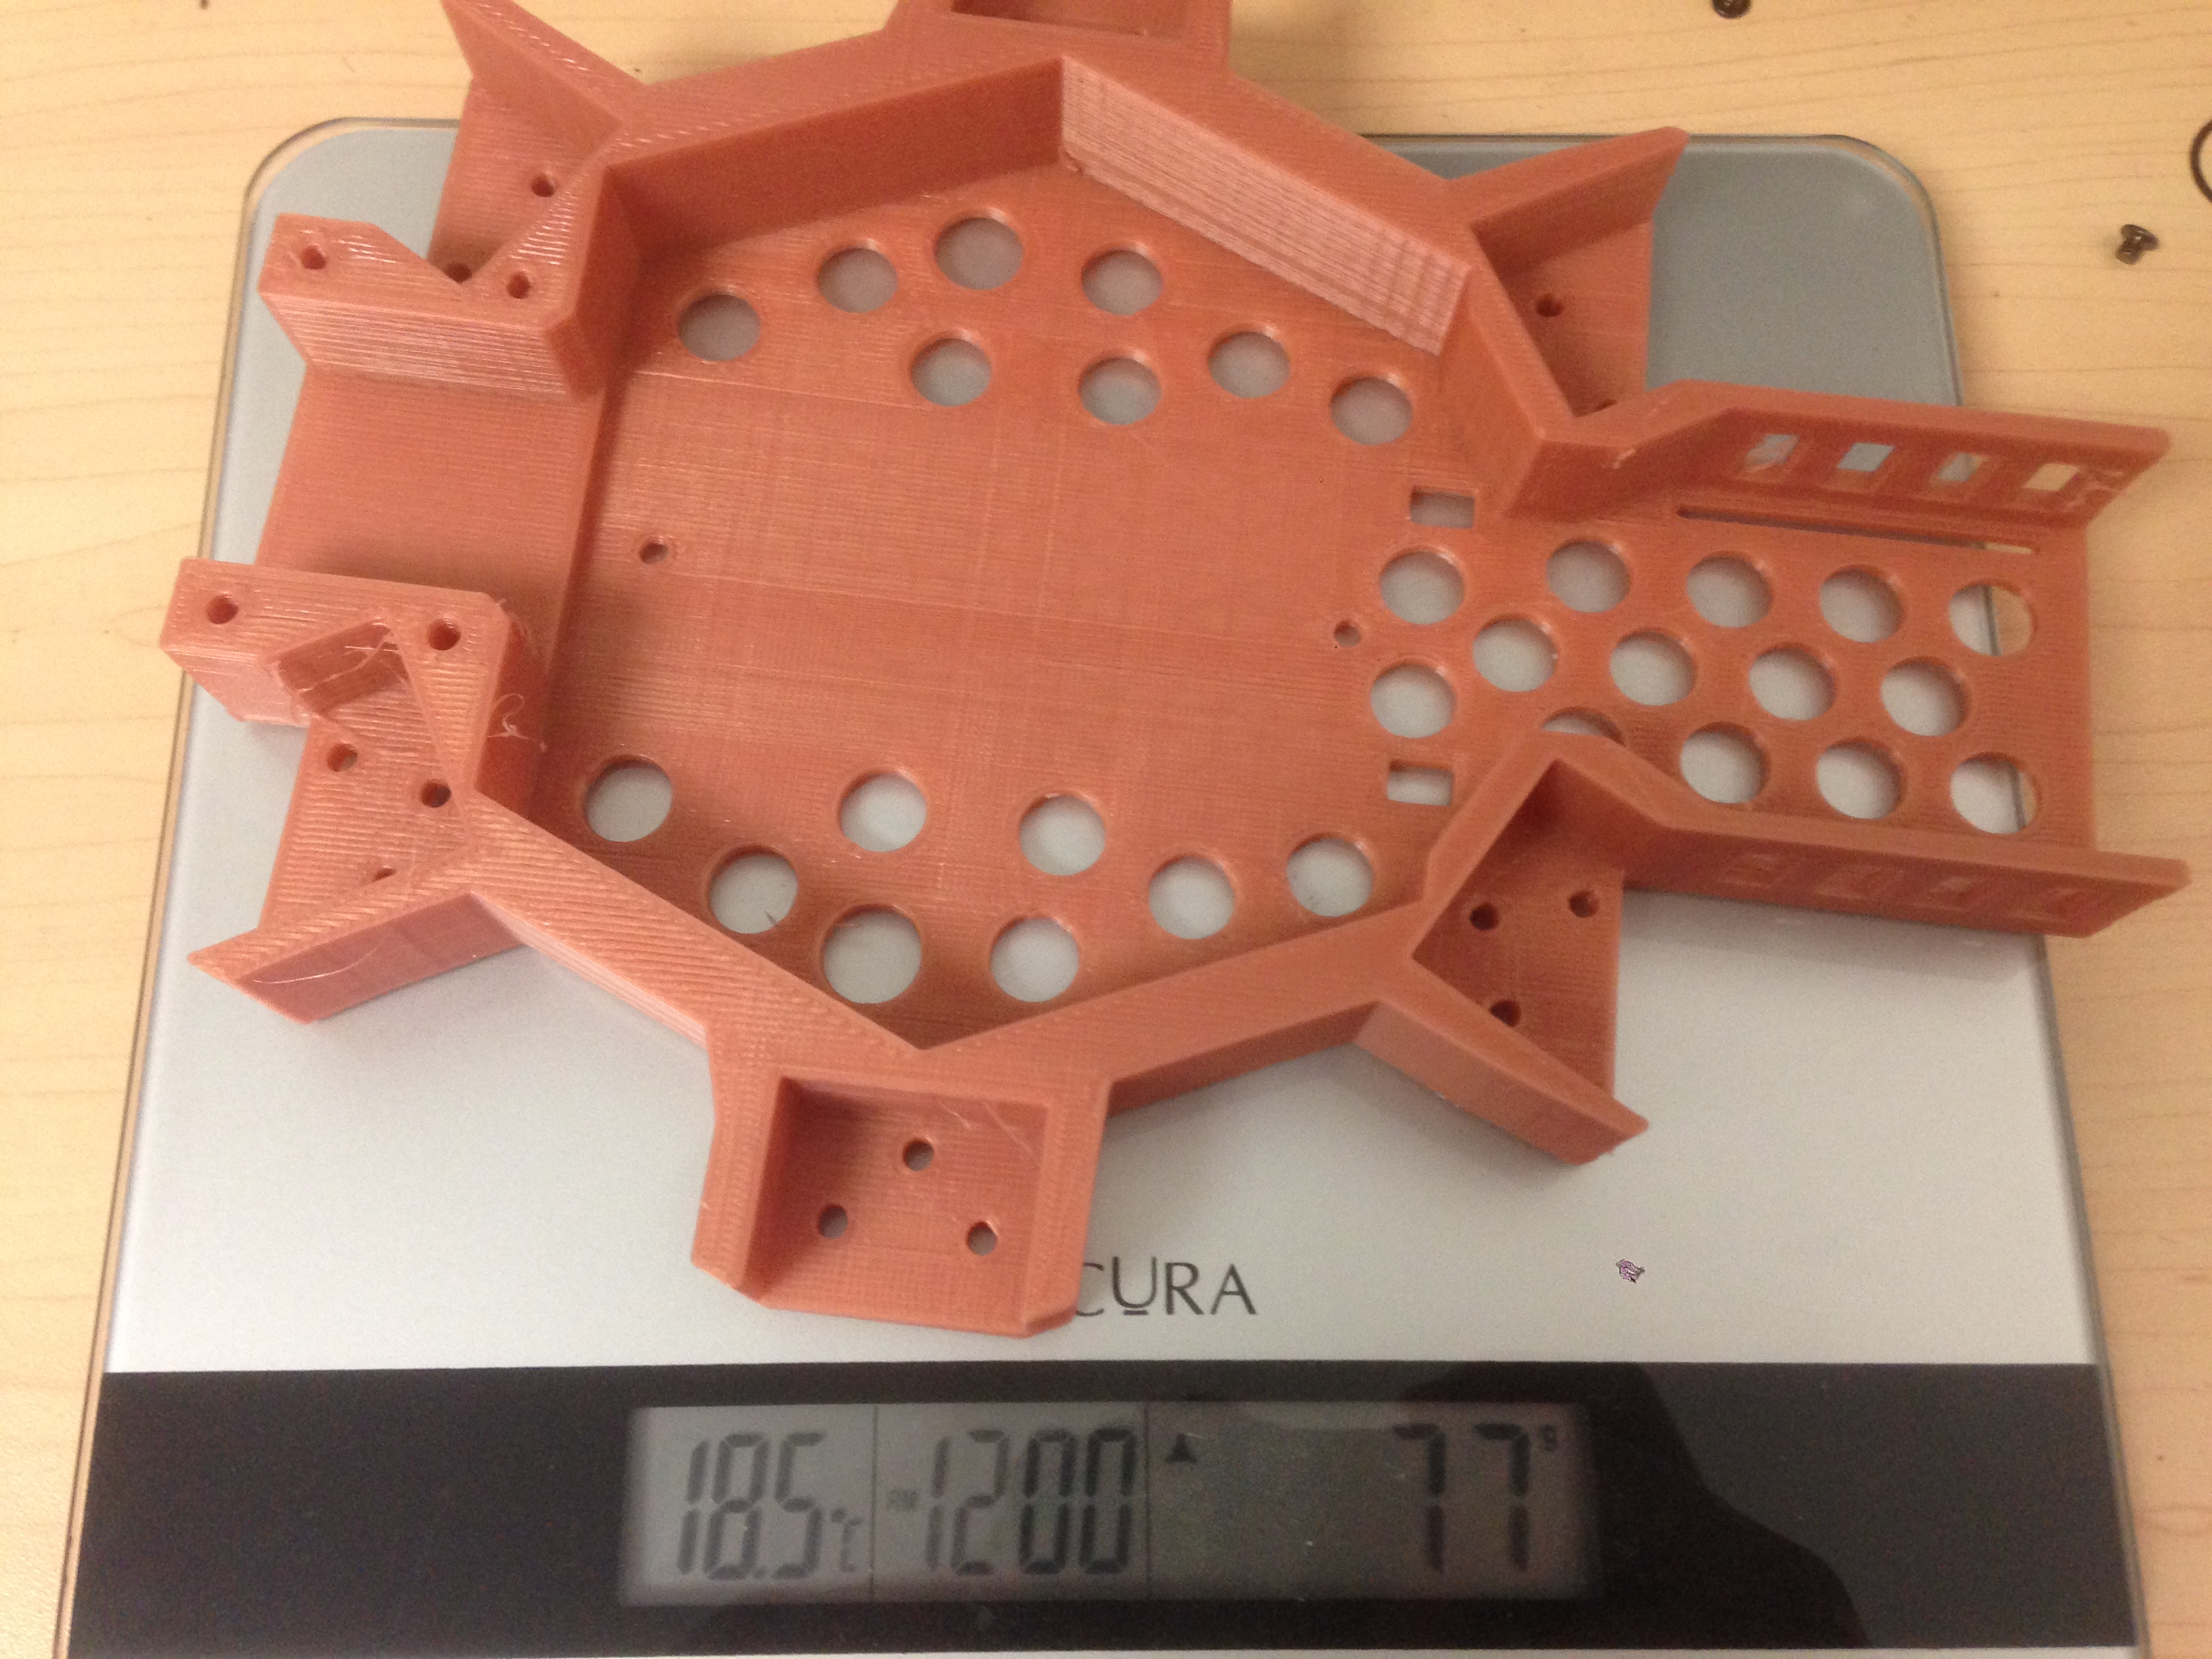
Checking weight of components minus the battery

Taped the gimbal to stop it moving around during the test flight
Test flight went great for a few minutes until it suddenly tumbled out of the sky … on the upside, it fell about 12m and the damage was not too bad – my strengthening must have helped!
I wasn’t sure what caused the crash. I thought perhaps the ESCs may have overheated, or maybe the pixhawk just ‘wigged out’ because of the small size of the airframe. I reprinted the frame and tried again a bit more cautiously.
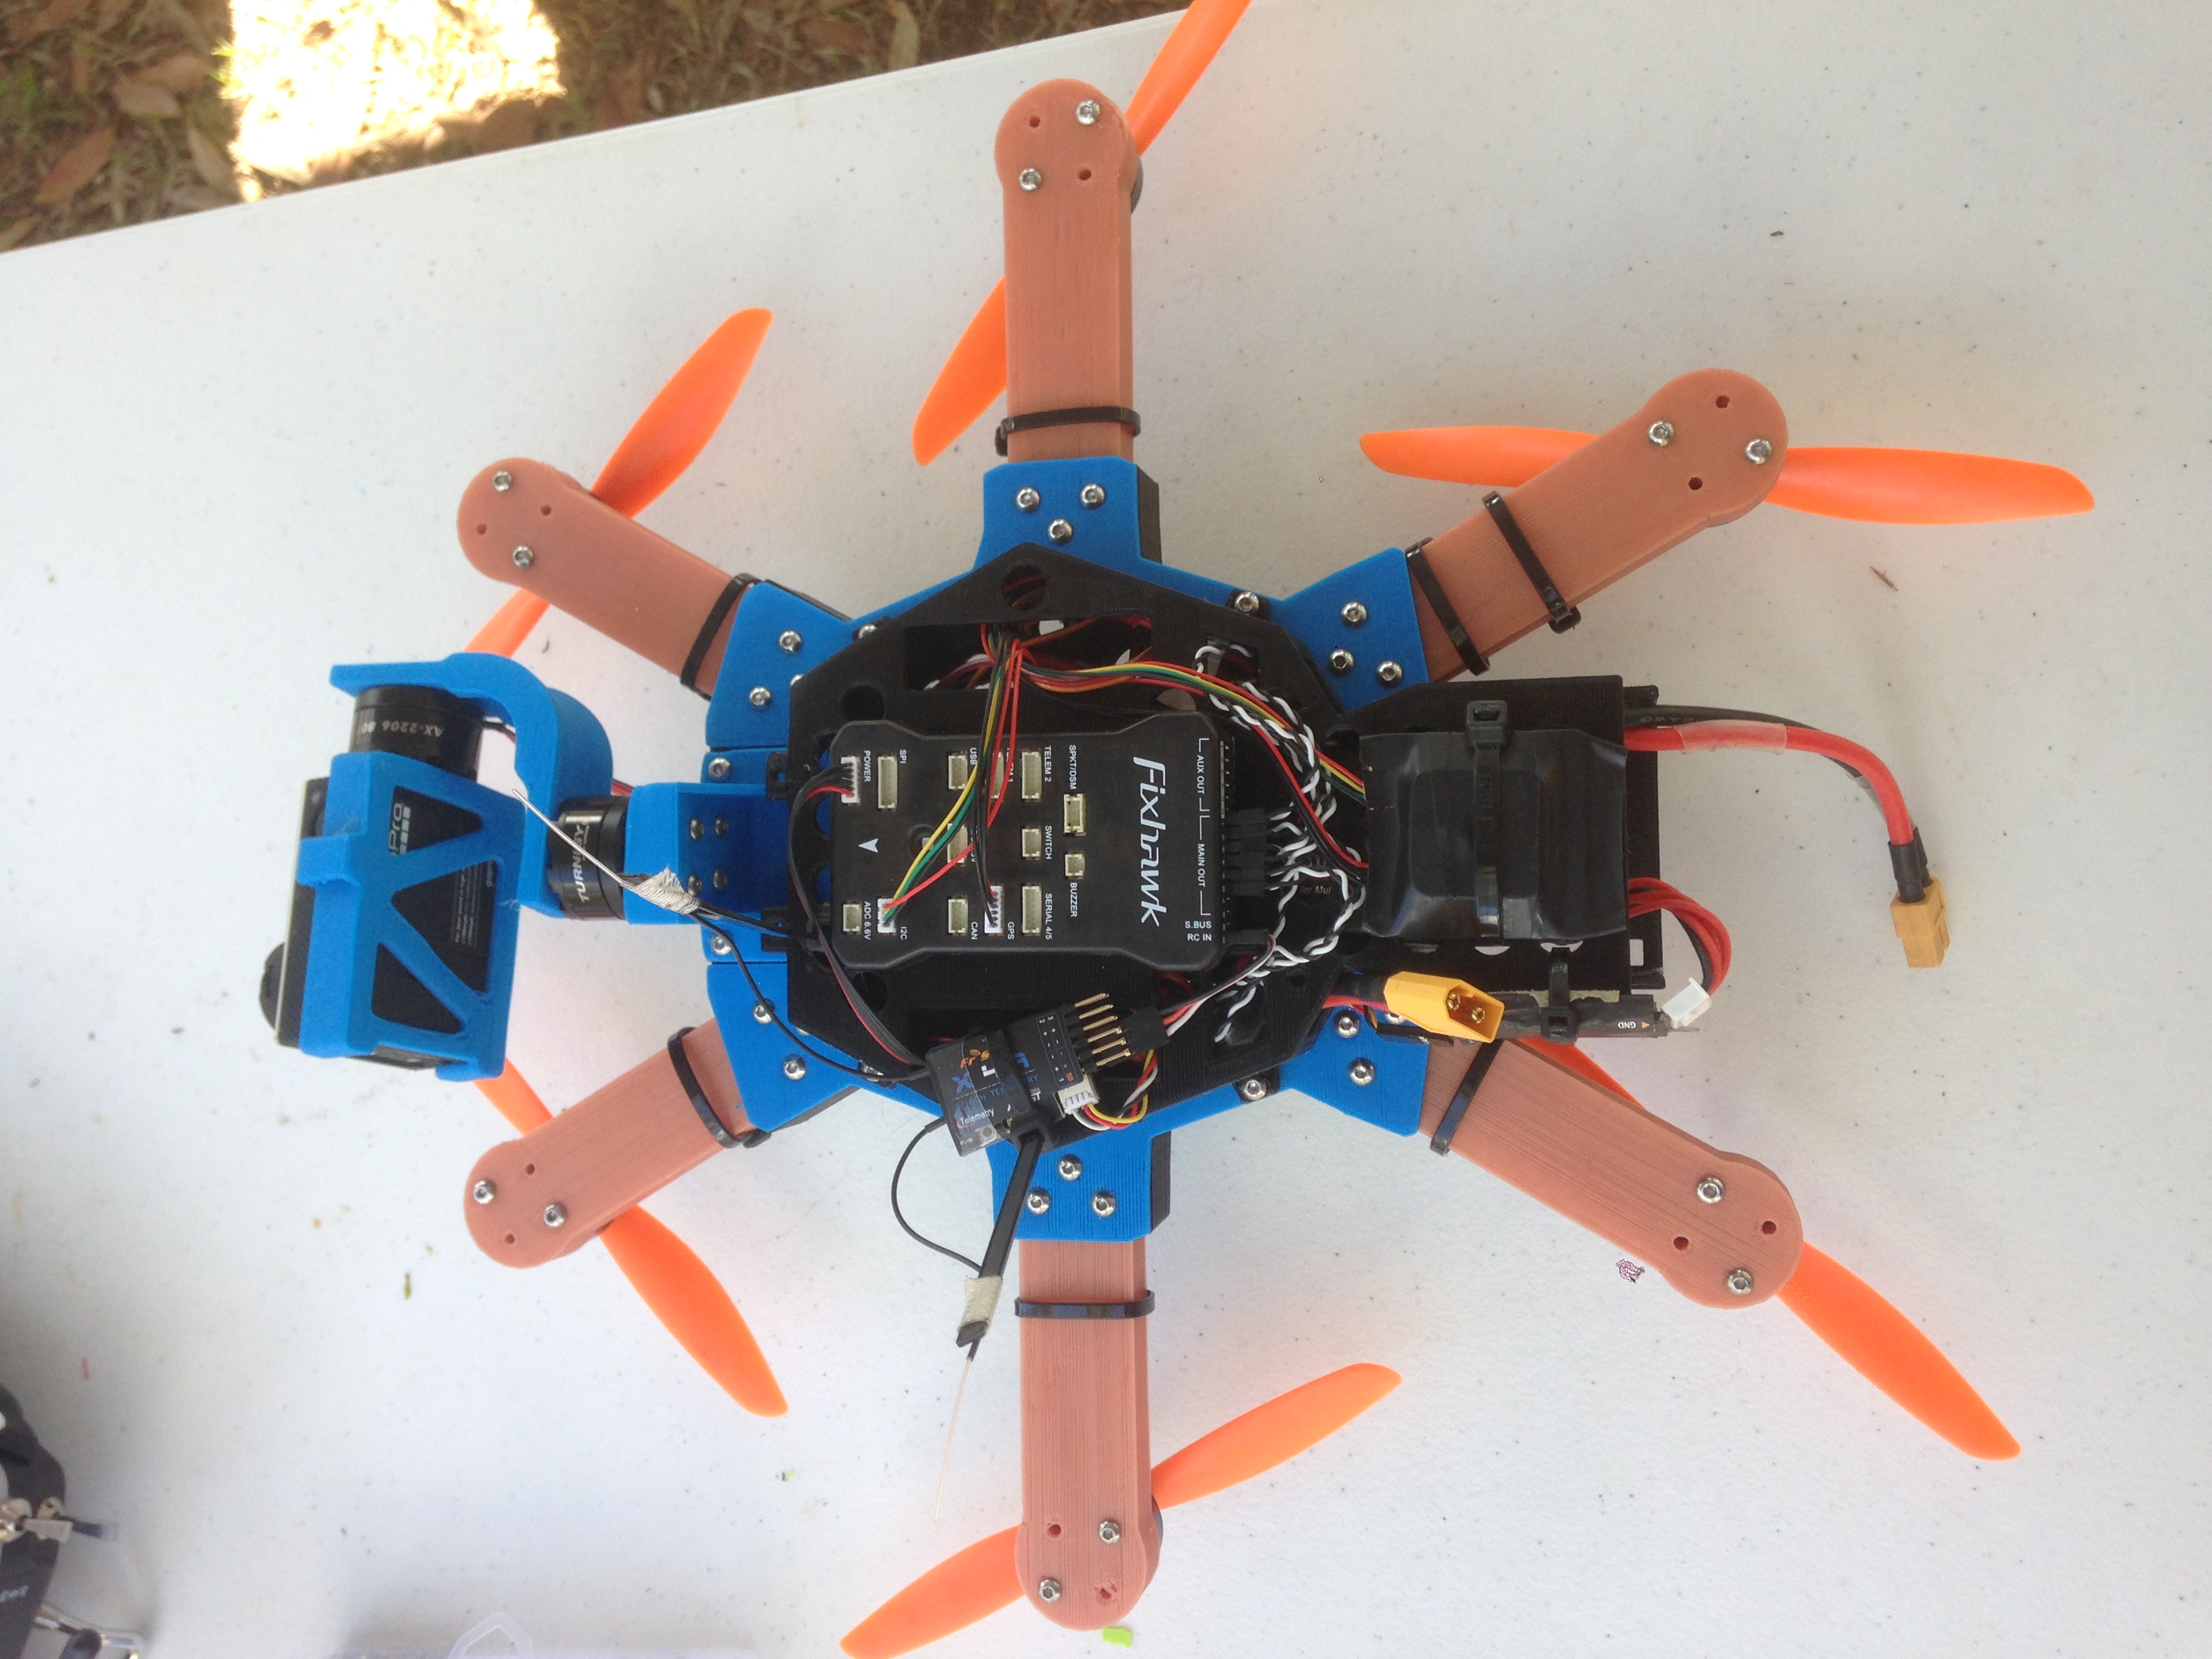
All-up weight of the airframe including battery at this point is about 1300g.
Here’s some video of some test flights – as you can see, it hovers fine and then dives into the dirt.
After this video was taken, I found that the problem was a faulty ESC! I replaced it and then had a bunch of very successful flights. I began tuning the PIDs on the Pixhawk. I found that the airframe was extremely stable, and yet had plenty of power and was very agile. Unfortunately I didn’t have anyone to record some footage of these flights.
The best part was that I was getting 12+ minute flight times with a 4S 4200mah battery!
I experimented with different propellers and found that I preferred the 5040 triple props, even though they reduced the flight times slightly, the motors and ESCs were nice and cool after landing, whereas with the 6″ props they would be quite hot.
I also experimented with 3S 5000mah batteries and found that even though they are lighter, the reduced voltage meant that they gave basically the same flight times as the 4S 4200mah batteries.
I’ve since pulled the pixhawk off this and moved it to my Vampire, so right now the project has been shelved, but once I have some spare cash I plan to purchase a mini pixhawk board and keep working on it. Stay tuned!