I love efficiency. I love seeing an office get by using exactly what they need with no fluff. Terminal Services services suits that goal perfectly, which is why a number of my clients use it.

You get an office whereby everyone works on a secure, controlled environment that is identical for each user. It removes the headache of managing workstations. Every user gets the benefit of a hugely powerful server CPU, and overall it’s miles cheaper than individual workstations. The only time it doesn’t work is for 3D or Desktop Publishing applications.
So here’s where I bend the rules a little. I have a client who had a simple brief – they wanted to display 3D models and renders on a projector from their designer’s PC for their clients to see. The client is Sovereign Homes QLD, they’re an innovative design-building co that strives to exceed their client’s expectations, and a great client to work with for my company.
The brief is simple, but in execution there are not many solutions around to achieve this goal. For example:
- Cabling the projector directly to the PC is unreasonable.
- Standard KVM’s require a cabled connection between the host PC and the monitor. This is cumbersome to install and is limited to connecting to only one workstation.
- Network KVMs are prohibitively expensive and often require an ‘adaptor’ to be connected to the host PC, also limiting it to that one PC.
- A thin client with RDP will do the job, but these usually cost around $600 and are very much overkill for the task at hand.
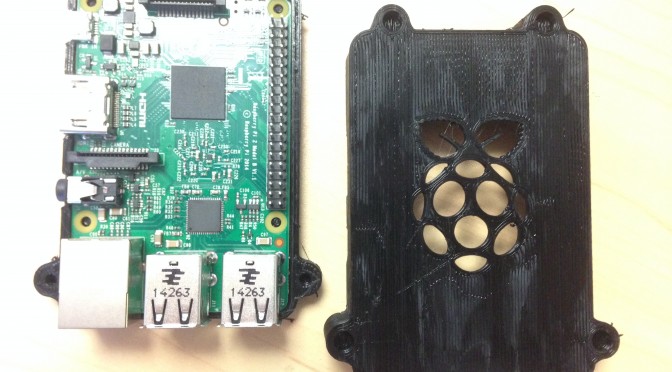
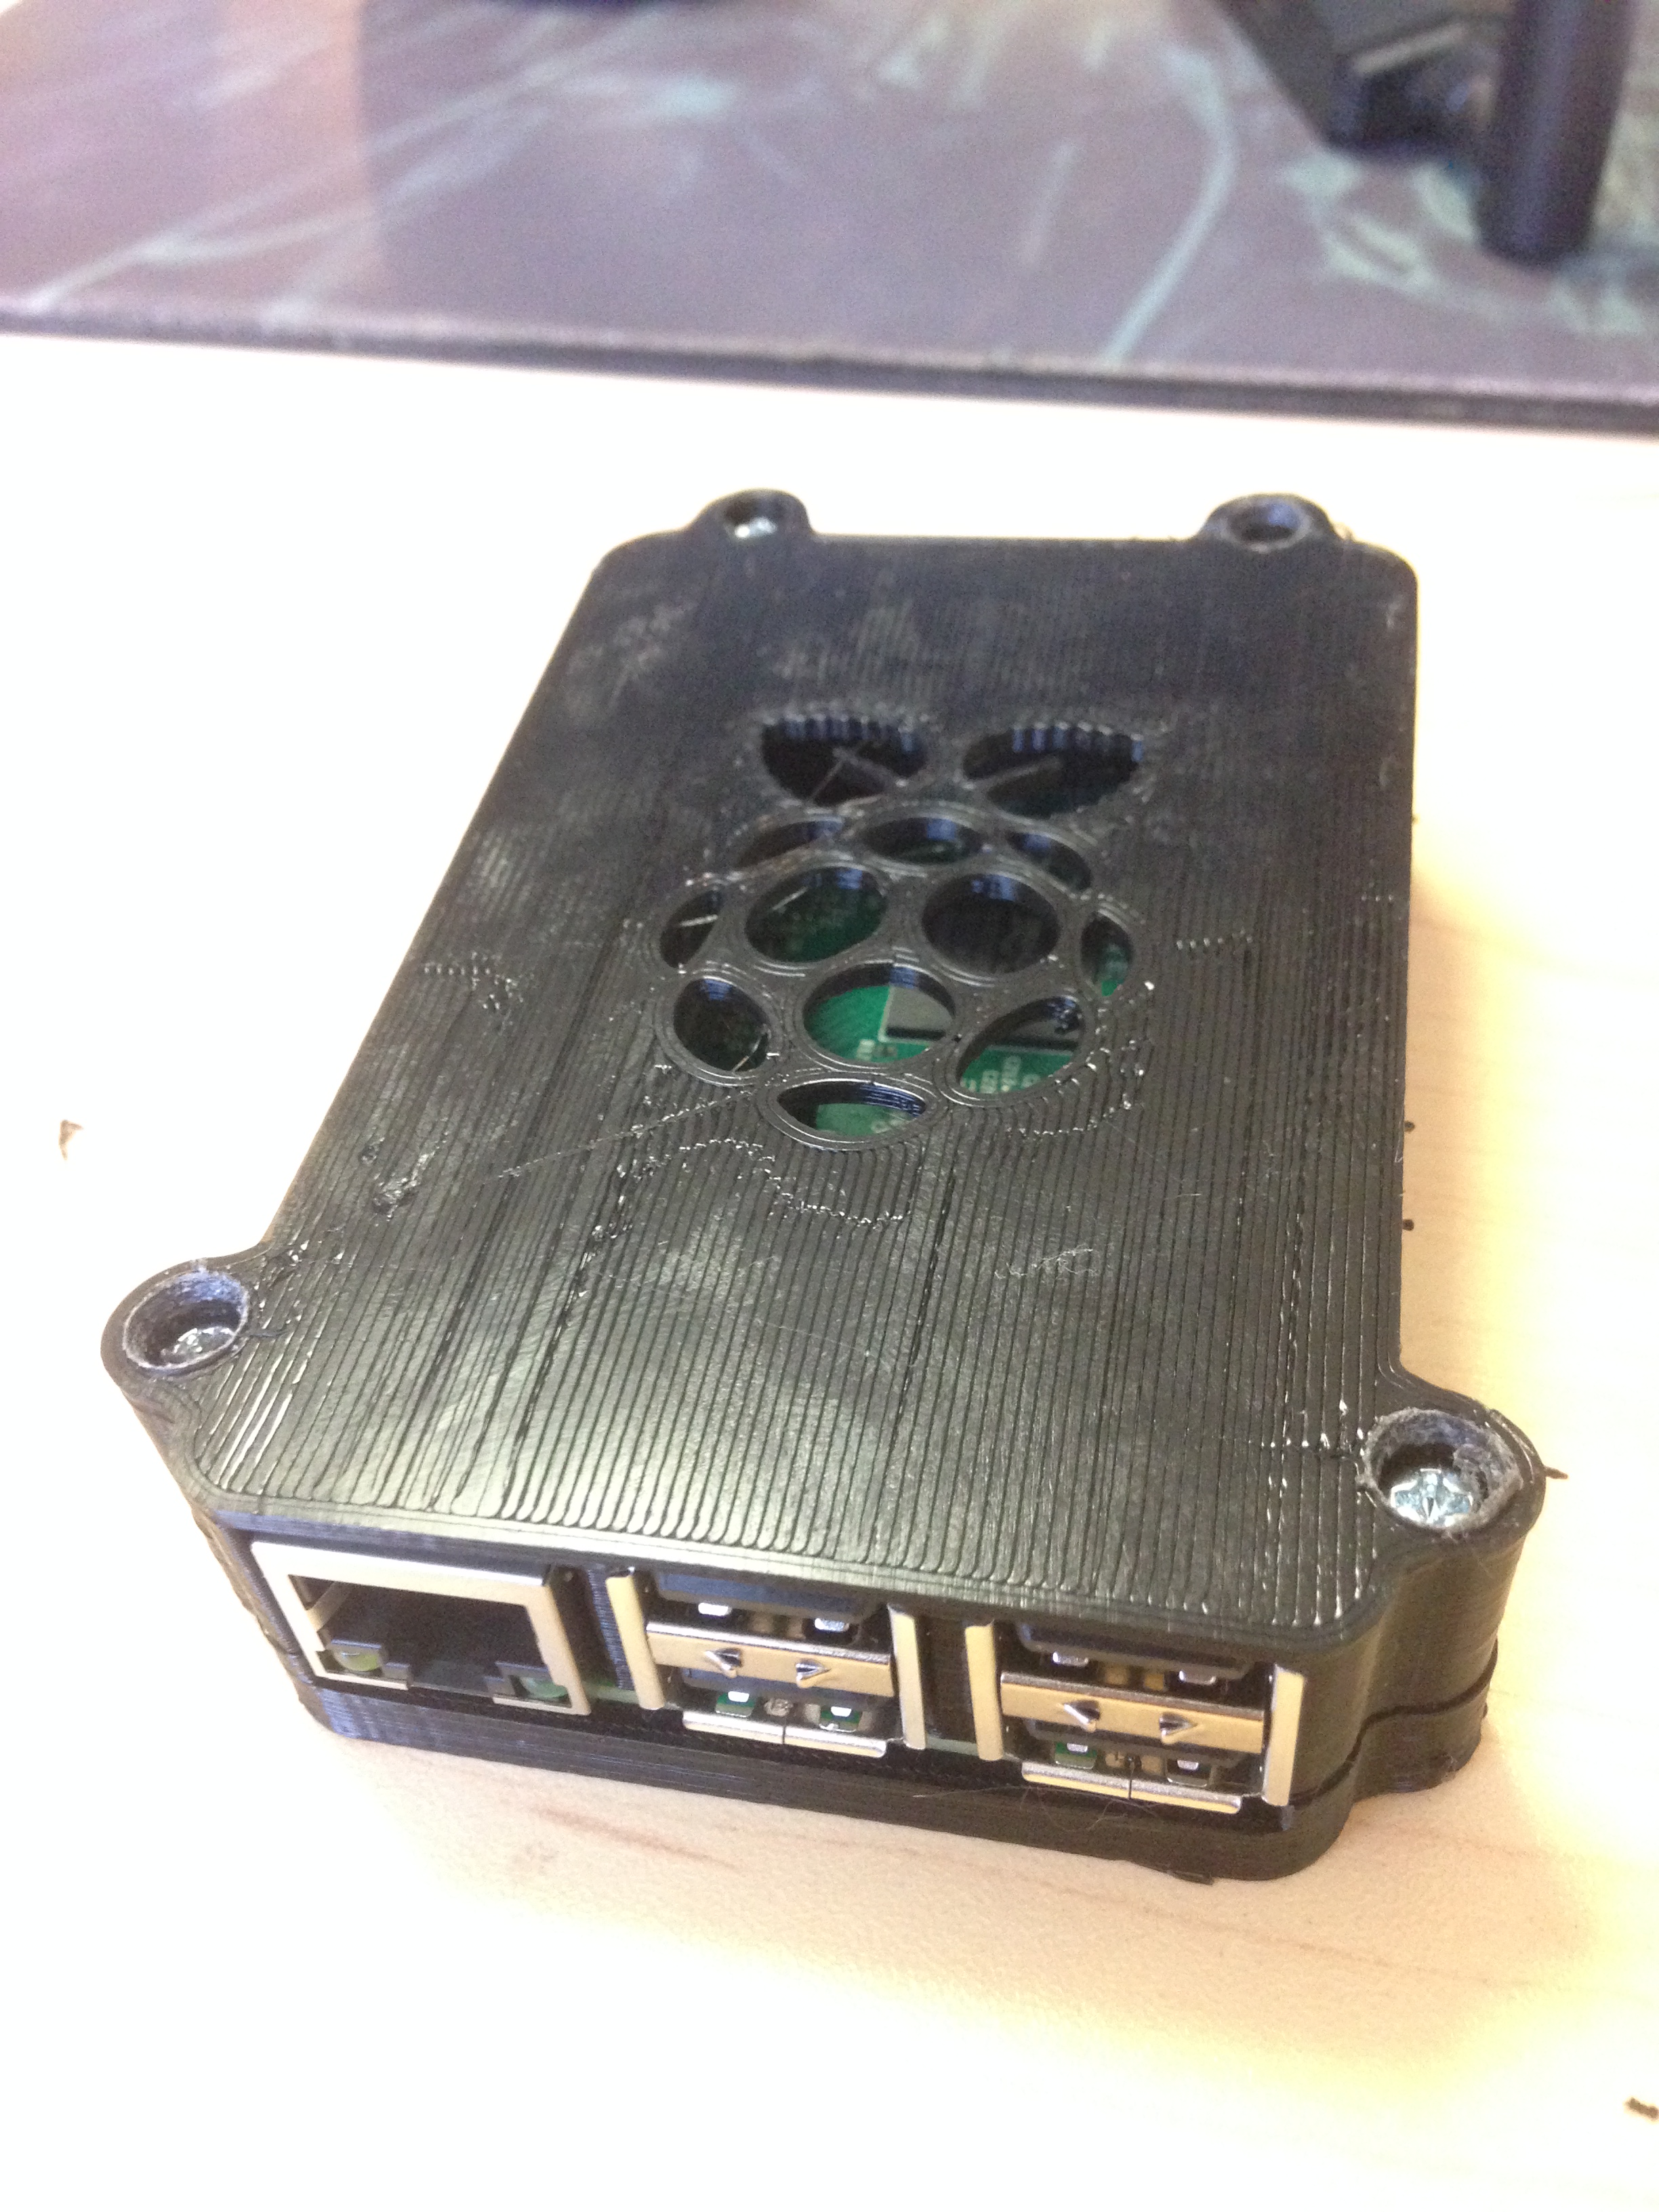
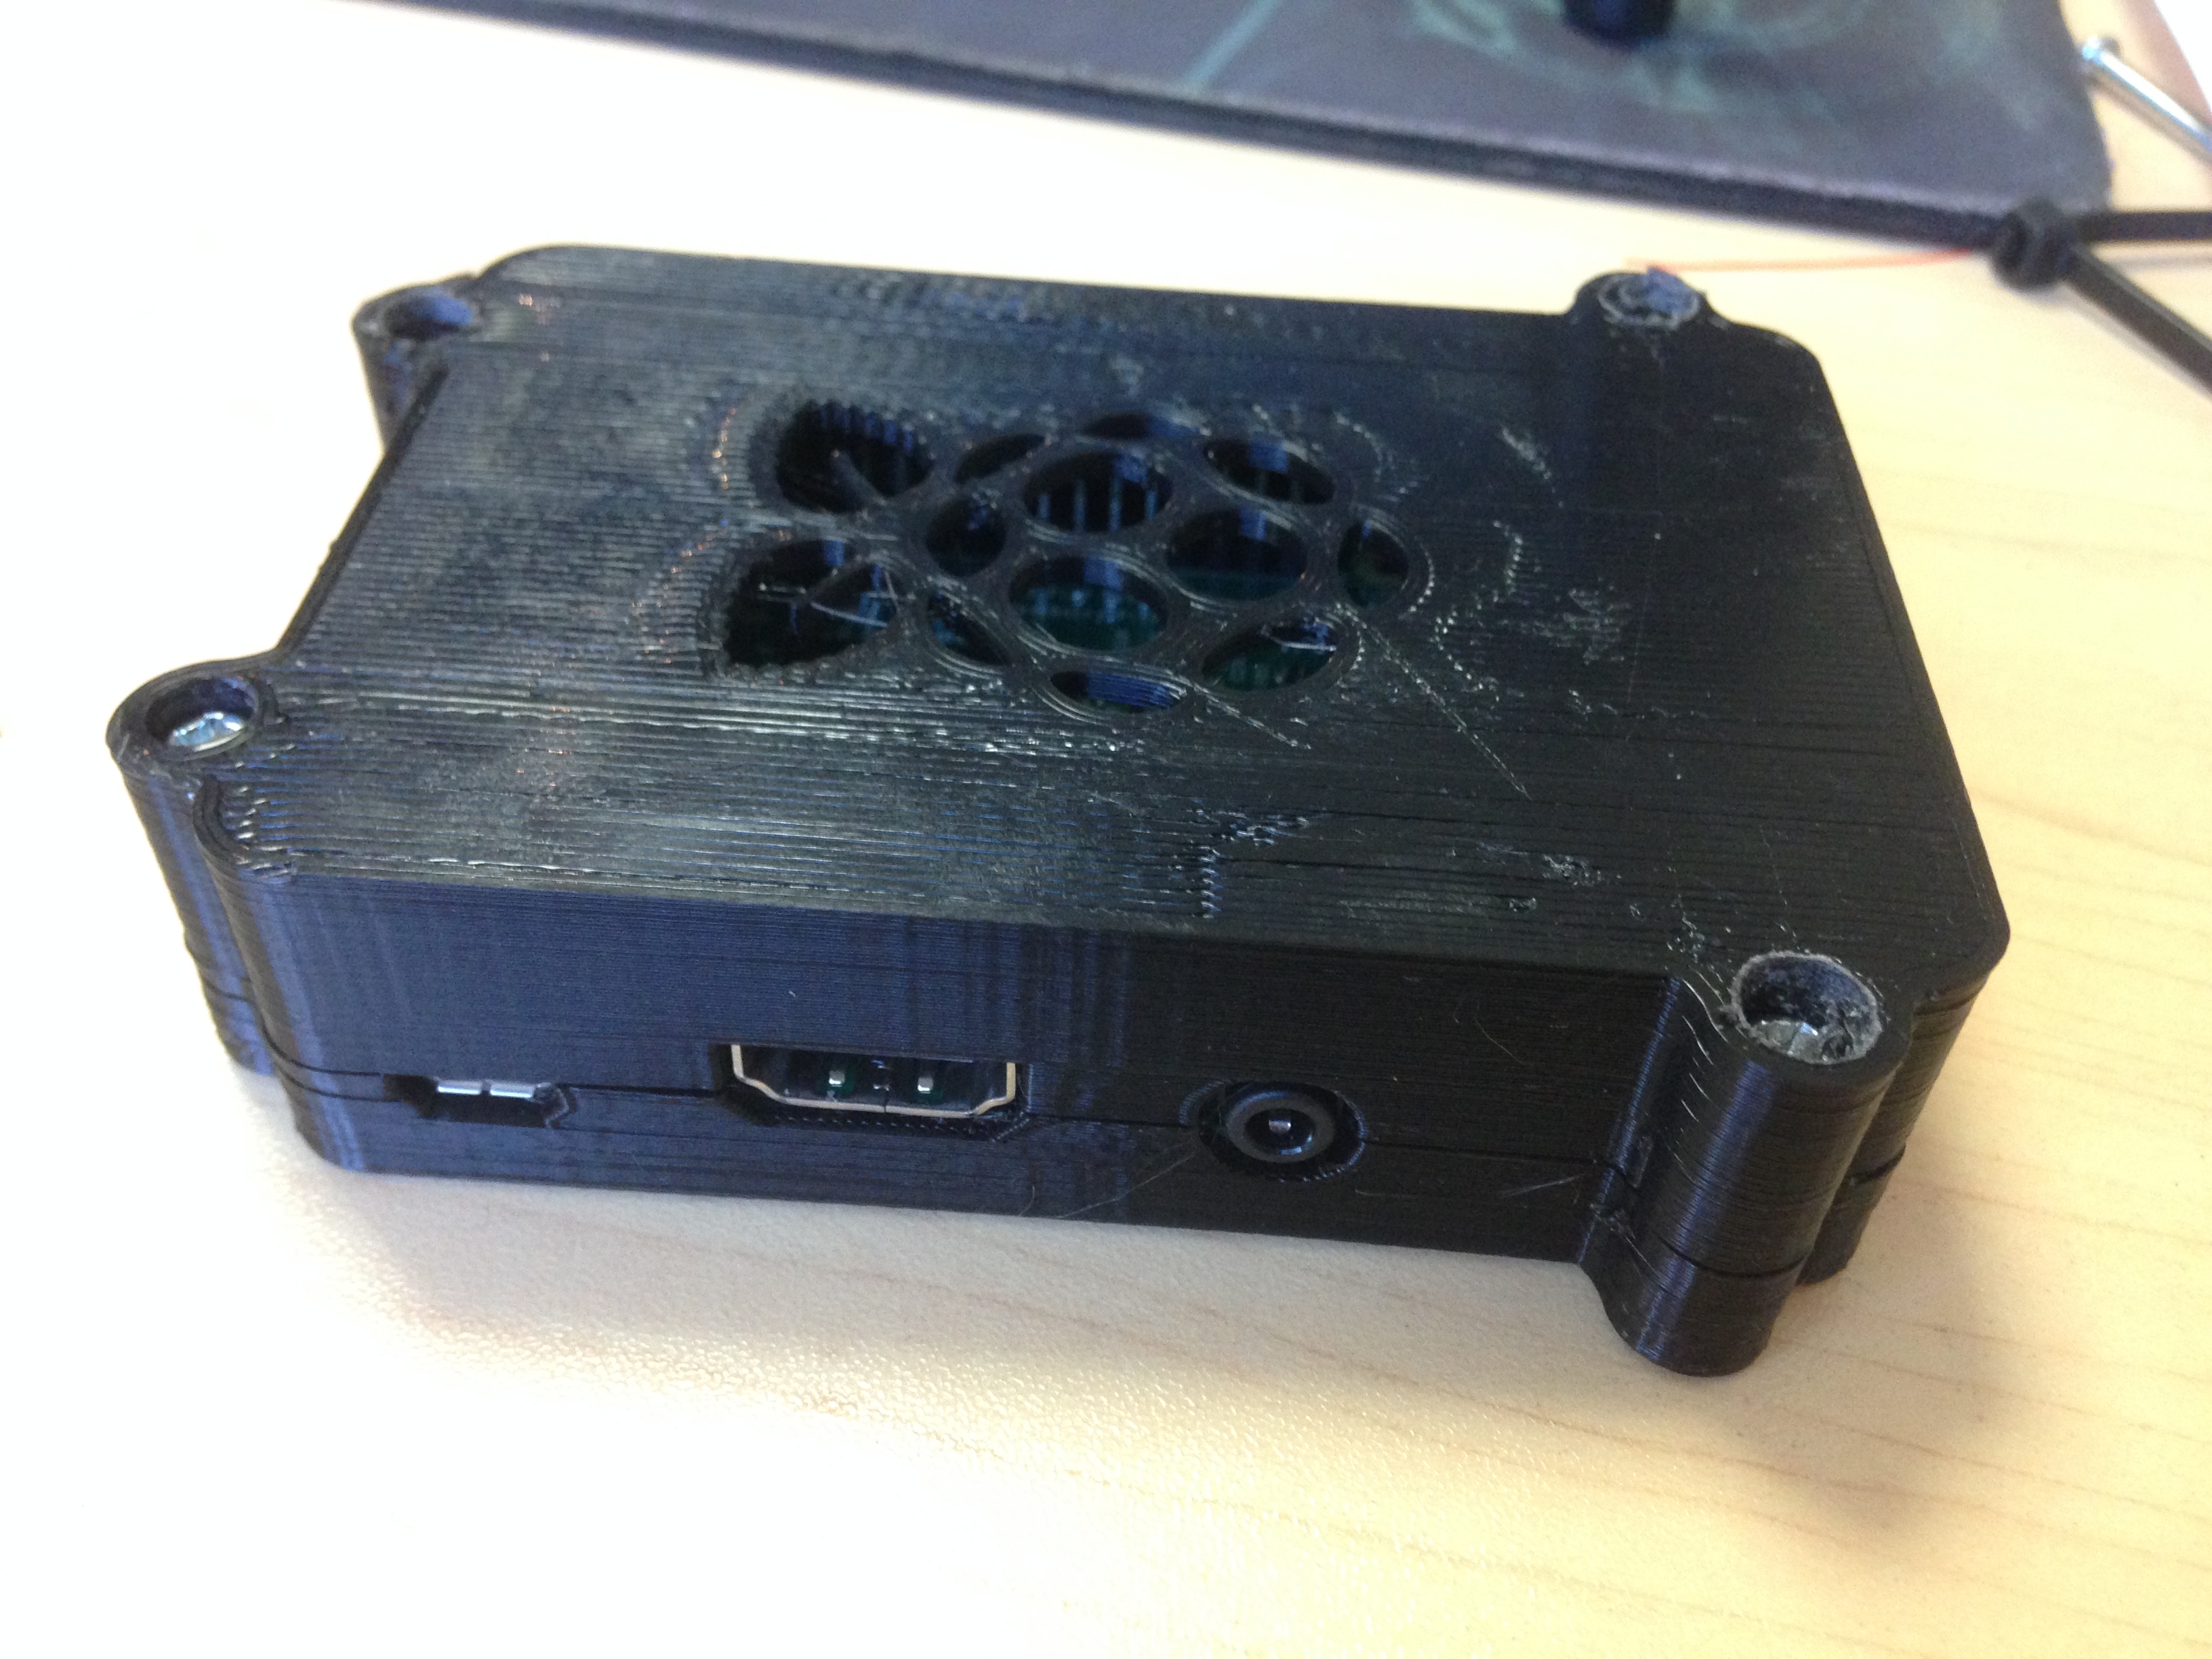
As such I decided to use a raspberry pi to run the remote desktop software. This would allow the projector to connect to ANY computer on the network, and would also allow wifi access, meaning all that is required is a power socket. I would also use my new 3D printer to build a little case to house the board!
Initially I tried using the Raspberry Pi Thin Client Project, but I found that it’s Debian base meant there were bugs relating to Wi-Fi. The bug meant that after rebooting, the unit would not reconnect to the wifi automatically. This is a pretty big deal as the unit should be pretty much solid-state.
So I switched to Ubuntu Mate which is specifically designed for the Raspberry Pi. This allowed plug-and-play compatibility of my wireless network adaptor. I installed rdesktop and we were online!
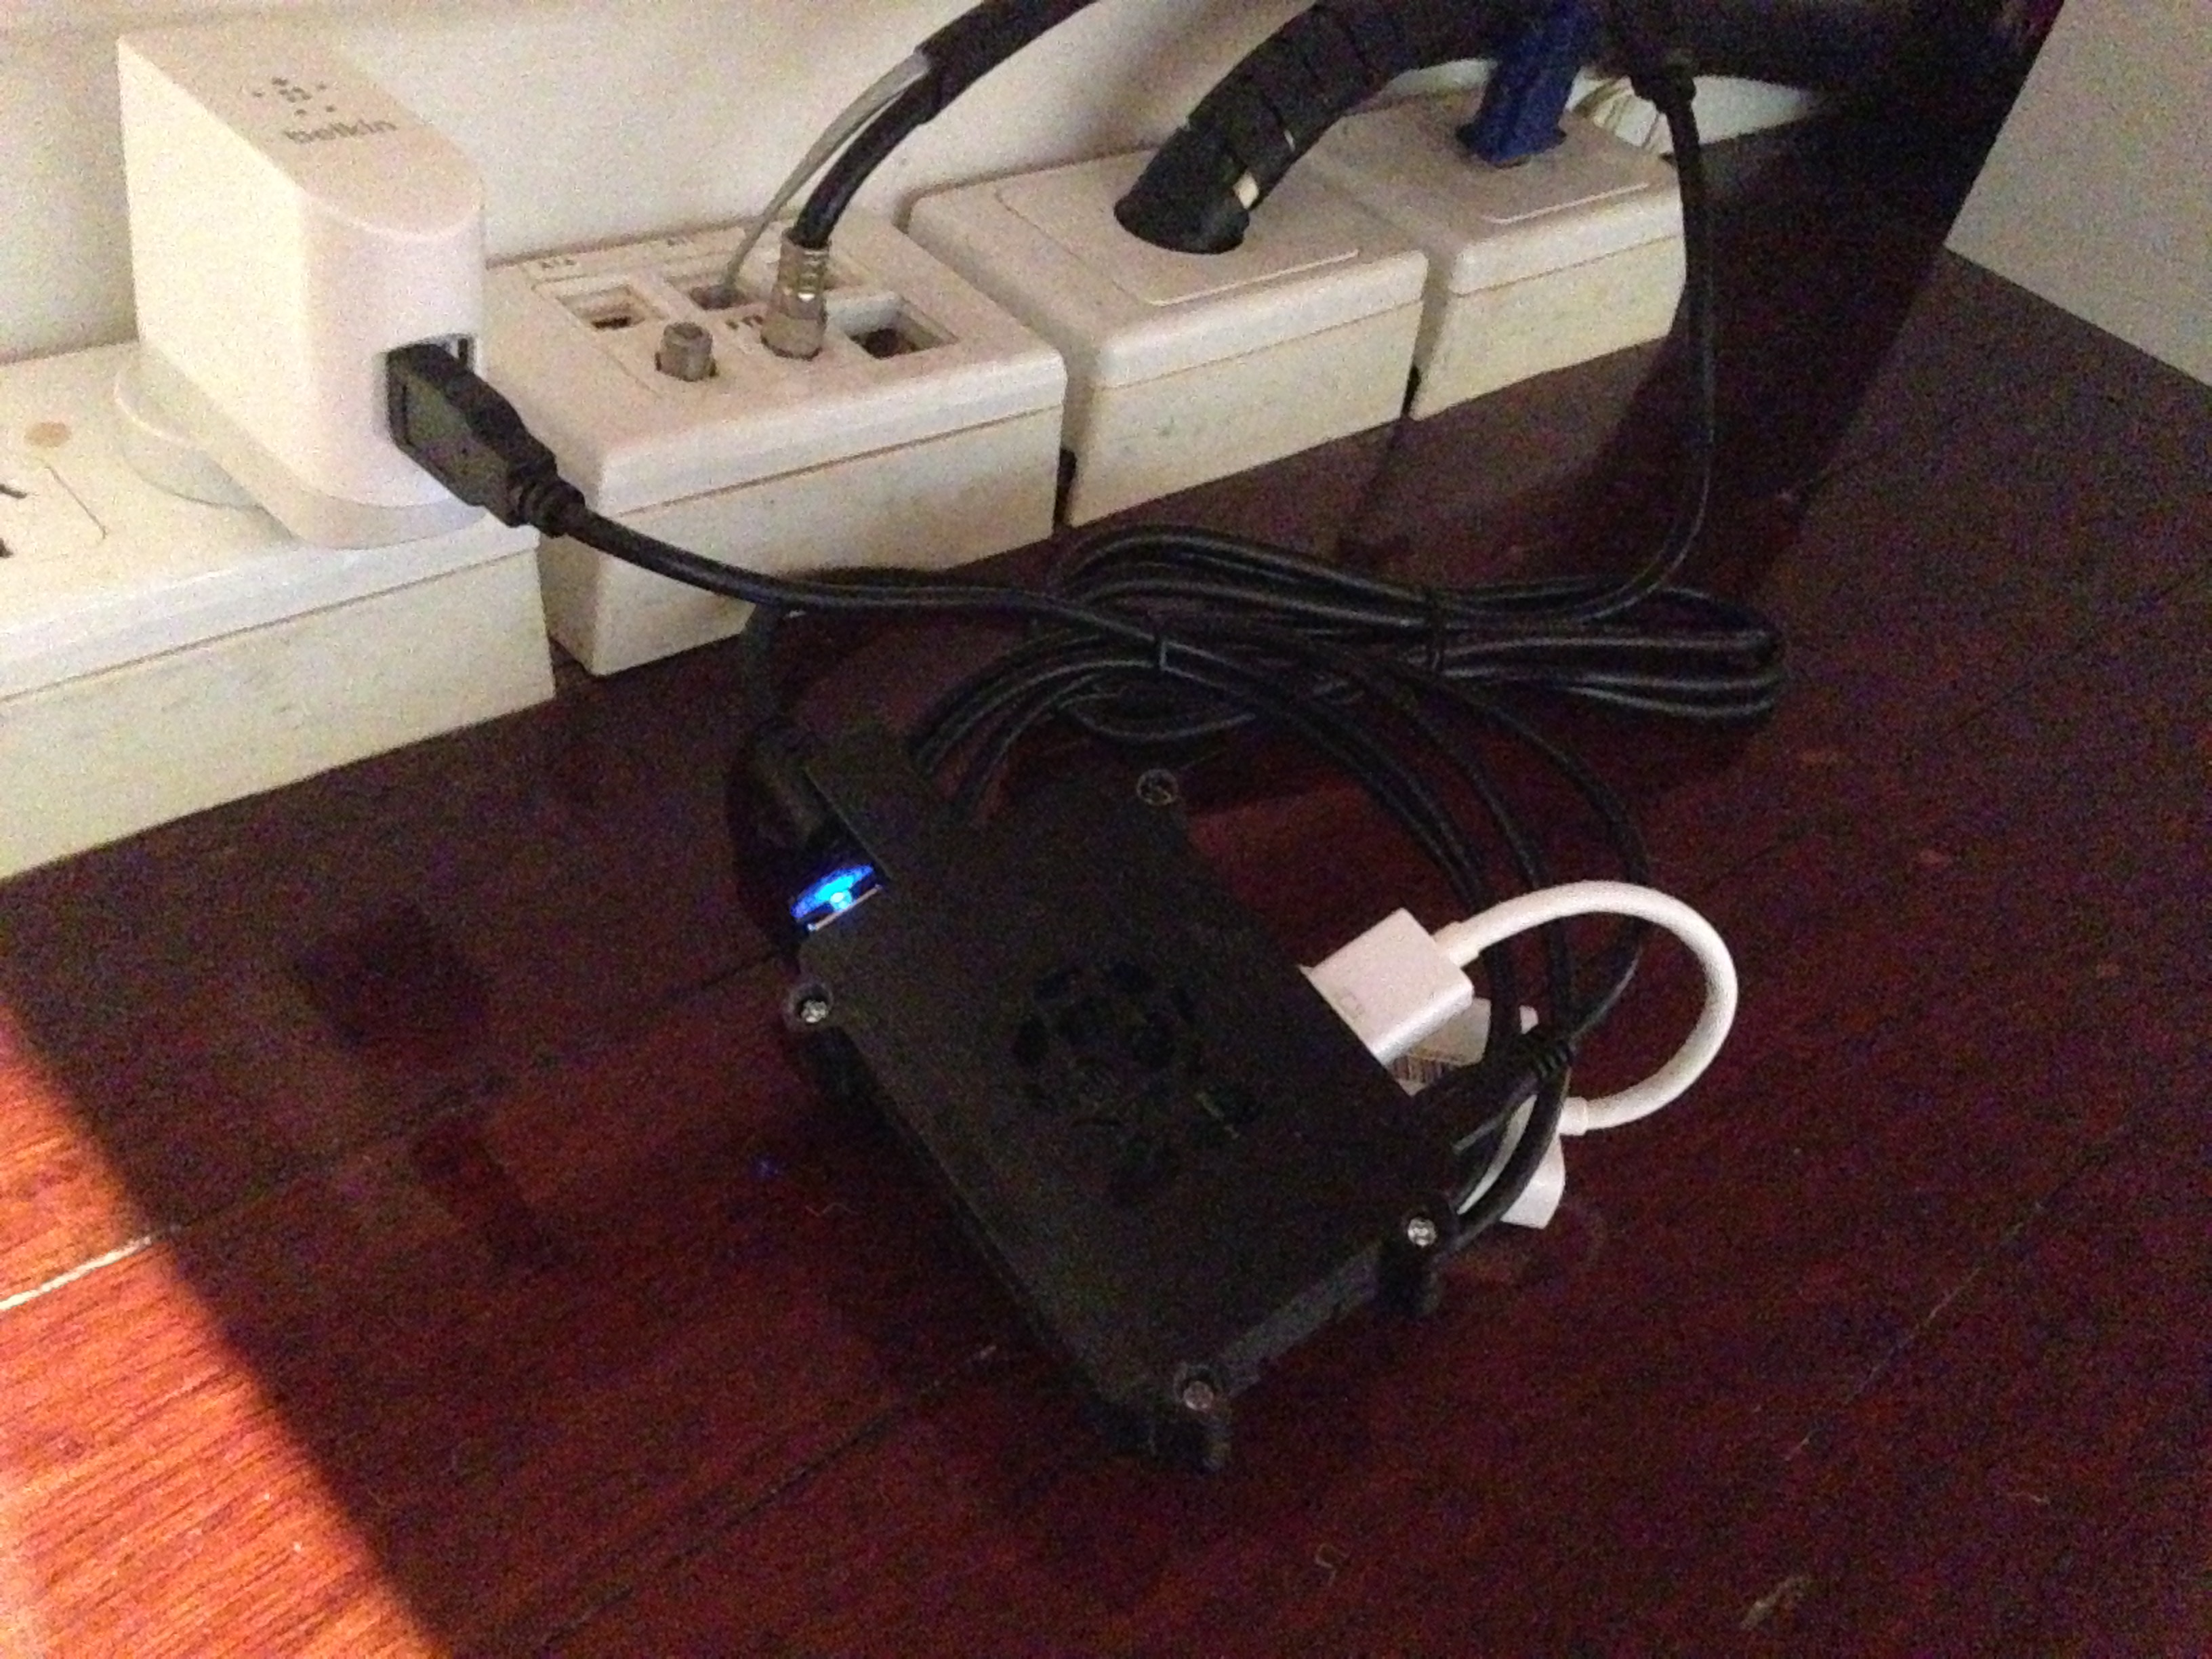
I configured a simple script to call rdesktop and connect to the designer’s PC. In testing, the performance was even better than I had expected. The quality was very good with only a small delay when moving around the 3D scene. The designer was able to perform renders and zoom ‘through’ a scene.

Very pleased with how this little project has come out and the client is happy that they are now able to show their designs to their customers on the big screen!
everything is good but this gif – oh god the gif
haha what’s wrong with the gif?